Markers
Markers are points that can be used to identify areas of interest in the scene. Markers can also be selected as objects projected onto section layouts and sections.
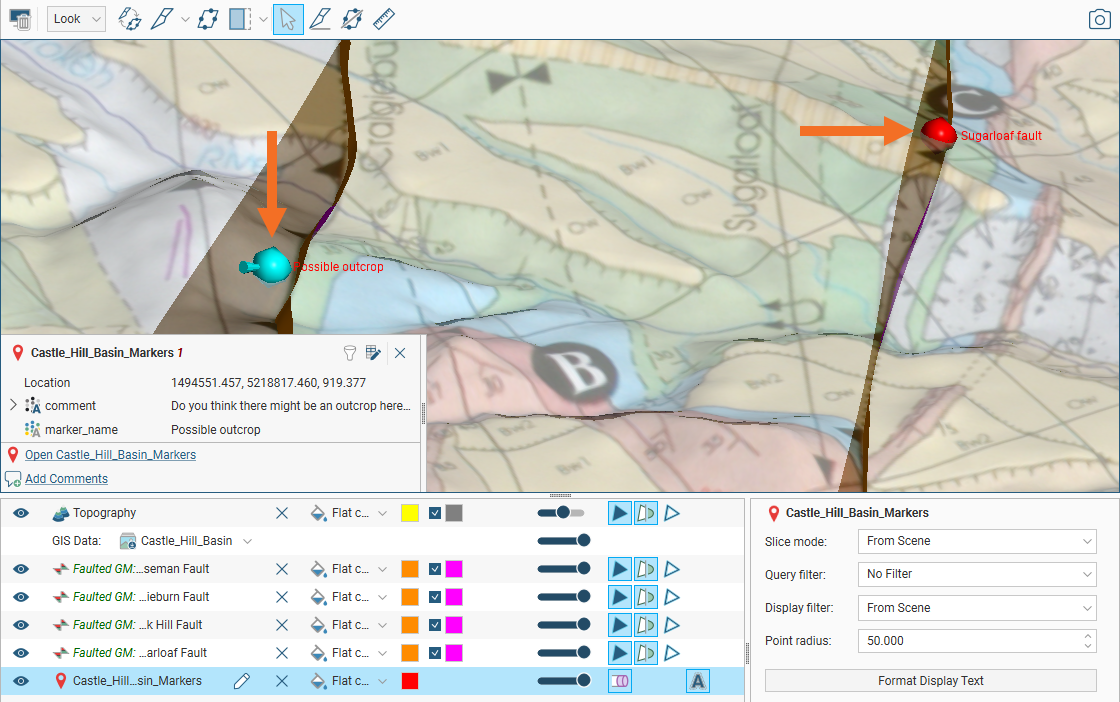
Here two markers are displayed in the scene. Clicking on a marker in the scene displays more information about the marker, including comments entered.

Markers are not published to Seequent Central, and are different from the geotags used in the Central Portal’s 3D scene.
This topic describes how to create and work with markers in Leapfrog Geo. It is divided into:
- Creating a Marker Table
- Importing a Marker Table
- Adding Markers
- Selecting, Modifying and Deleting Markers in the Scene
- Exporting a Marker Table
Creating a Marker Table
To create markers, first create a marker table. To do this, right-click on the Saved Scenes, Movies and Markers folder in the project tree and select New Marker Table. In the window that appears, enter a name for the new marker table and click OK.
The new marker table will appear in the project tree and the Markers window will appear and you can start creating markers, as described in Adding Markers below.
Importing a Marker Table
You can import markers from external sources saved in *.csv files. To do this, right-click on the Saved Scenes, Movies and Markers folder and select Import Marker Table. You will be prompted to select a file.
Once you have selected a file, Leapfrog Geo will display the data and you can select which columns to import. Leapfrog Geo expects East (X), North (Y) and Elev (Z) columns. The Marker Name and Comment columns are optional.
Click Finish to import the file, which will appear in the Saved Scenes, Movies and Markers folder.
Once the table has been imported, you can add new columns and rows and reload the data, which is described in the Working With Data Tables topic.
Adding Markers
To add markers, you first need to have objects in the scene to provide coordinates for the markers. Once you have one or more objects to the scene ready to add a marker, you can open an existing marker table by either:
- Right-clicking on the marker table in the project tree and selecting Edit Markers
- Adding the marker table to the scene and clicking on the edit button (
 ) in the shape list
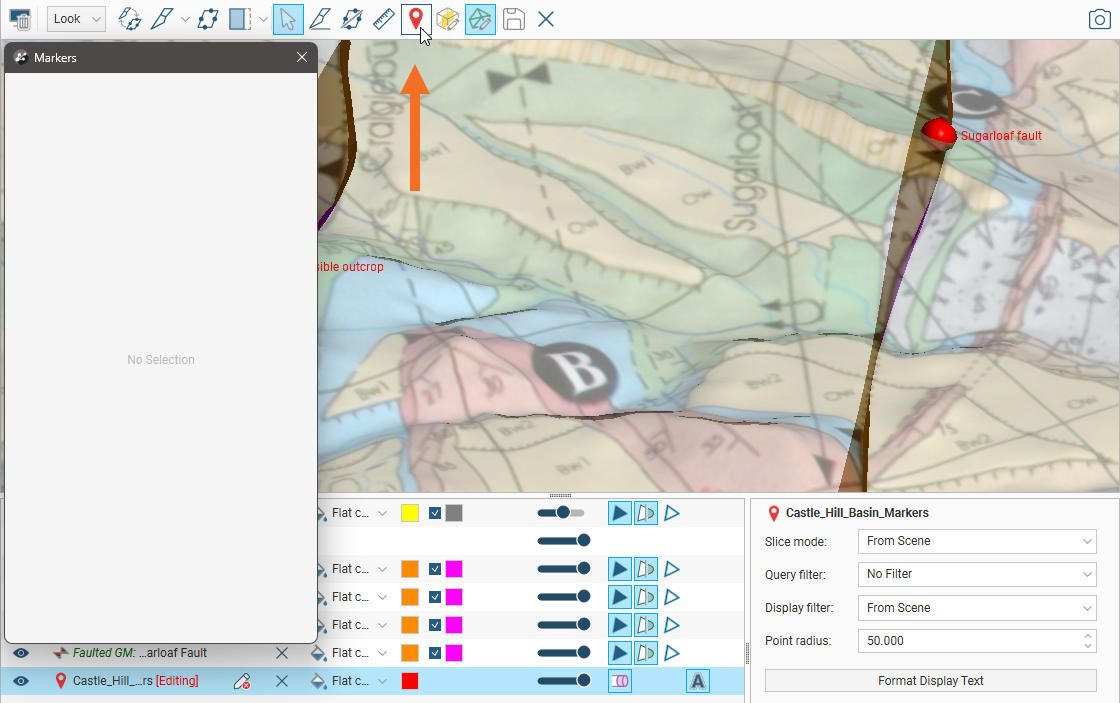
The Markers window will appear, along with a Place Marker button (![]() ) in the toolbar:
) in the toolbar:

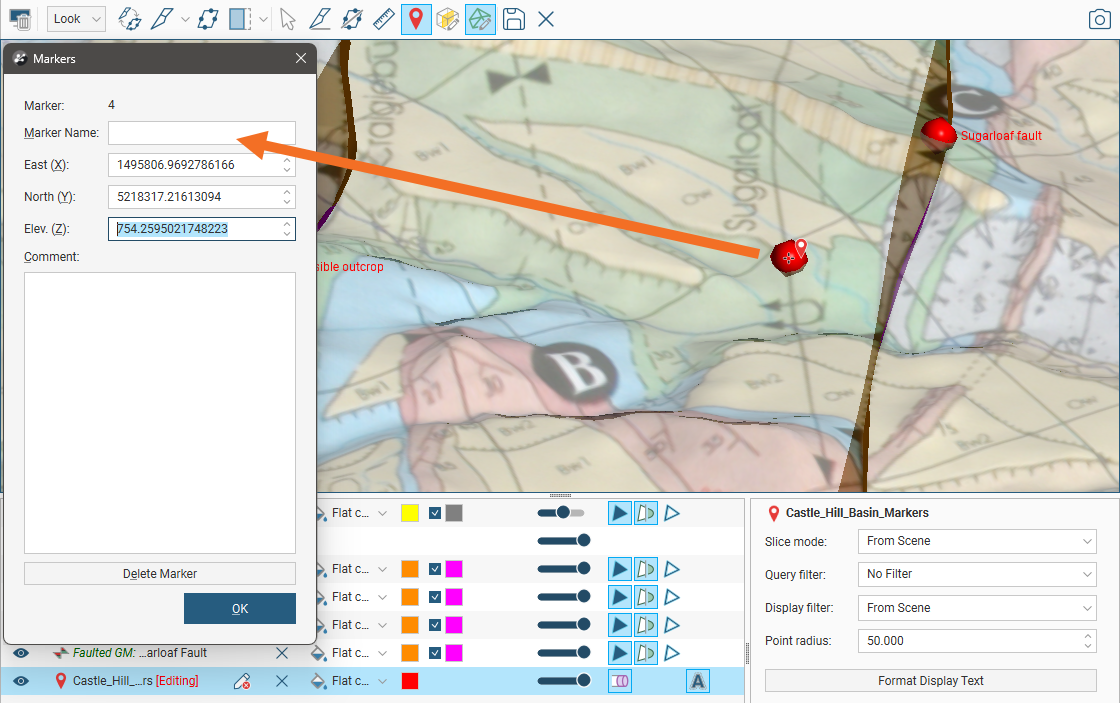
Click the Place Marker button, then click in the scene where you would like to add the marker. A new marker will be added to the table, along with its coordinates:

Enter a Marker Name and a Comment, if required, then click OK to save the table.
Selecting, Modifying and Deleting Markers in the Scene
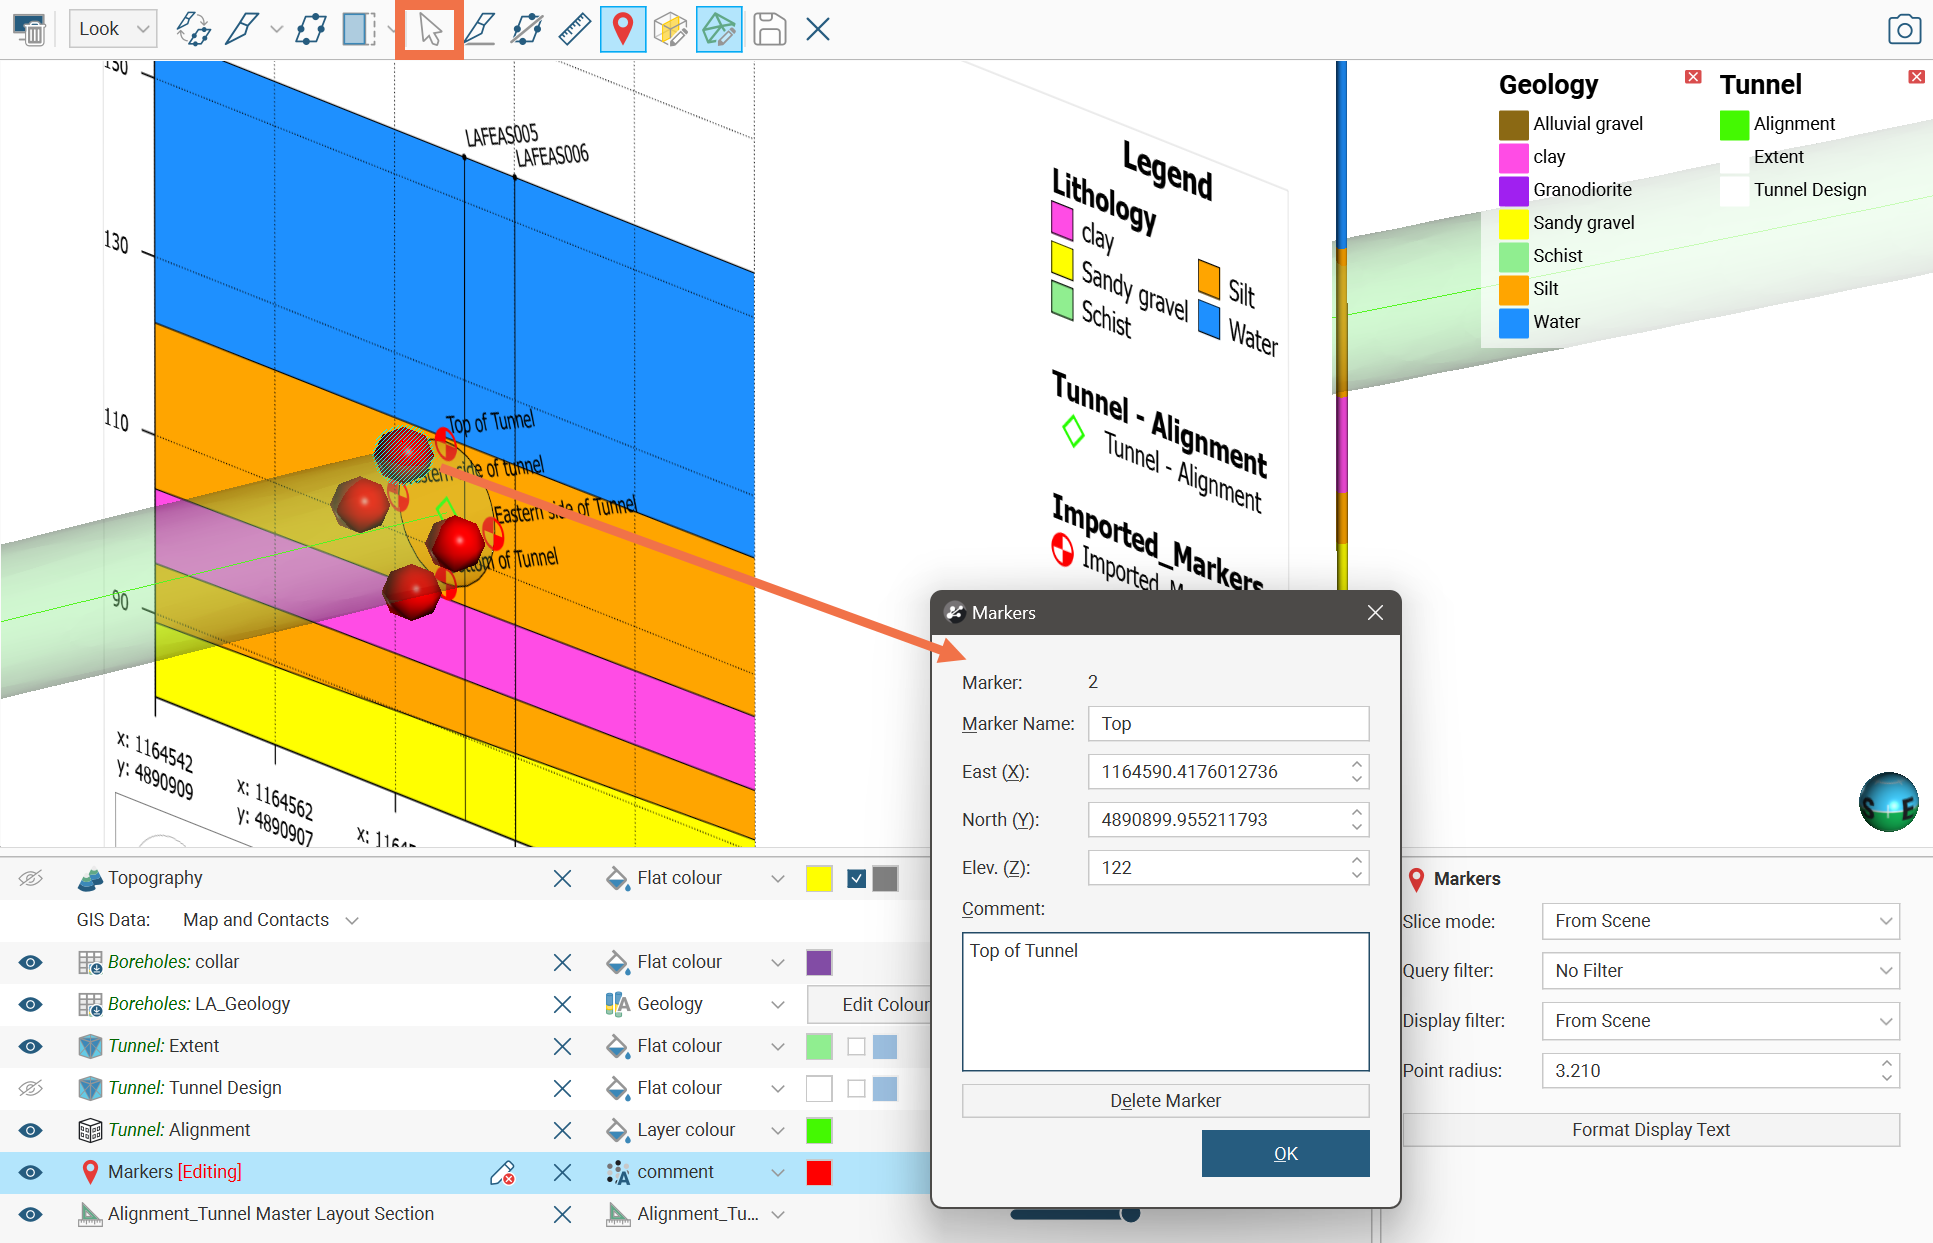
To make changes to an existing marker, right click on its marker table in the project tree and select Edit Markers. The Markers dialog window will appear. In the toolbar, click the Select icon (![]() ) then click in the scene on the marker you wish to edit. The marker’s information will be displayed in the Markers window. You can then make changes to the Marker Name, the marker location and the Comment.
) then click in the scene on the marker you wish to edit. The marker’s information will be displayed in the Markers window. You can then make changes to the Marker Name, the marker location and the Comment.

Click the Delete Marker button to delete the marker from the marker table.
Exporting a Marker Table
You can export a marker table as a *.csv file.
Right click on the marker table in the project tree and select Export. In the window that appears, select whether to export All rows in table, Changed rows only or Valid rows only. You can also choose to enable or disable the options Use original column names and Add changed flags.

When you click Export you will be prompted for a filename.
Got a question? Visit the Seequent forums or Seequent support
© 2023 Seequent, The Bentley Subsurface Company
