
Categorising Structural Data
When you wish to select structural data points and assign them to categories, you can do so in two ways:
- From the data object in the project tree/shape list. This is the method described in the rest of this topic.
- From a stereonet. See Selecting Data in the Stereonet and Using the Scene Window With the Stereonet for more information.
The rest of this topic is divided into:
- Creating a Category Selection
- The Category Selection Toolbar
- Selecting Data Points and Creating Categories
- Editing a Category Selection Column
Creating a Category Selection
To start categorising structural data points, right-click on the table in the project tree and select New Column > Category Selection.
The New Category Selection window will appear:
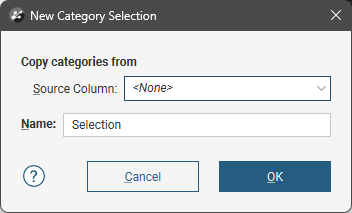
If you select an existing column as the Source Column, you can assign selected points to the existing categories or create new categories. If you select <None> for the Source Column, you will have to define each category manually.
When you click OK, the points object will be added to the scene, along with a set of tools for selecting points:
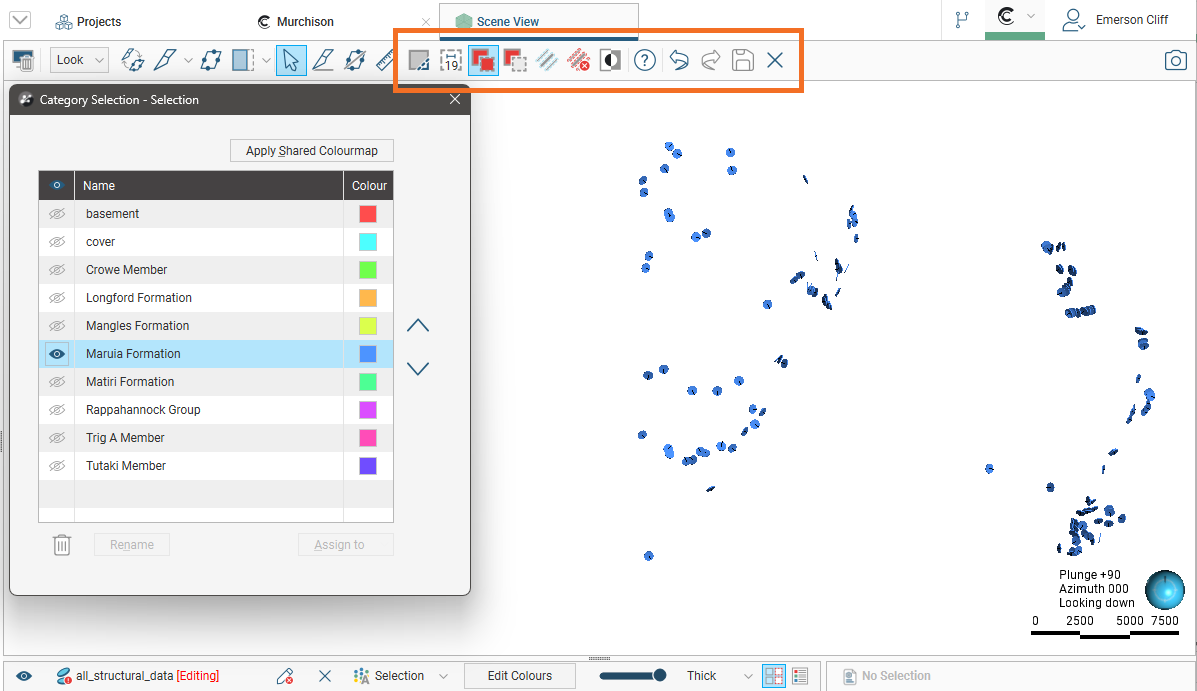
The Category Selection Toolbar
The first four tools in the category selection toolbar are the primary tools for selecting points in the scene:

The Select Points tool (![]() ) is for drawing across points in the scene. This tool adds points to or removes them from the current selection, depending on which of the Add Points(
) is for drawing across points in the scene. This tool adds points to or removes them from the current selection, depending on which of the Add Points(![]() ) or Remove Points(
) or Remove Points(![]() ) tools is also enabled:
) tools is also enabled:
- If Add Points(
 ) is enabled, drawing across points adds them to the current selection.
 - If Remove Points(
 ) is enabled, drawing across points removes them from the current selection. Drawing across unselected points will have no effect.
Selected points are highlighted in the scene.
You can change the width of the line used by the Select Points tool by clicking on the second button in the toolbar:
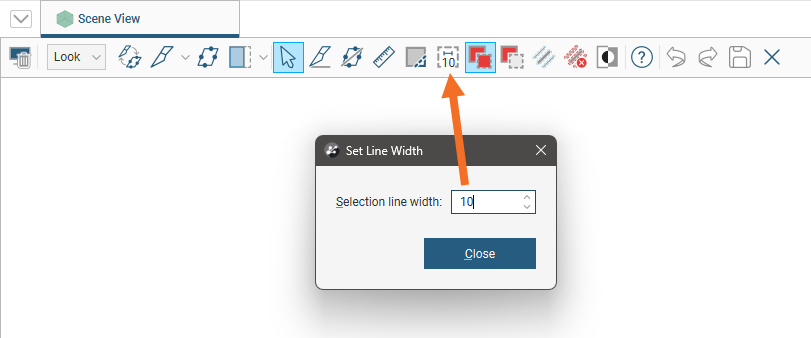
The number shown as part of the Change line width button is the currently set line width.
You can keep this window open while selecting points so you can increase the line width to choose more points or reduce the line width to select fewer points.
You can also:
- Select all visible points by clicking on the Select all button (
 ) or by pressing Ctrl+A.
 - Clear all selected points by clicking on the Clear selection button (
 ) or by pressing Ctrl+Shift+A.
 - Swap the selected points for the unselected points by clicking on the Invert selection button (
 ) or by pressing Ctrl+I.
Selecting Data Points and Creating Categories
To start selecting points, click on the Select Points button (![]() ) and click the Add Points button (
) and click the Add Points button (![]() ). In the scene, draw across each point you wish to select:
). In the scene, draw across each point you wish to select:
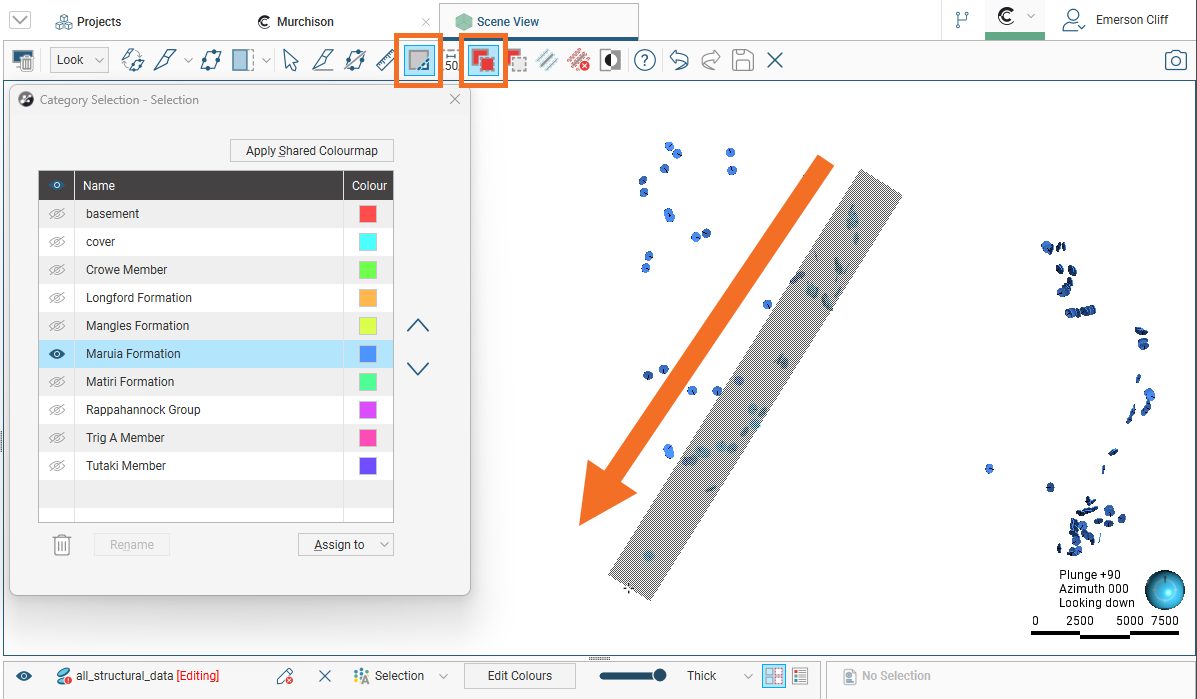
Selected points are highlighted in the scene. If you accidentally select the wrong point, either:
- Click the Remove points tool () and draw across the point once again.
- Hold the Ctrl key while drawing across the point.
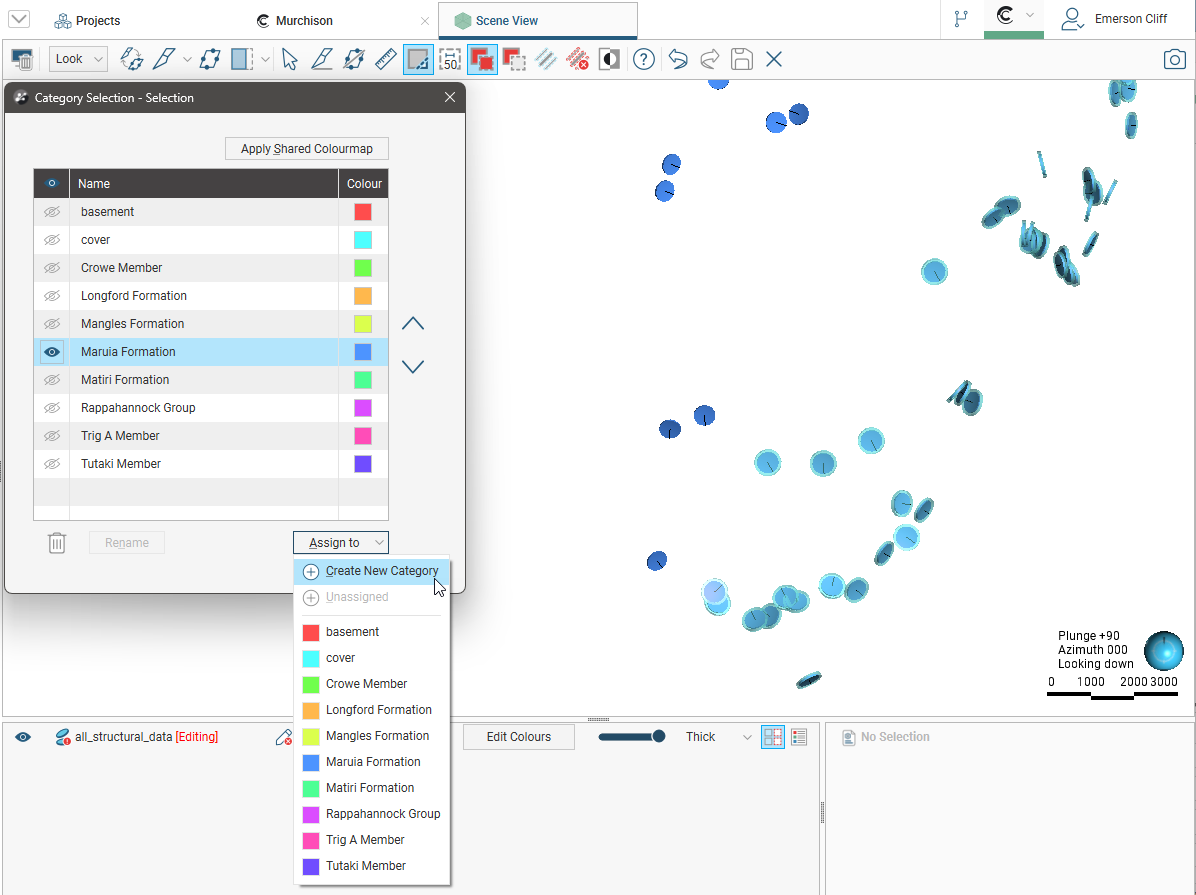
When you have selected at least one point, click on the Assign to button, then select Create New Category:
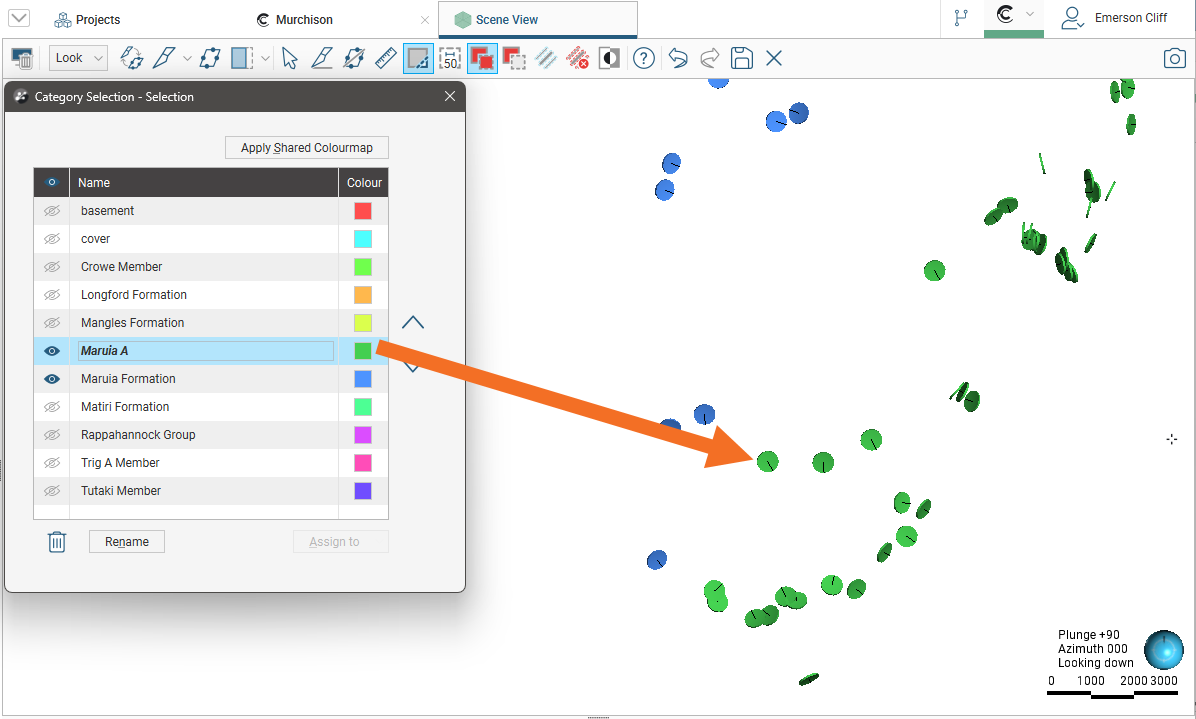
Enter a Name for the new category, then click OK.
The new category will be created and the scene updated to reflect the changes:
Once you have created a new category, you can:
- Assign more points to the category. Select points in the scene, then select the category from the Assign to list.
- Rename the category. Click on the category in the list, then click the Rename button.
- Delete the category. Click on the category in the list, then click the delete button (
 ). When you delete a category from the list, all points that have been assigned to that category will revert to having no category assigned to them.
When you are finished, click the Save button (![]() ).
).
The new category column will appear in the project tree as an additional category column in the structural data table. Select the new column from the shape list to display it.
When you have finished selecting points and adding them to categories, close the Category Selection window to close the editor.
Editing a Category Selection Column
If you wish to make further changes to a category selection column:
- Double-click on the column in the project tree.
- If the column is displayed in the scene, click on the Edit button (
 ) in the shape list.
 - If the column is displayed in a stereonet, click on the Edit button () in the stereonet’s data tables list.