Formatting Text Displayed in the 3D Scene
Some elements in the scene can have text labels that can be customised, such as collar labels, drillhole interval labels, and block models on 2D slices and cross-section layouts.
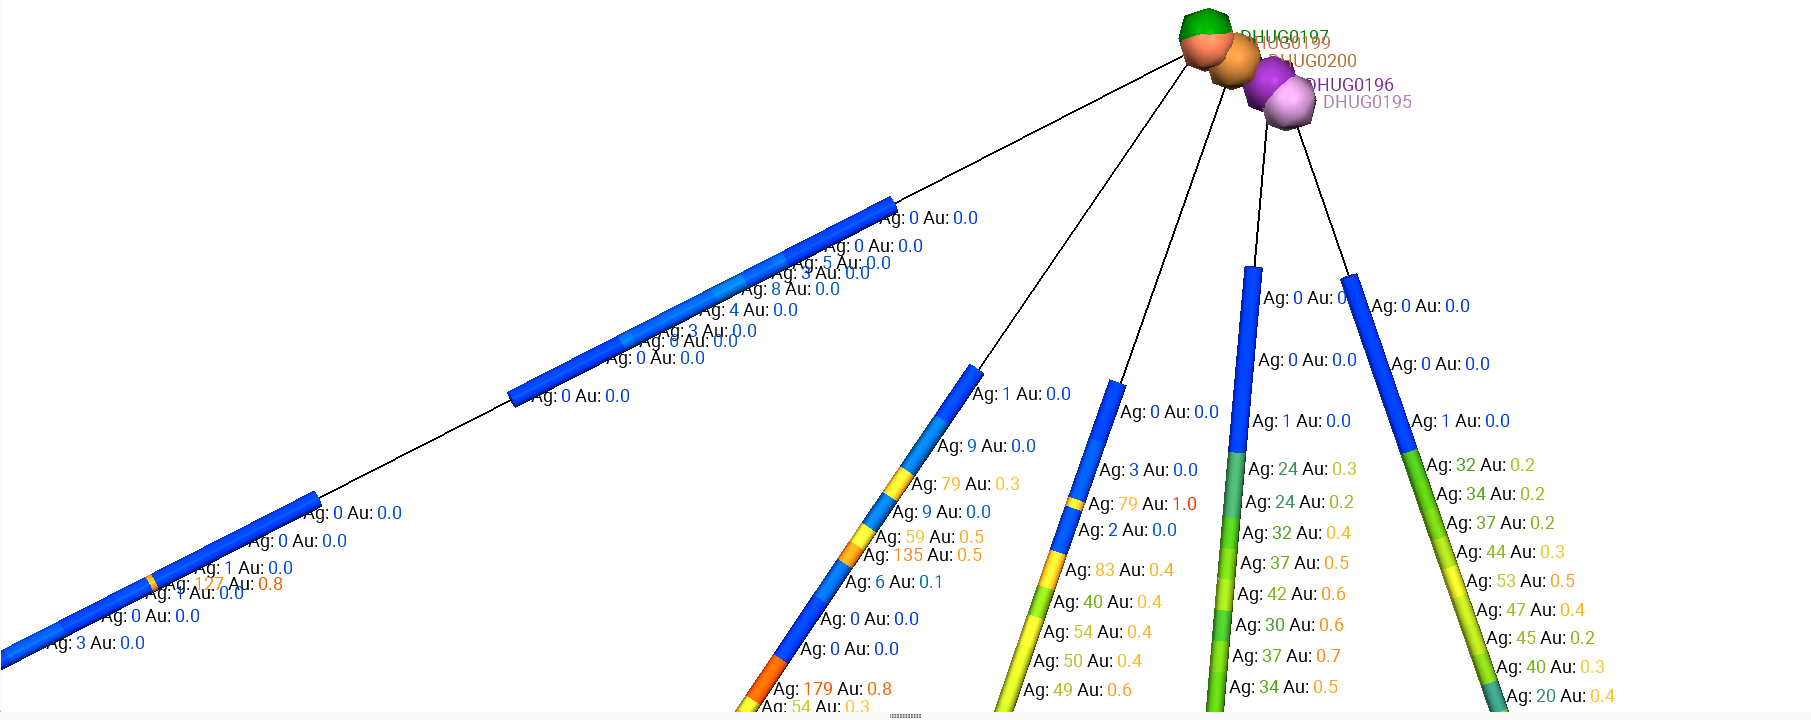
For example, here collars and drillholes are displayed in the scene with customised text labels on the collars and intervals:
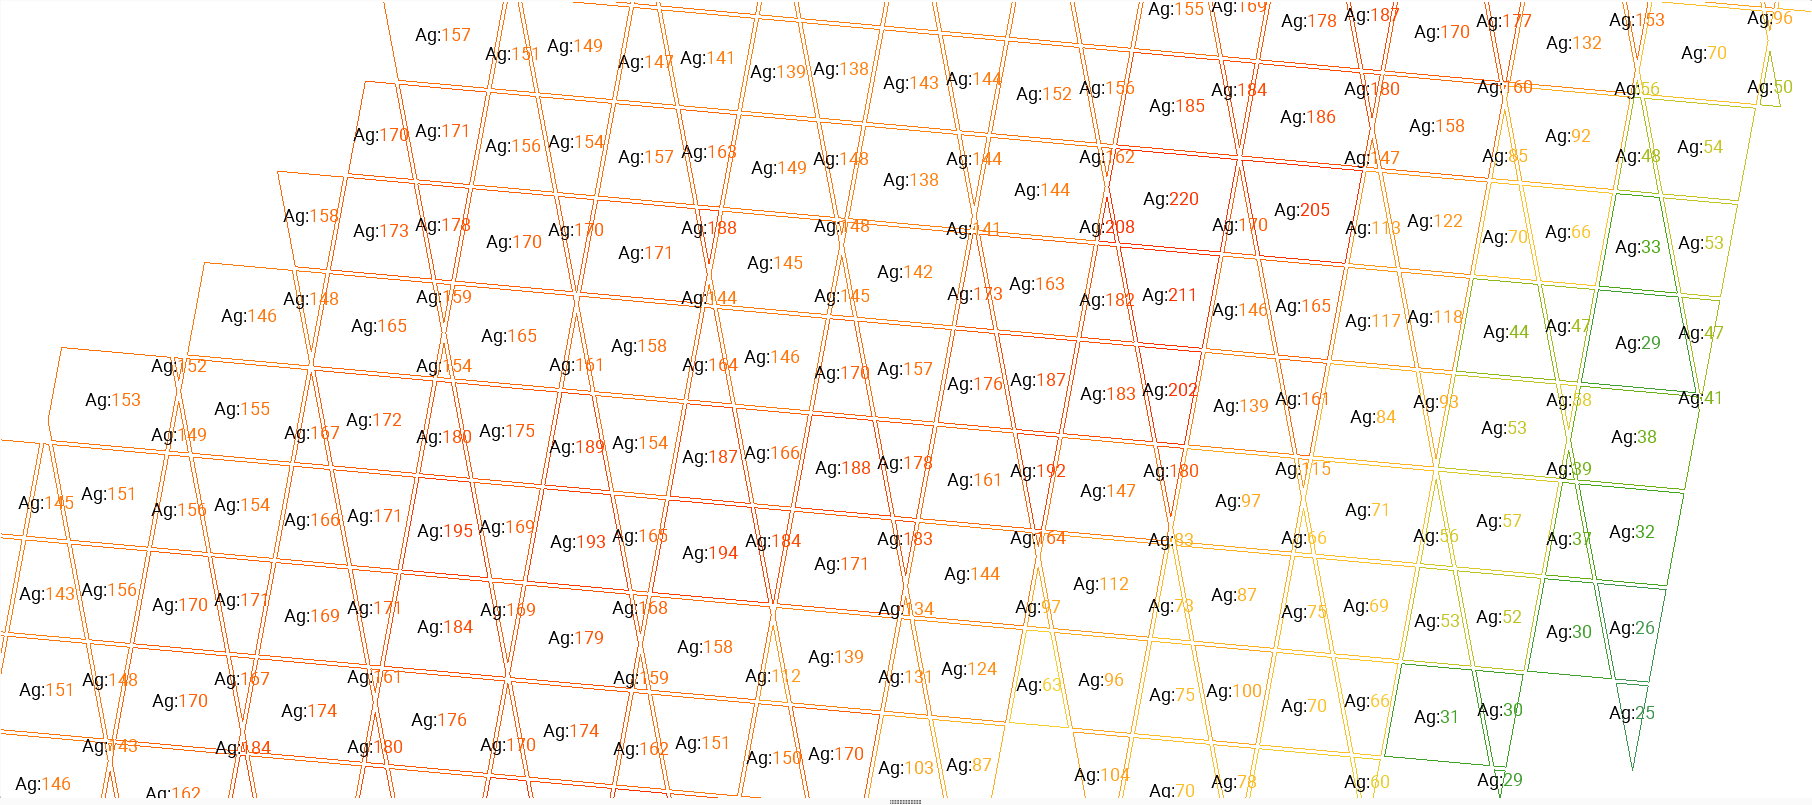
In this example, a sliced block model is displayed with text labels on the 2D slice:
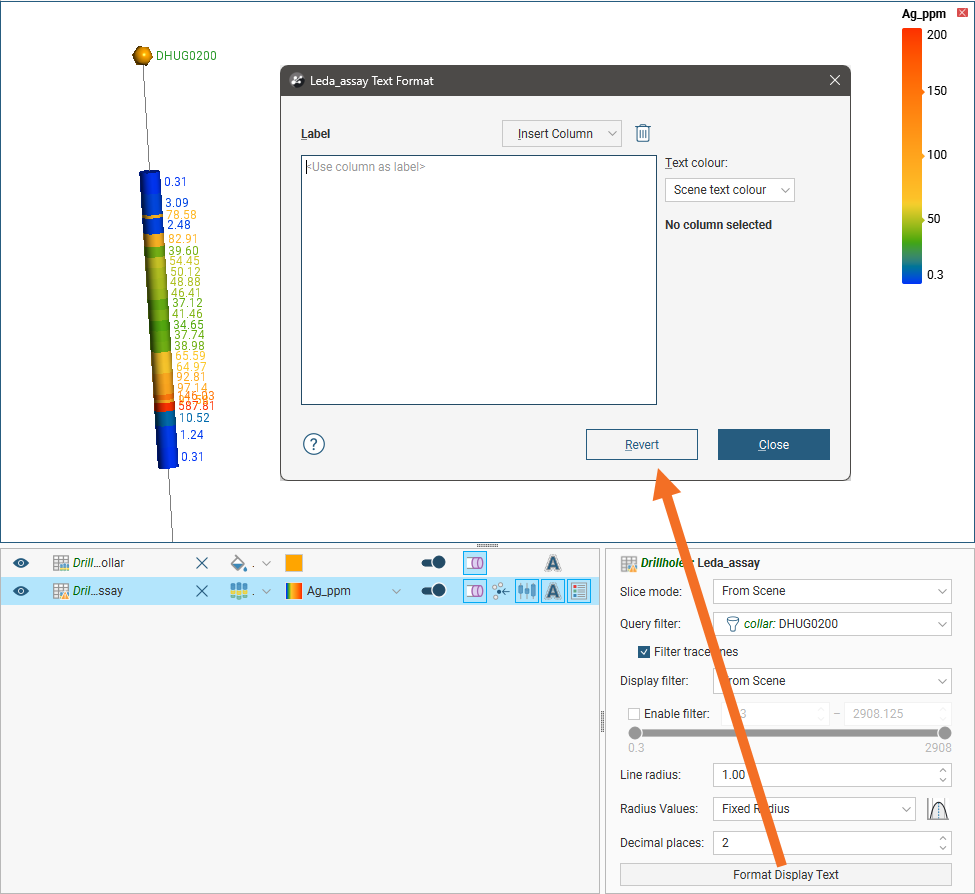
To display text alongside data objects in the scene (A), you need to enable the Show text button (![]() ) in the shape list (B). When no text formatting has been defined, this displays an item’s value using the colouring selected in the scene list (C):
) in the shape list (B). When no text formatting has been defined, this displays an item’s value using the colouring selected in the scene list (C):

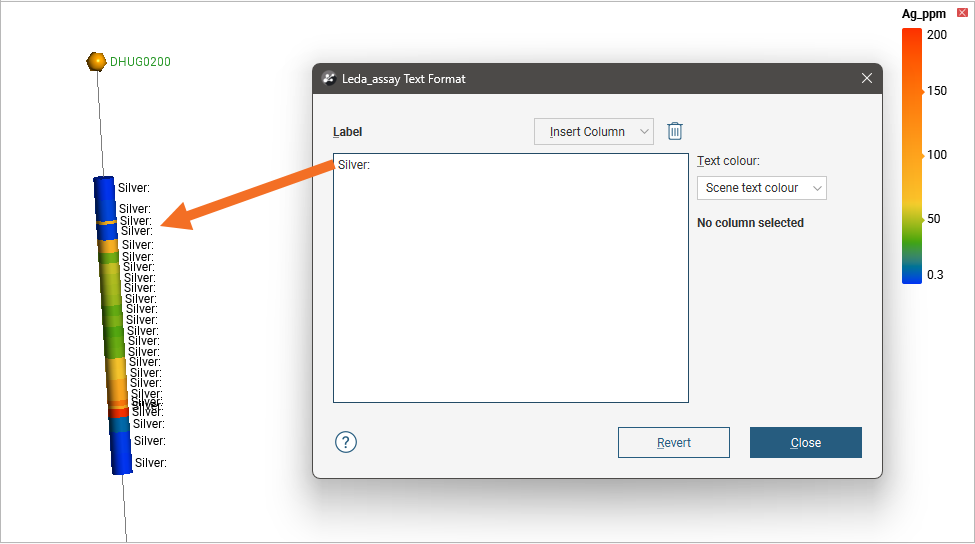
To change the appearance of these labels, click on the object in the shape list, then on the Format Display Text button in the properties panel:
Non-variable text can be entered directly into the Label editor. The colour of this non-variable text can be changed by selecting from the Text colour options. The Flat colour option shows a colour chip that can be clicked to select from the colour picker.
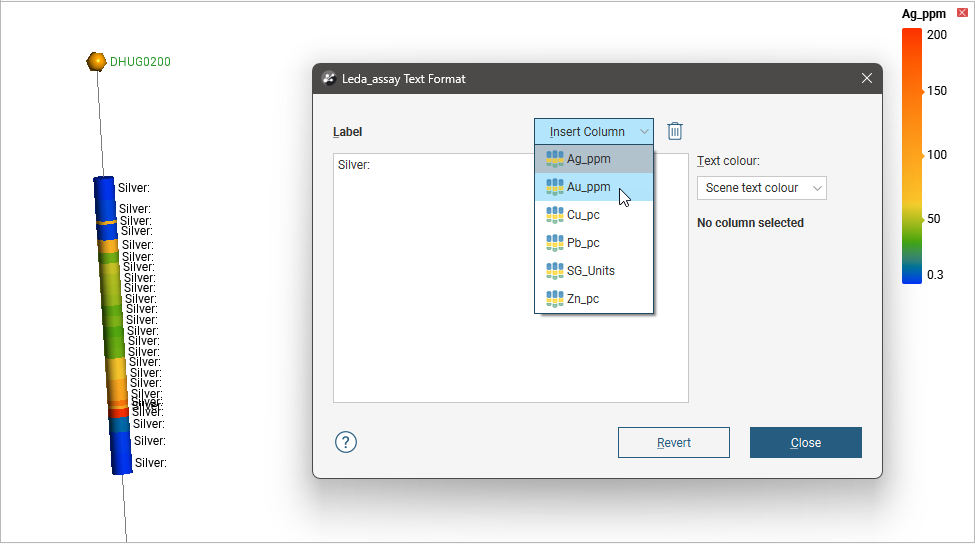
Click the Insert Column button to select from available data columns:
This variable value will be inserted at the current text insertion point:
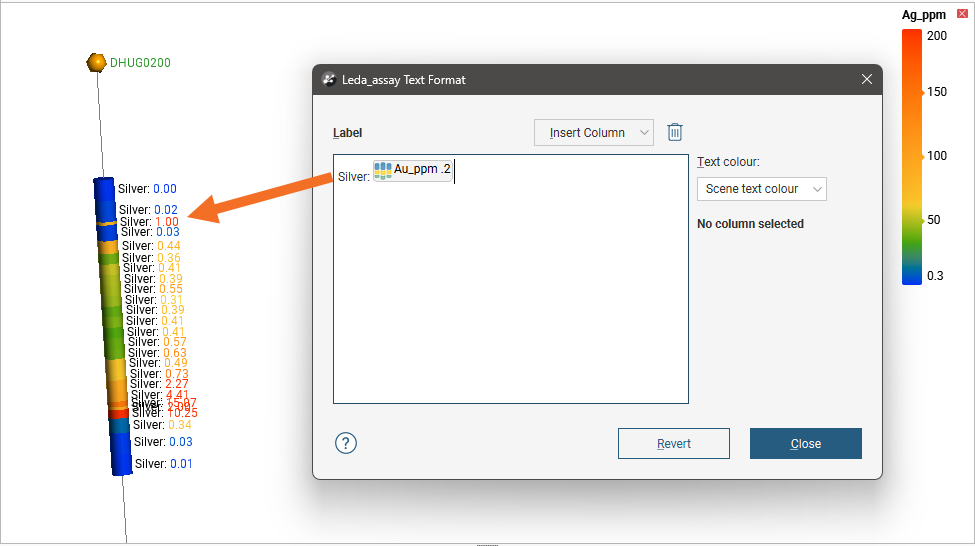
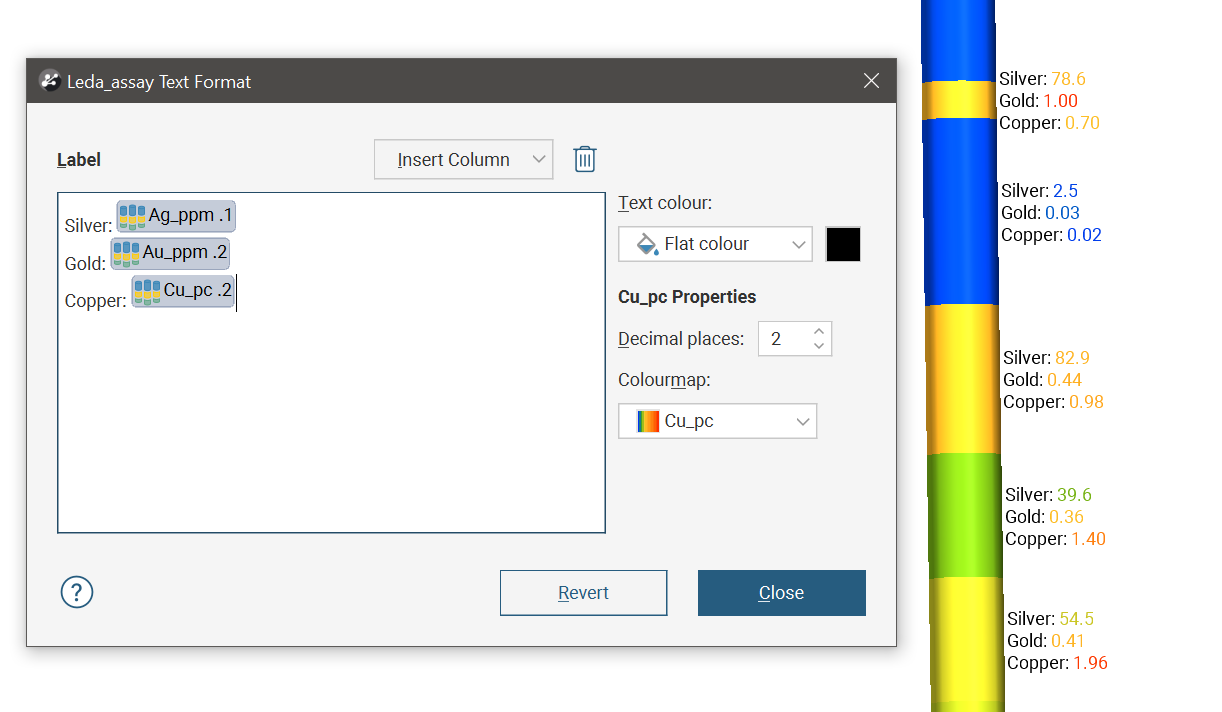
Clicking on a variable’s placeholder box will reveal additional text formatting properties for the selected variable, such as number of decimal places and colouring specific to the variable.
It is possible to add carriage returns and make a multi-line label, but this will only suit sparse scenes where the labels will have enough room to be distinct and legible: