
Combined Estimators
The features described in this topic are only available if you have the Leapfrog Edge extension.
Combined estimators evaluates more than one estimation at a time on a block model. You can get a block model displaying a combined estimator showing more than one domained estimation result column or attribute.
Practical uses for this:
- To allow multiple estimation passes over the same domain, with more relaxed search criteria for subsequent passes.
- To estimate for different domains, either separate or overlapping, and evaluate them on the same block model.
By placing the estimations in a hierarchy, a preference can be indicated where different estimates are produced for the same block. Estimations lower in the hierarchy will be used when the higher-priority estimate results in a Without-value or Outside result.
Combined estimator work with Kriging, Nearest Neighbour, and Inverse Distance estimators. It does not work with RBF estimators. Generation of extended Kriging attributes is possible, but only when all the estimators in a combined estimator are Kriging estimators.
The rest of this topic describes creating and working with combined estimators. It is divided into:
- Creating a Combined Estimator
- Adding Estimators to a Combined Estimator
- Evaluating a Combined Estimator
- Viewing Statistics
- Copying a Combined Estimator
Creating a Combined Estimator
To create a combined estimator, right-click on the Estimation folder and select New Combined Estimator. The New Combined Estimator window will be displayed:
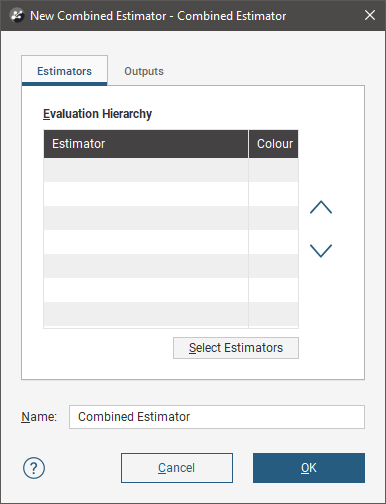
This window is divided into two tabs, Estimators and Outputs.
Adding Estimators to a Combined Estimator
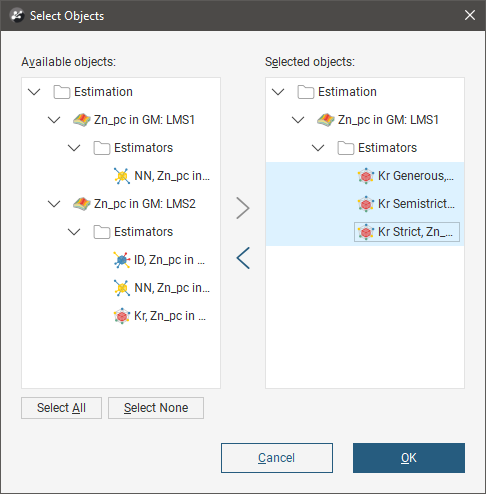
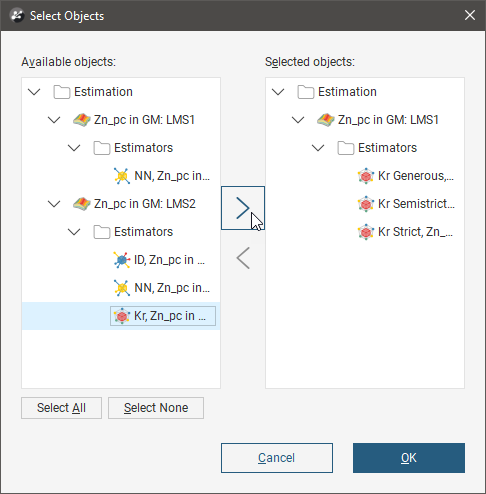
Click the Select Estimators button below the Evaluation Hierarchy. In the Select Objects window, choose from the Available objects the estimators you want to be in the combined estimator and click the right-arrow button to move them into the Selected objects list. Click OK to return to the New Combined Estimator window.
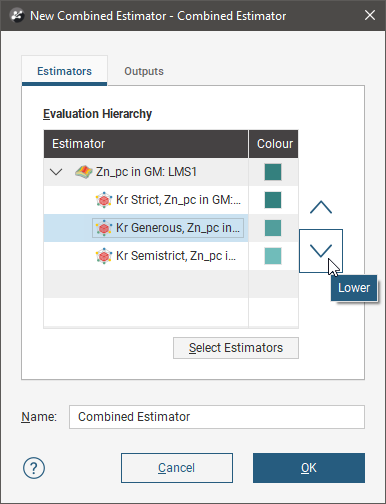
Reorder the estimators in the hierarchy by selected an estimator and clicking the Up ( )or Down (
 ) buttons to move it up or down the list.
Give the combined estimator a recognisable identifying label by changing the Name.
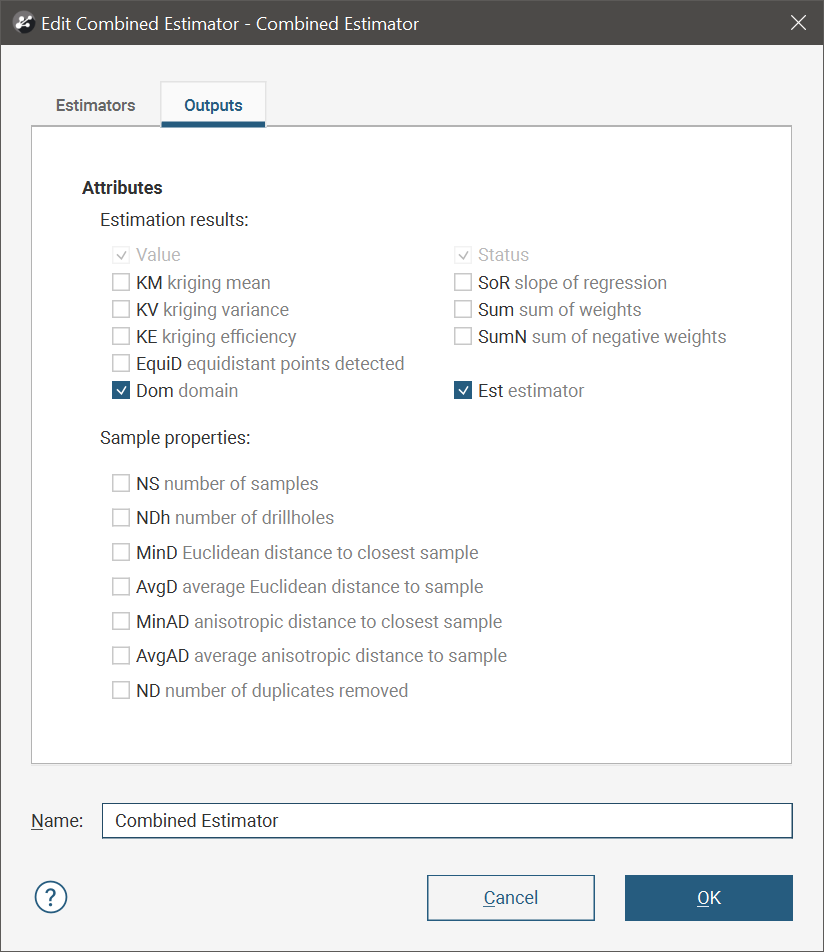
In the Outputs tab, select attributes you wish to be generated along with the estimate.
Value and Status will always be generated. Other attributes may be selected if all the estimators are Kriging estimators. If one or more estimators is a nearest neighbour or inverse distance estimator, many of the attributes will not be available.
Most of the attributes are identical to those described for the Kriging estimator. See Kriging Attributes for more information.
Two attributes specific to combined estimators are new category/lithology columns:
- Dom (domain), which domain from the domained estimations the evaluation came from.
- Est (estimator), which estimator was used to estimate the block.
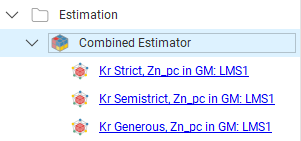
When you click OK a new combined estimator will appear in the Estimation folder. Below it will be links to the estimators that are being combined.
Evaluating a Combined Estimator
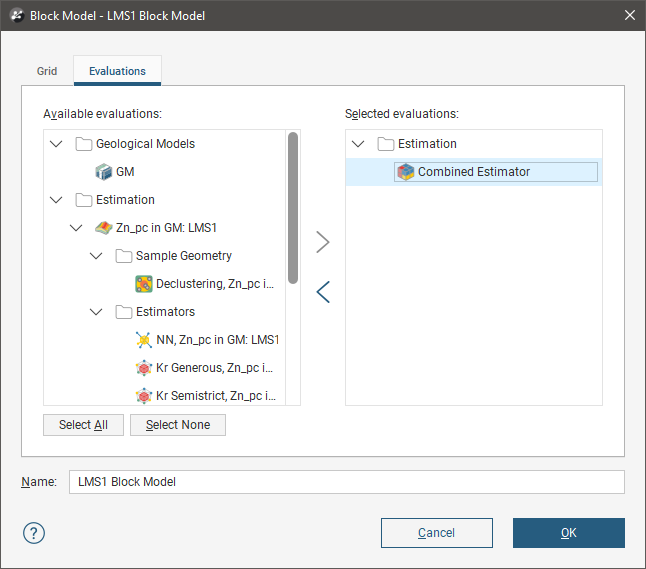
Combined estimators can only be evaluated on a block model. Right click a block model and select Evaluations, then select a combined estimator from the Available evaluations and add it to the Selected evaluations list. Click OK.
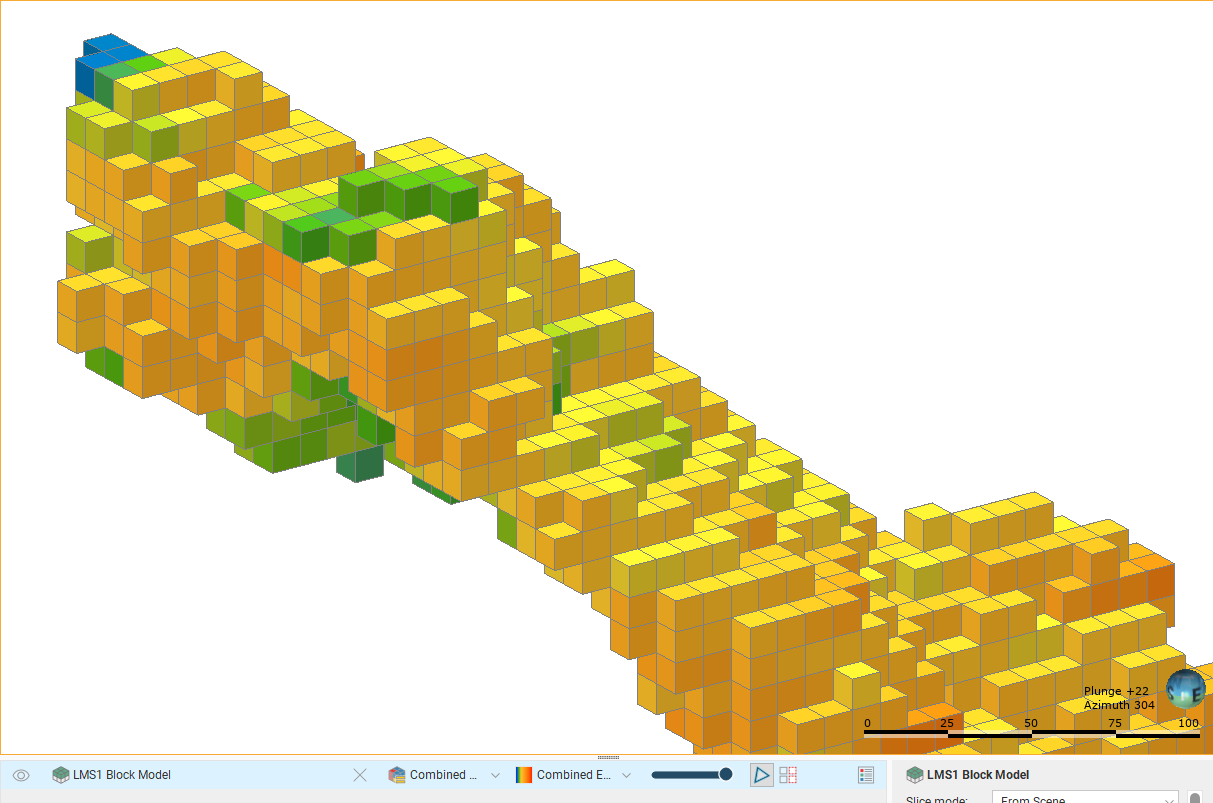
The block model with the evaluated combined estimator can be added to the scene.
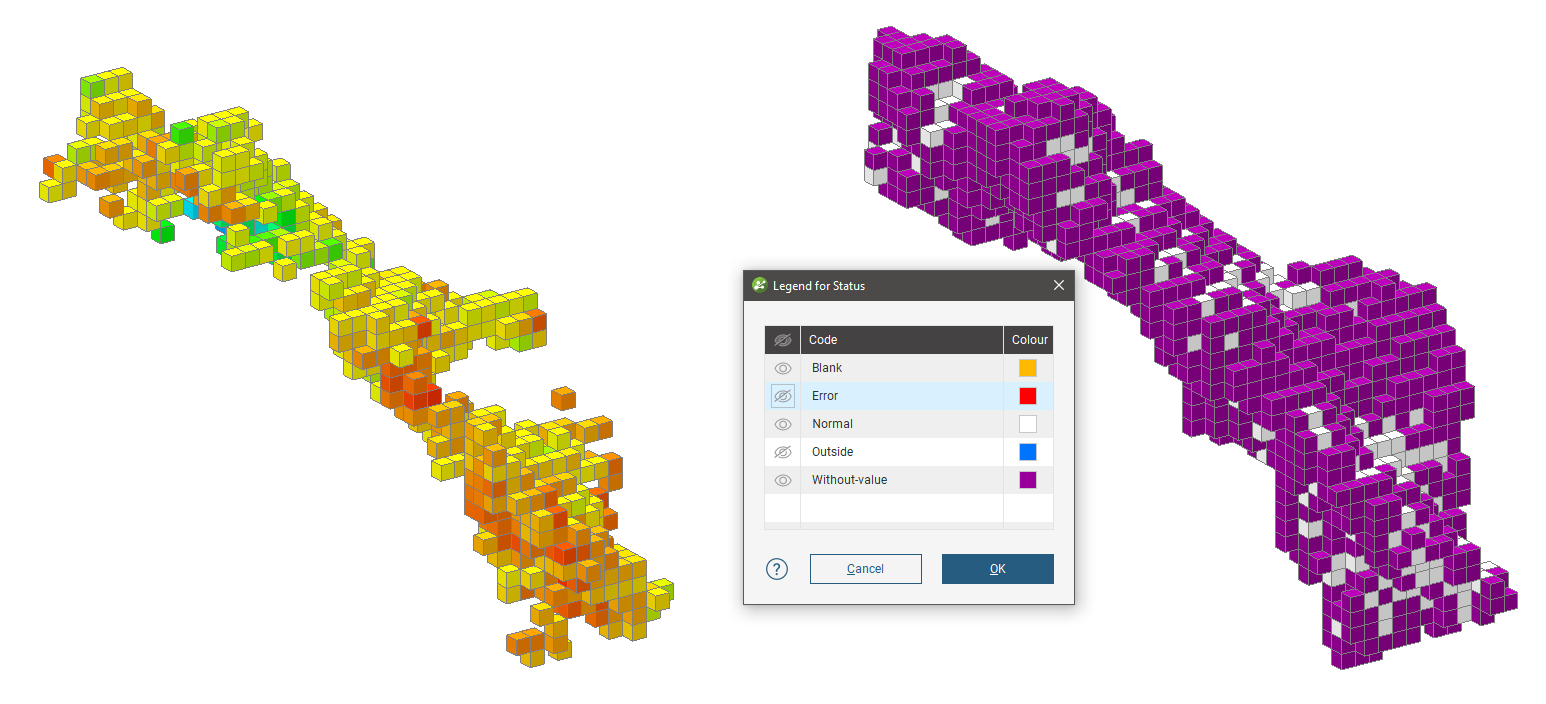
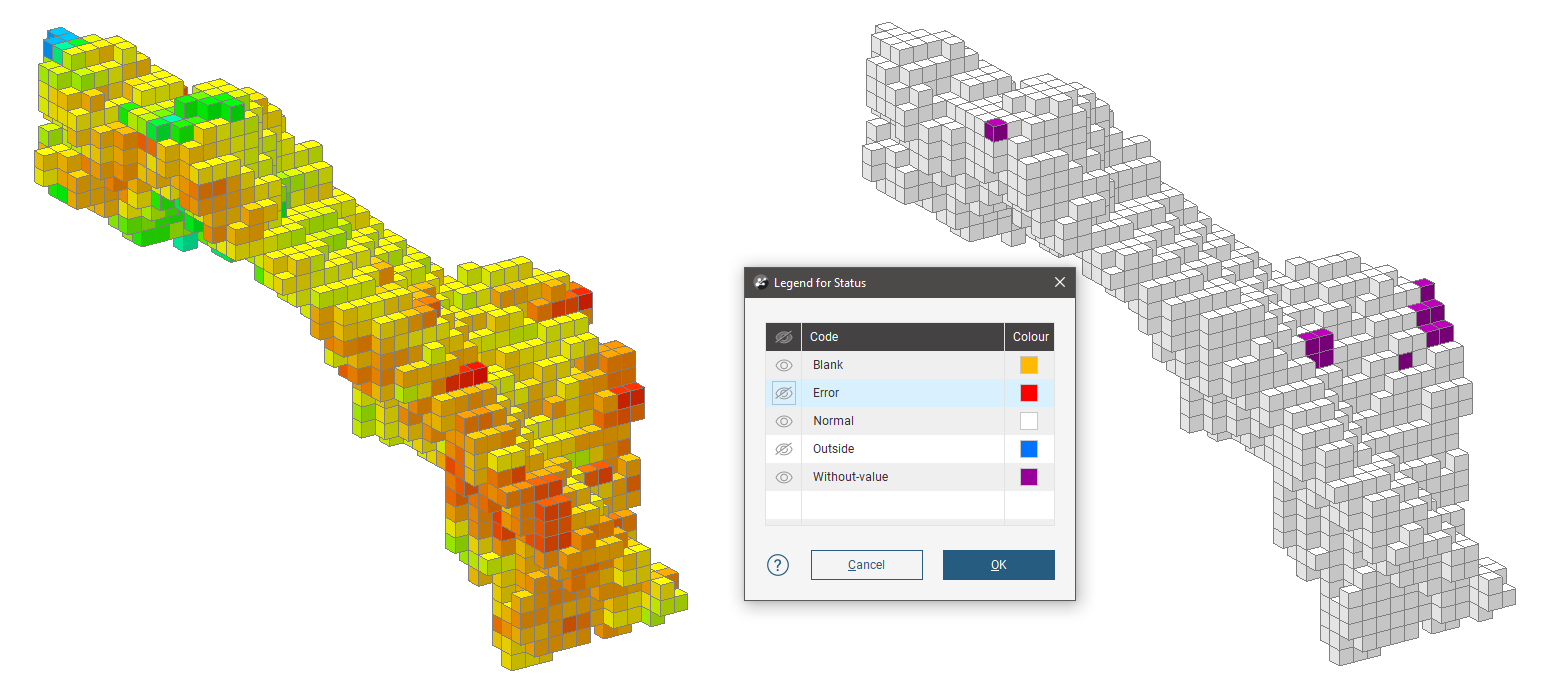
In this example, three estimators use progressively more generous search space and limits. The most strict estimator produces high confidence estimates, but over a small subset of the blocks in the block model. The block model is shown with two views; one displaying the estimate values, the other showing status, and specifically the Normal and Without-value blocks.
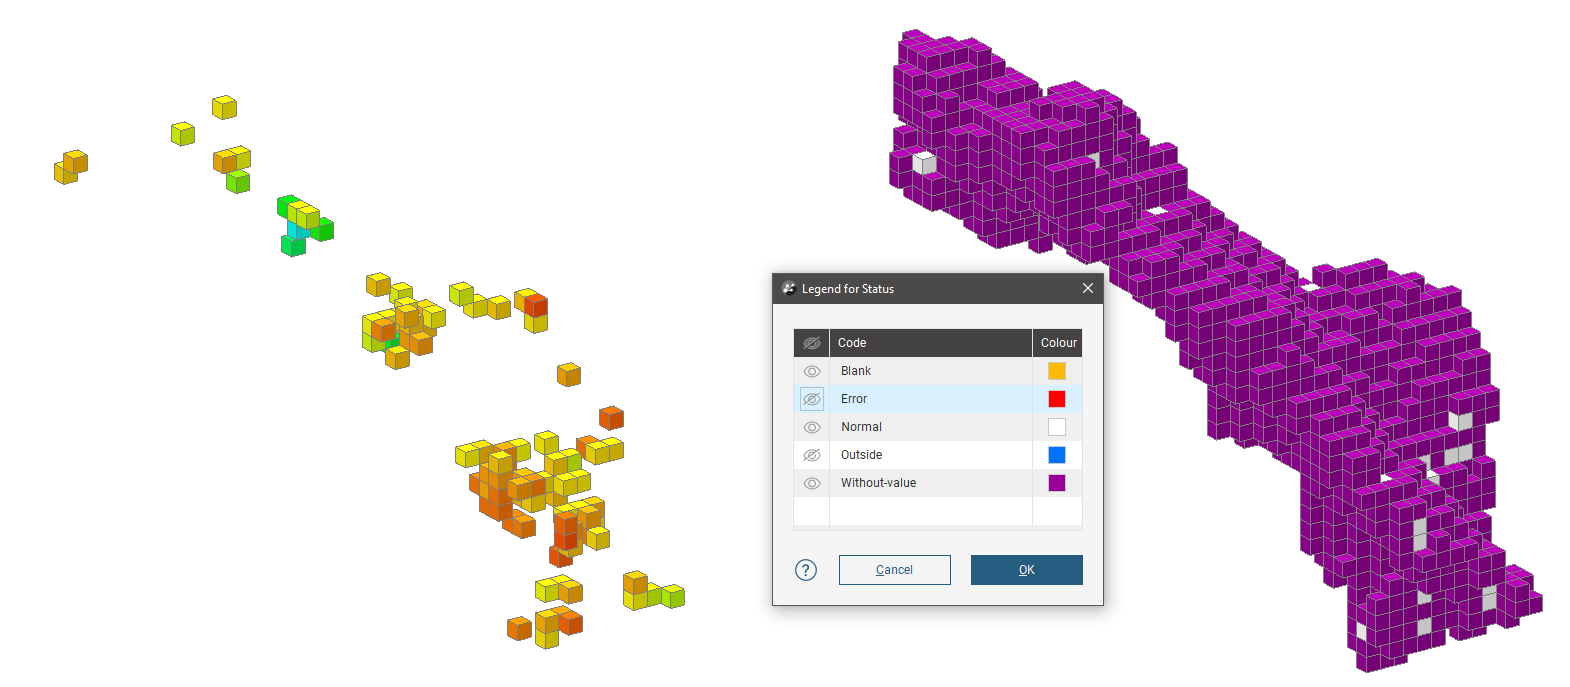
A larger search space produces estimates for more blocks, but many are still Without-value.
A much larger search space and reduced limits produces results for almost all the blocks in the domain.
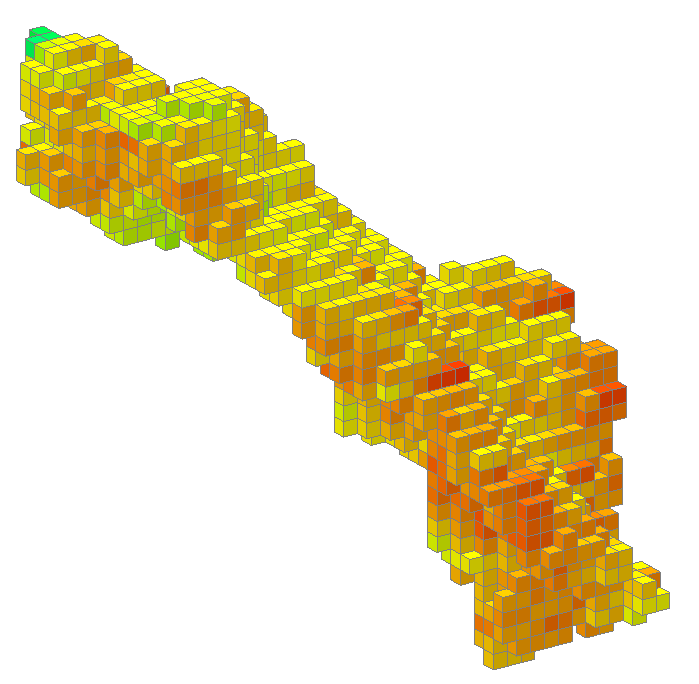
When these estimates are combined in that order, the blocks are only represented by an estimate if it has not already been given an estimate by a higher priority estimate in the hierarchy. The resulting block model evaluation may look a lot like the estimate with the most blocks, but an inspection of the evaluations of each of the blocks would reveal the subtle differences where blocks have been estimated with higher priority estimators.
Alternatively, you may have two different, possibly overlapping domain meshes. You can evaluate each domained estimation on a block model one at a time, but not in the same scene.
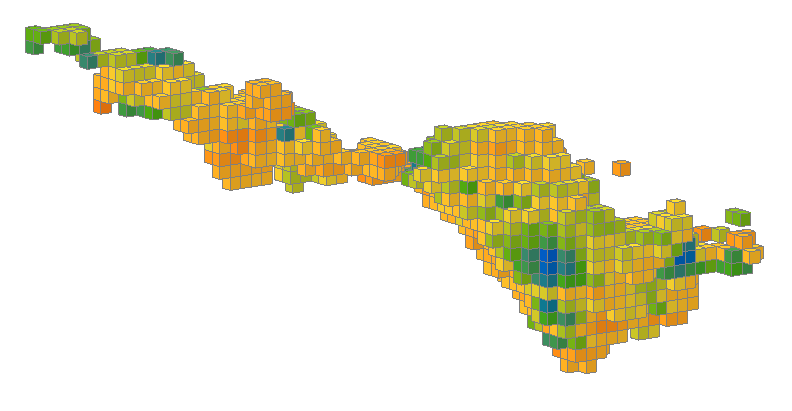
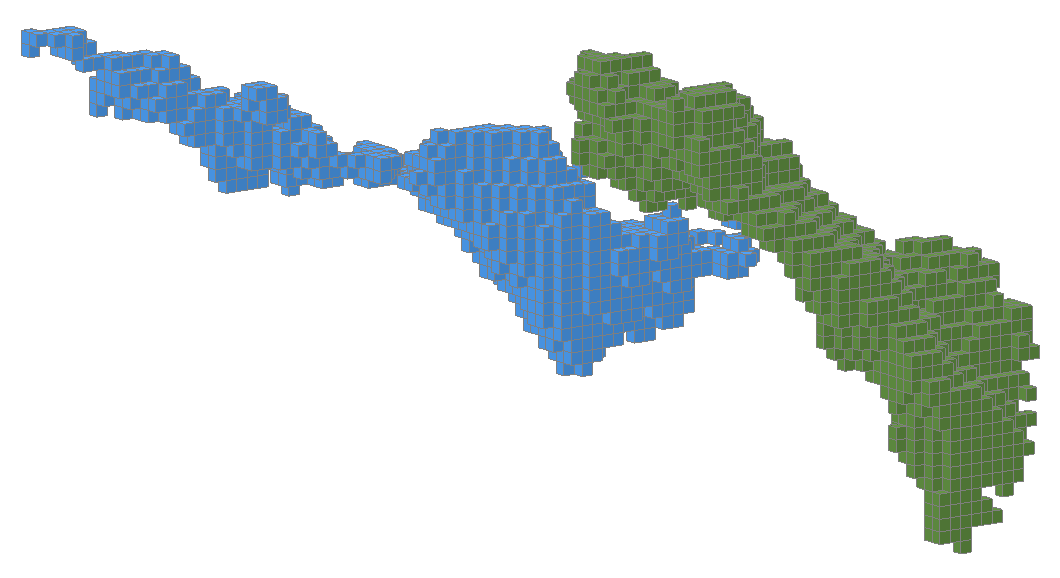
Using combined estimators we can combine the estimator used for this block model:
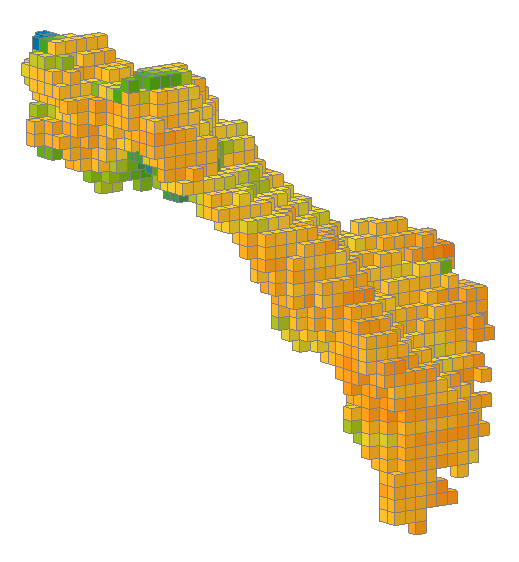
...with the estimator used for this block model.
Right click the Estimations folder and select New Combined Estimator. Click the Select Estimators button. Add an estimator from the domained estimations for each of these separate (and possibly overlapping) domains to the Selected objects.
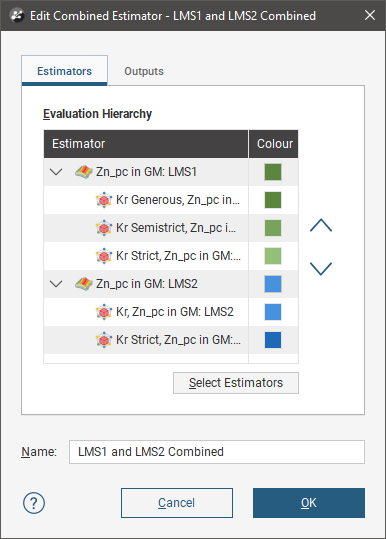
When you click OK, the New Combined Estimator window shows the selected estimators within their domained estimations.
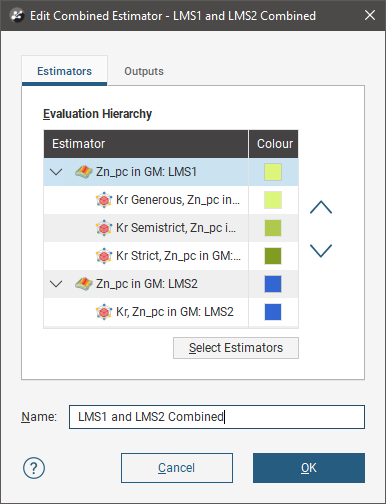
You can click the colour chip next to the domained estimation to choose an alternate base colour for the domained estimation. The colours for each of the estimators within a domained estimation are selected automatically as variations on the base colour, and cannot be customised.
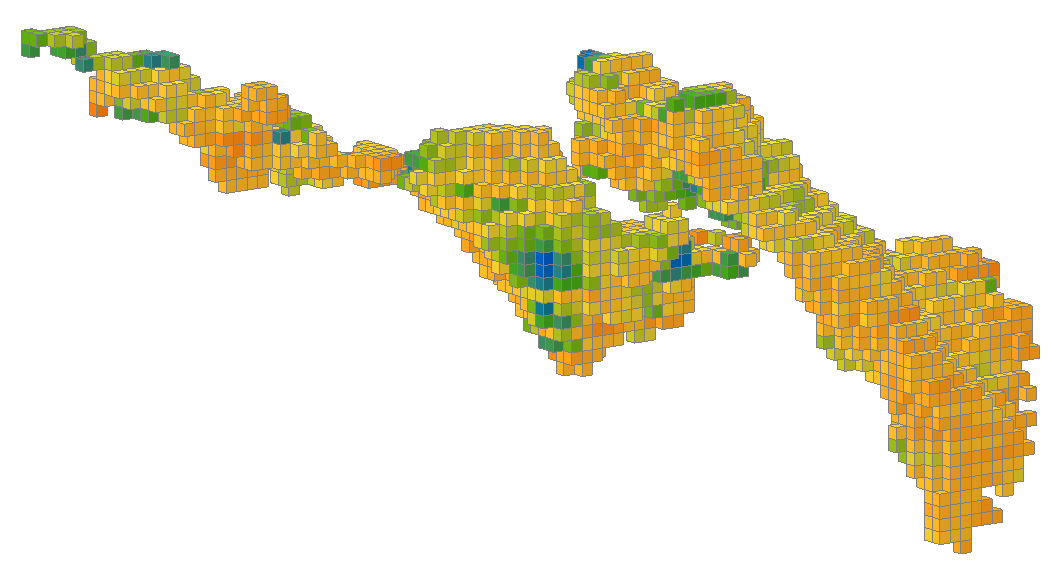
When the combined estimator is evaluated onto a block model, all the estimated blocks can be displayed in the scene, combining the domains.
Instead of displaying the estimated values, the Dom (domain) attribute may be shown instead, clearly indicating which blocks in the scene are in which domain.
Here more estimators have been added to the combined estimator.
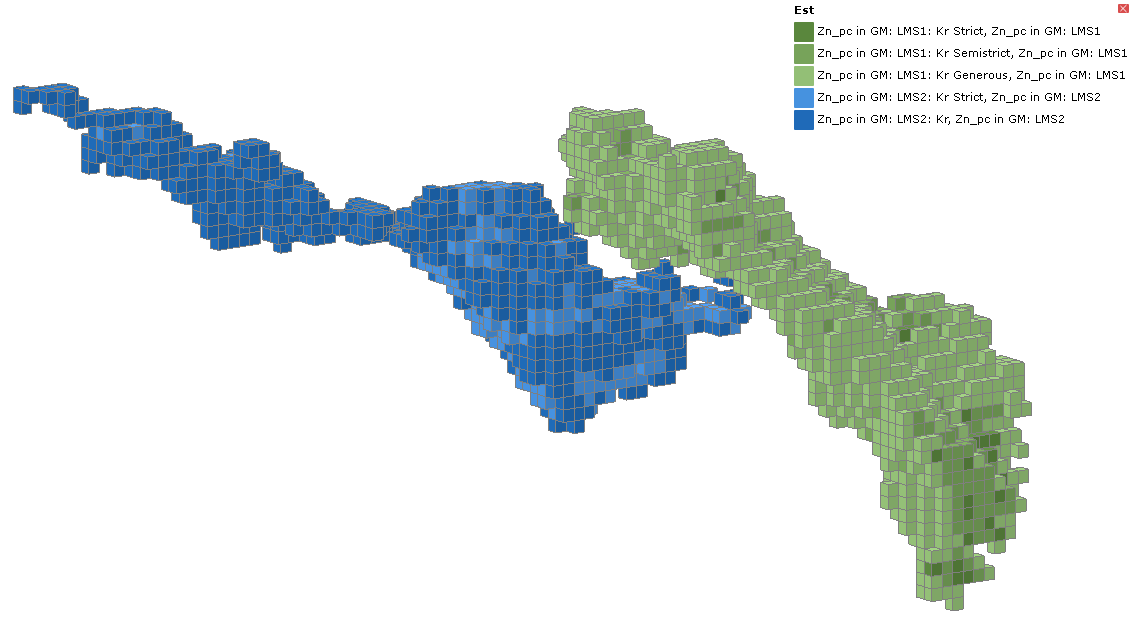
When displaying the Est (estimator) attributes, the colour variation from the base domain colour shows the different estimators used to evaluate the blocks.
Viewing Statistics
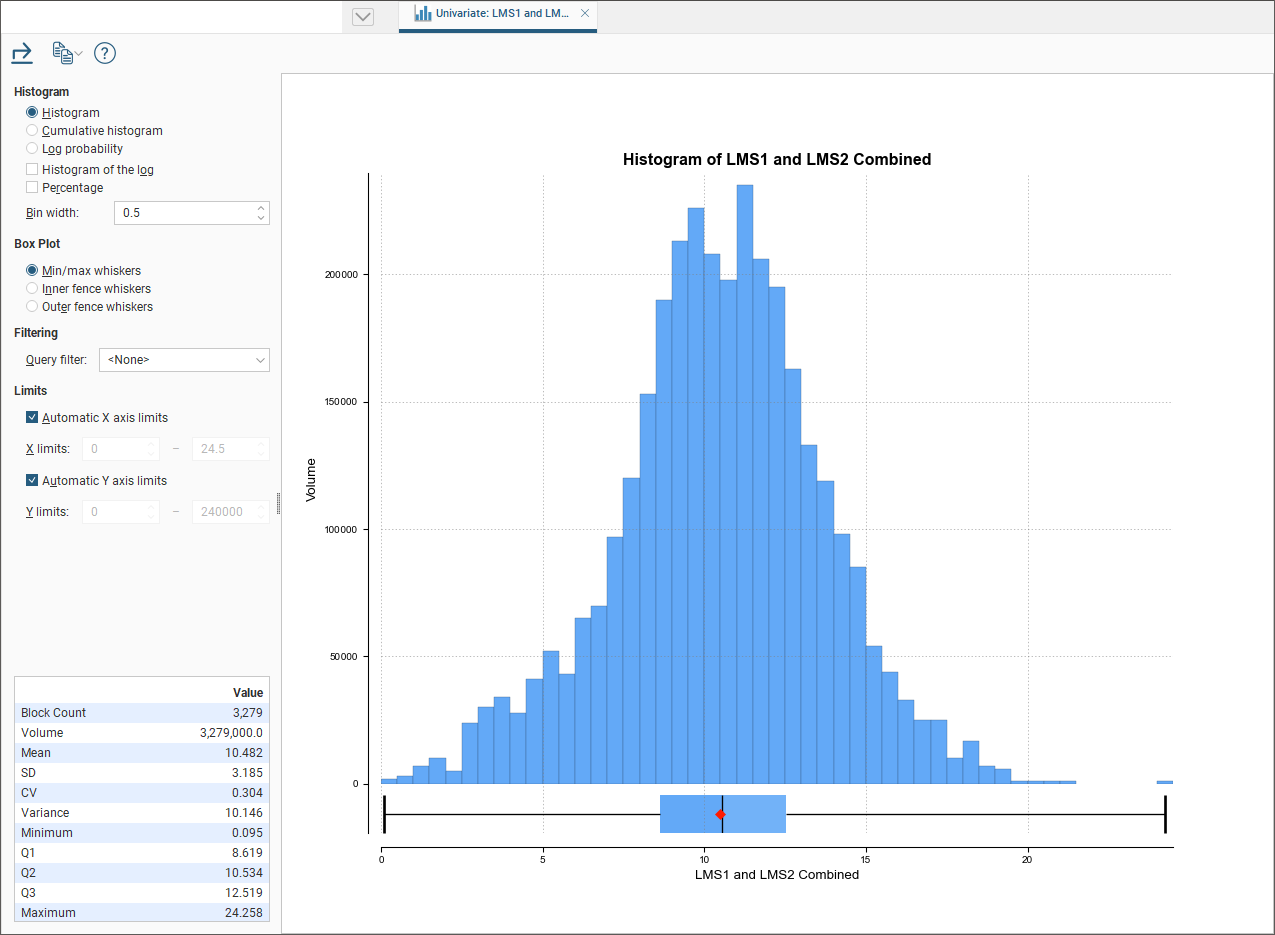
Right click a combined estimator evaluation on a block model, and select Statistics. For more information on the univariate statistics displayed, see the Univariate Graphs topic.
Copying a Combined Estimator
Right click a combined estimator in the Estimation folder and select Copy. You will be given an opportunity too choose a new name for the copy, and then it will appear in the project tree in the Estimation folder.