Rendered Images
Leapfrog Geo can render high-quality images that you can save on your computer in a format that can be used in presentations and documents.
To save a rendered image, click on the Leapfrog Geo menu and select Render Image. Leapfrog Geo renders an image from the current scene window, then displays it in the Render Image window:
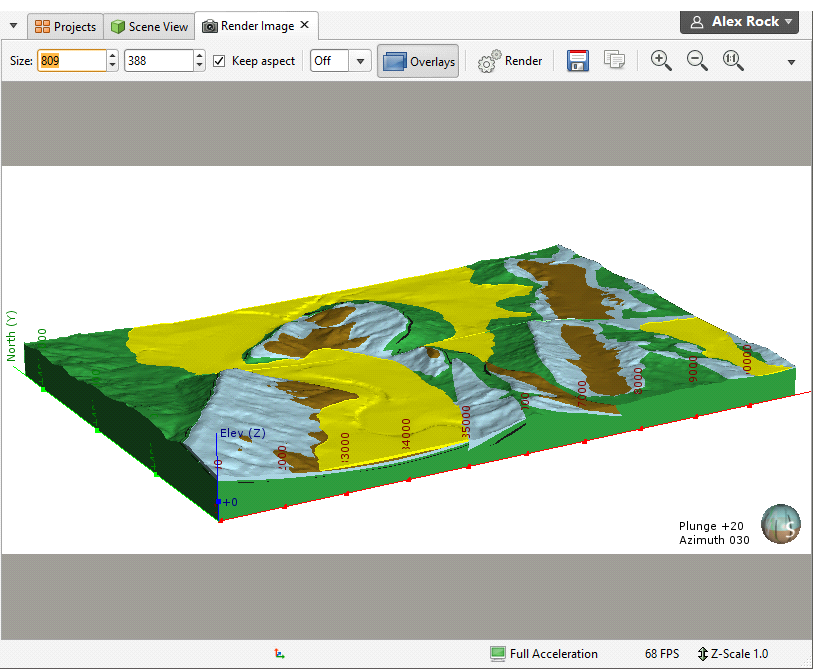
Use the zoom tools to view the rendered image. You can change the image settings by:
- Selecting a new image size. To constrain the image’s proportions when changing size, tick the Keep aspect box.
- Changing supersampling options to smooth jagged edges. Select the required option from the list. The highest sampling option (4x4) will take longer to process than the lowest sampling option or turning supersampling off.
- Viewing the image with or without overlays. See Overlay Settings for more information about further customising the overlays displayed in the scene.
Click Render to render a new image with the updated settings. Once you are satisfied with the rendered image, click Save. You will be prompted to enter a filename and location.
Background Rendering
You can keep the Render Image tab open while continuing to work in your project, which is useful for rendering a series of images. To work in this way, dock the Render Image tab adjacent to the scene window. When you have set up your scene, right-click on the Render Image tab and choose one of the options:
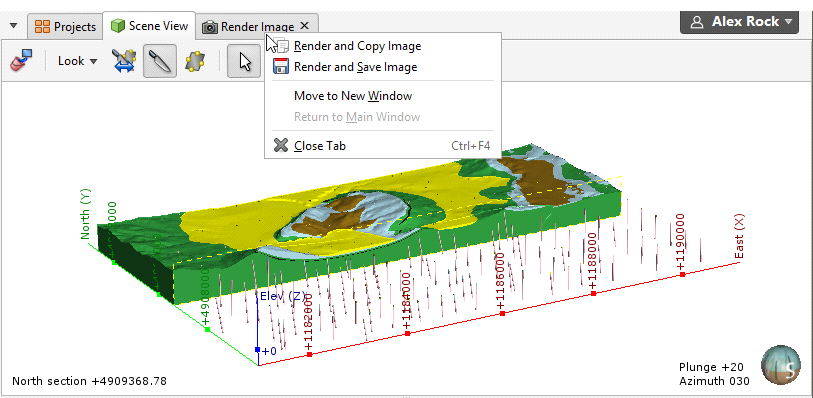
The Render and Copy Image option will render a new image from the scene and copy it to the clipboard.
The Render and Save Image option will render a new image and prompt you for a filename and location.
Got a question? Visit the My Leapfrog forums at https://forum.leapfrog3d.com/c/open-forum or technical support at http://www.leapfrog3d.com/contact/support