Grouping Lithologies
The group lithologies tool lets you define a new unit to which existing units are added. For example, a sandstone deposit might appear in an interval table as poorly-sorted and well-sorted units. With the group lithologies tool, you can group both units into a single sandstone unit.
When you group lithologies, the original lithology column is preserved and a new lithology column is added to the interval table. You can then select the original lithology column or the new one when displaying data and creating models.
To start grouping two or more lithologies, right-click on the interval table in the project tree and select New Column > Group Lithologies. The New Lithology Column window will appear:
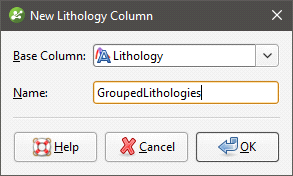
Select the lithology column you wish to use from the Base Column list, then enter a Name for the new lithology column. Click OK.
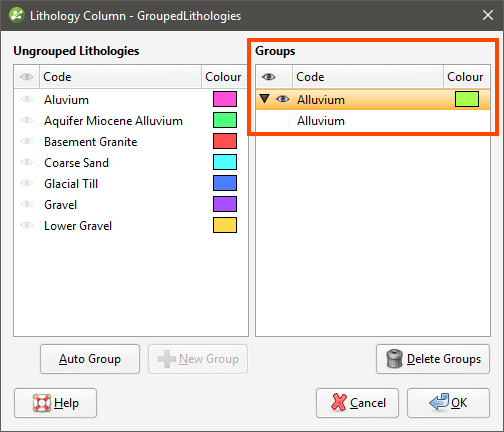
A window will appear displaying all lithologies in the base lithology column:

In this example, two spellings of Alluvium have been used and these lithologies should be combined into a single lithology.
The most straightforward way to group lithologies is to select the first of the lithologies, then click New Group. A group will be created for the selected lithology with only that lithology as a member:
Next, click on a lithology in the Ungrouped Lithologies pane and drag it onto the group:
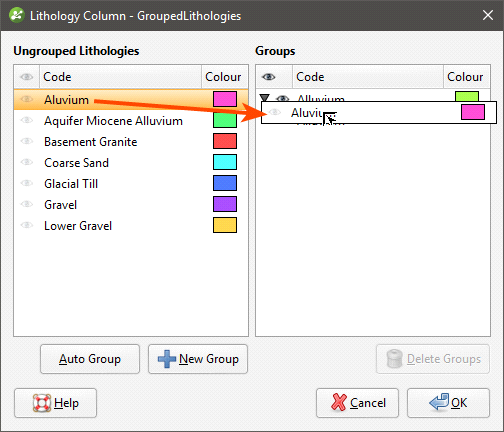
Grouping lithologies creates a new lithology column and any lithologies left in the Ungrouped Lithologies pane will be excluded from the new column. For this reason, once you have grouped the required lithologies, move all remaining lithologies to the Groups pane by clicking on each lithology, then on the New Group button. This will make each remaining lithology a new group with a single member:

When you are finished, click OK to create the new lithology column. It will appear in the project tree as an additional lithology column in the interval table.
Select the new column from the shape list to display it:
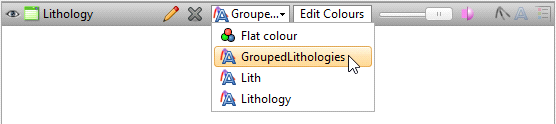
Click on the Edit button (![]() ) to start editing the selected column.
) to start editing the selected column.
The other way to group lithologies is to let Leapfrog Geo create the lithology groups.
Automatic Lithology Groups
Leapfrog Geo can automatically create lithology groups. To do this, create a new lithology column, as described above. Click the Auto Group button to reveal more options:
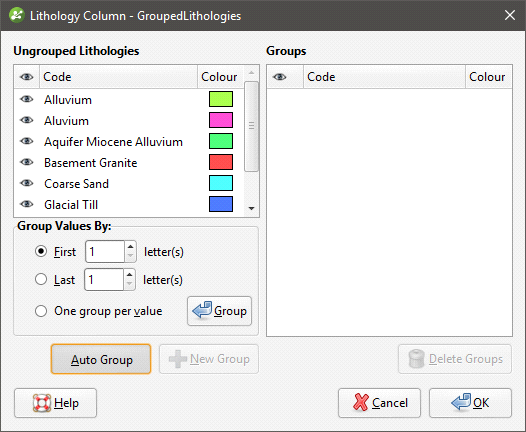
The First letter(s) and Last letter(s) options let you create groups according the names of the existing lithologies. Click Group to create the new groups.
Here, the first two letters have been used to created a new set of lithologies:
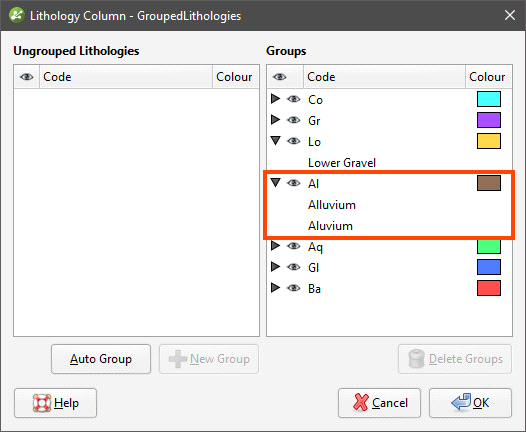
The two alluvium lithologies have been added to a single group.
The One group per value option creates a group for each original lithology. You can then drag and drop lithologies into different groups, move lithologies you do not wish to group back into the Ungrouped Lithologies pane and use the Delete Groups options to remove any empty groups.
Got a question? Visit the Seequent forums or Seequent support