Model Lithologies
To view the lithologies used for a geological model, you can:
- Double-click on the geological model in the project tree and then click on the Lithologies tab.
- Double-click on the Lithologies object for the geological model in the project tree.
All the lithologies defined for the geological model are displayed, together with the colours used to display them:
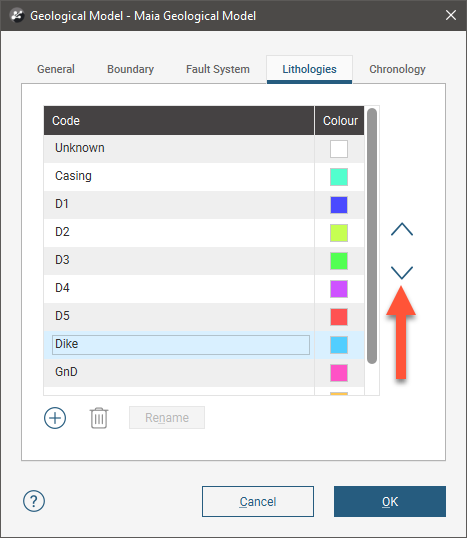
Click a colour chip to change the colours used to display the lithologies.
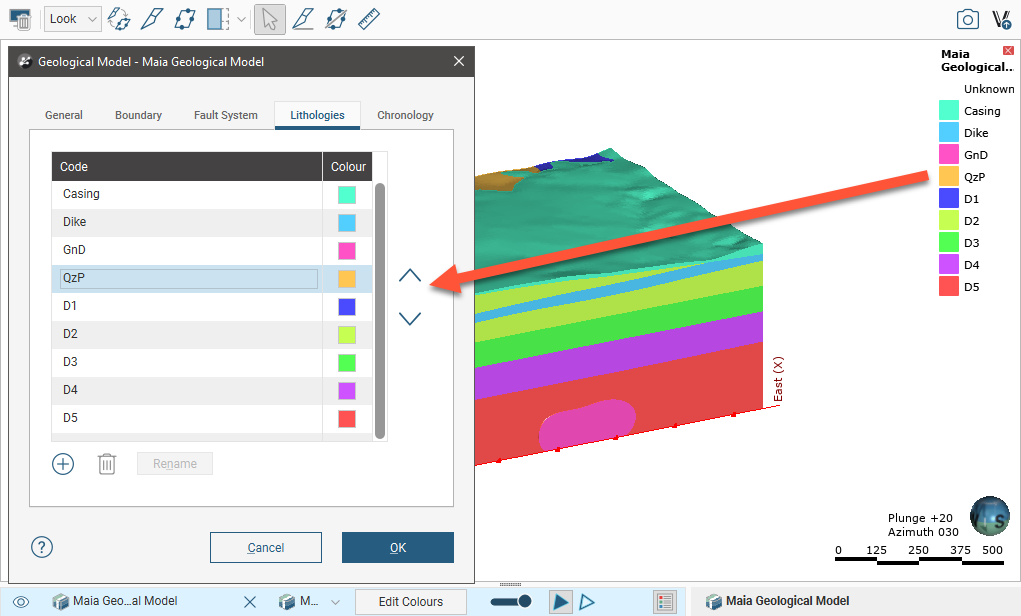
The order of the lithologies in this window is the order used for the model’s legend when the model is displayed in the scene. Click on a lithology in the list and use the arrow keys to reorder the list.
Use the Shift or Ctrl keys to select multiple lithologies. This is useful for changing multiple colour chips to a single colour or for moving multiple lithologies up and down in the list.
If the geological model was created from drillhole data, the lithologies are automatically generated from that data. There is also an additional lithology, “Unknown”, which is used to label lithologies that cannot be labelled using known lithologies. This is the case when a geological model is first created and no contact surfaces have been defined. The entire model volume has no identified lithologies and so is assigned as “Unknown”.
An alternative to setting unidentified lithologies to “Unknown” is to select one of the defined lithologies as the “background lithology”. To do this, double-click on the model’s Surface Chronology and set Background lithology to one of the available lithologies. When you set the background lithology for a geological model and then enable the fault system, the background lithology will be copied to each fault block.
If there is no drillhole data in the project or if the model is not based on drillhole data, you will need to define the lithologies one-by-one. To do this, click on the Add button, enter a name for the lithology and choose a colour.
Got a question? Visit the Seequent forums or Seequent support