Connecting to an OpenGround Cloud Database
To import drilling data via OpenGround, right-click on the Borehole Data folder and select Import Boreholes via OpenGround Cloud. In the window that appears, enter your credentials for the database you wish to connect to, then select the instance you will use.
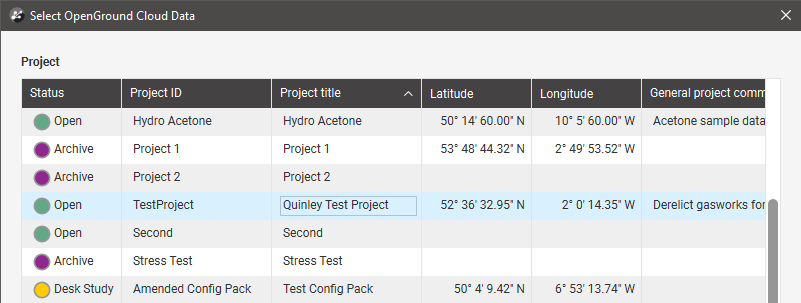
In the next window, select from the projects available, then click Next.
Once the project has been opened, select the data columns to map to the Collar, Survey and Tables lists.
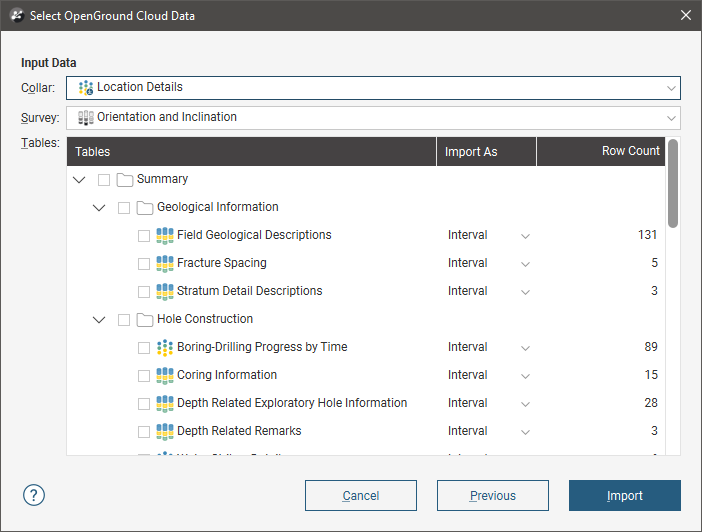
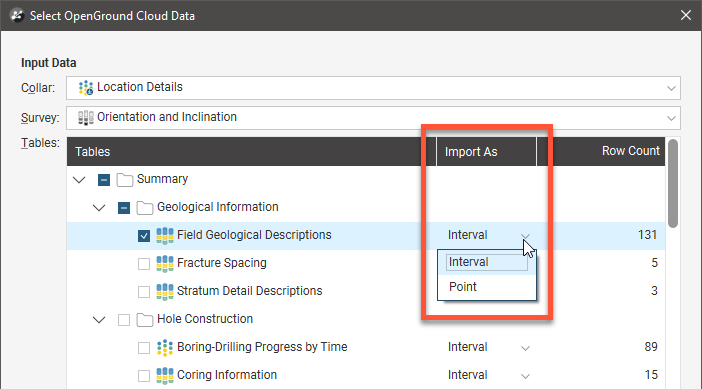
You can only select one collar table and one survey table, but you can select as many interval and point tables as you need. Change how tables are mapped using the Import As dropdown list:
Select only as many columns as you need to work with. You can import additional data columns from the project later.
Once you have selected the columns you wish to import, click Import to work through the data tables and add the data to the project tree.
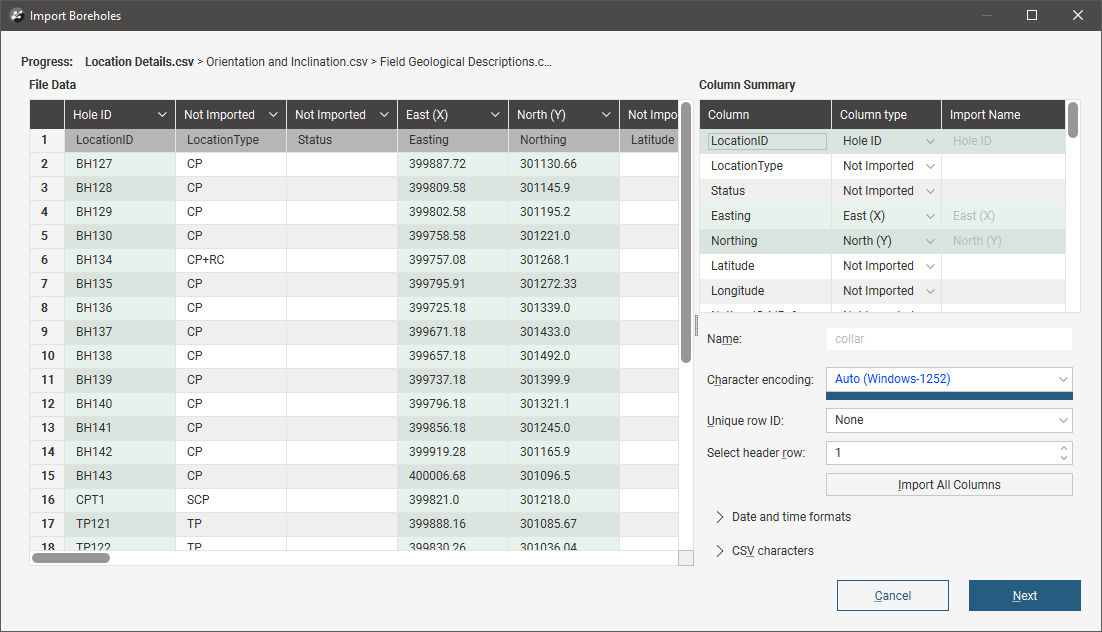
The import process is similar to that described in Working With Data Tables.
The data will be added to the project tree in the Borehole Data folder:
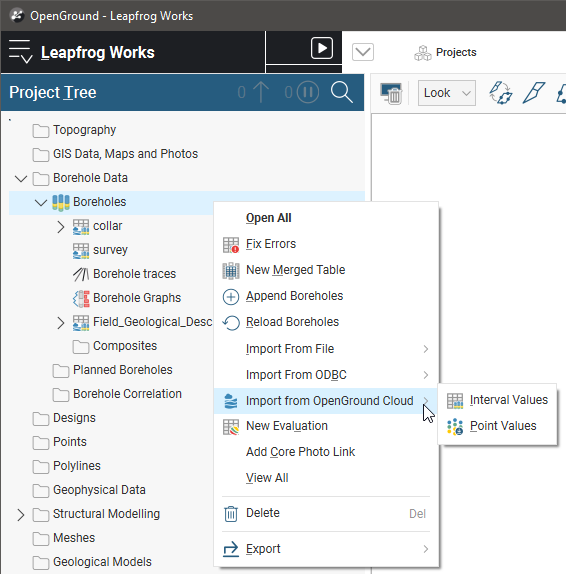
To import additional tables, right-click on the Boreholes object and select Import from OpenGround Cloud. Once you choose whether you will import intervals or points, the database will open and you can choose from the tables available.
See Adding and Updating Data for Existing Tables in the Working With Data Tables topic for information on appending and reloading borehole data.
You cannot append or reload data from a different OpenGround project.
Got a question? Visit the Seequent forums or Seequent support