The Surface Chronology
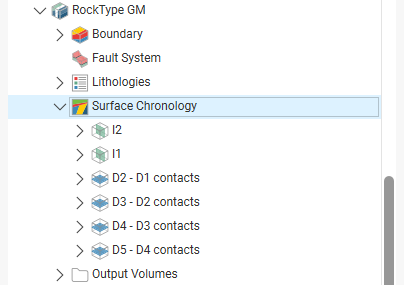
When you create a contact surface, it appears in the project tree under the Surface Chronology object, but it is not enabled and, therefore, does not affect the geological model volumes. This means you can work on the surface without having to reprocess the model whenever you make a change to the surface. In Leapfrog Works, you can easily define, enable and remove contact surfaces from a model, and you can experiment with modelling lithologies using different techniques in order to arrive at a geologically reasonable model.
To add a contact surface to the surface chronology, double-click on the Surface Chronology object. The Surface Chronology window will be displayed:
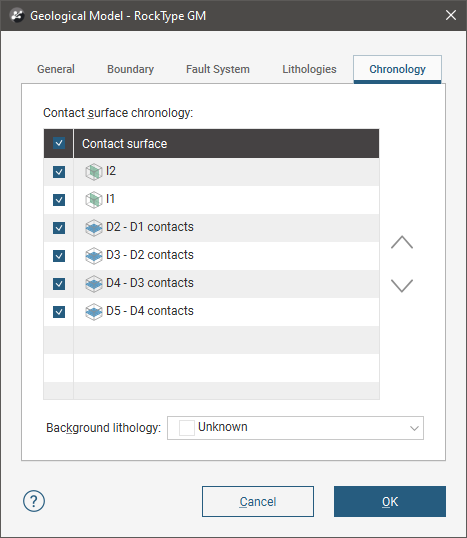
In the project tree, the surfaces are also arranged in chronological order:
The Surface Chronology determines the overall chronological order of the contact surfaces in the model. If you build your models from the bottom up, you will find that often the contact surfaces are in the correct chronological order when you first open the Surface Chronology window. However, you can easily rearrange the chronology using the arrows alongside the table of contact surfaces. Tick the boxes for surfaces you wish to include in the model. When you click OK, the included surfaces will be used to subdivide the geological model into lithological volumes. The volumes will appear in the Output Volumes folder.
Output volumes are named according to the lithologies assigned to each side of the contact surfaces that bound each volume. If the lithology assigned to an output volume cannot be determined, it will be assigned the Background lithology.
If you are working with a faulted model and have defined the Surface Chronology for one fault block, you can copy the Surface Chronology to the empty fault blocks. See Copying the Surface Chronology to an Empty Fault Block.
Got a question? Visit the Seequent forums or Seequent support