Displaying geoscience objects
This topic describes the basics of displaying geoscience objects in the 3D Viewer. It is divided into:
- Adding objects to the scene
- Changing object visibility and removing objects from the scene
- Viewing object information
- Changing an object’s display properties
If you see a message saying an object version cannot be displayed, this is likely because a version of the object has been published that Viewer does not yet support.
Adding objects to the scene
Click the Add buttons (![]() ) to add different data objects to the scene. You can also click on items and drag them into the scene:
) to add different data objects to the scene. You can also click on items and drag them into the scene:
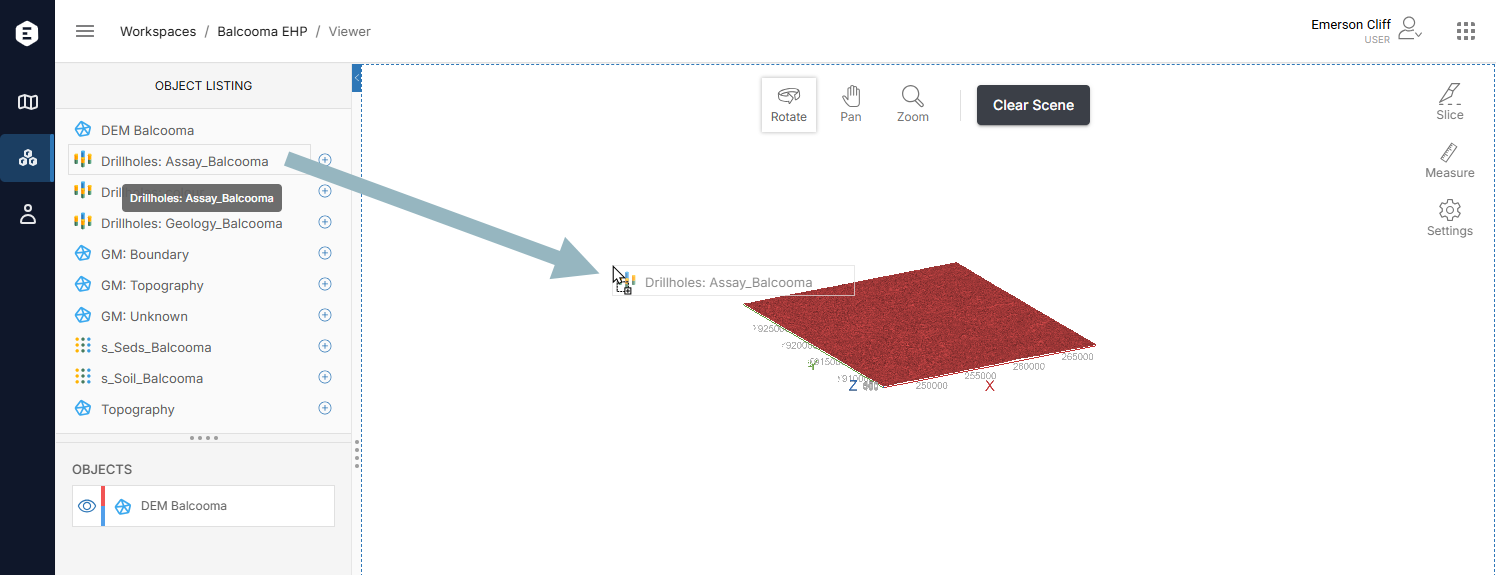
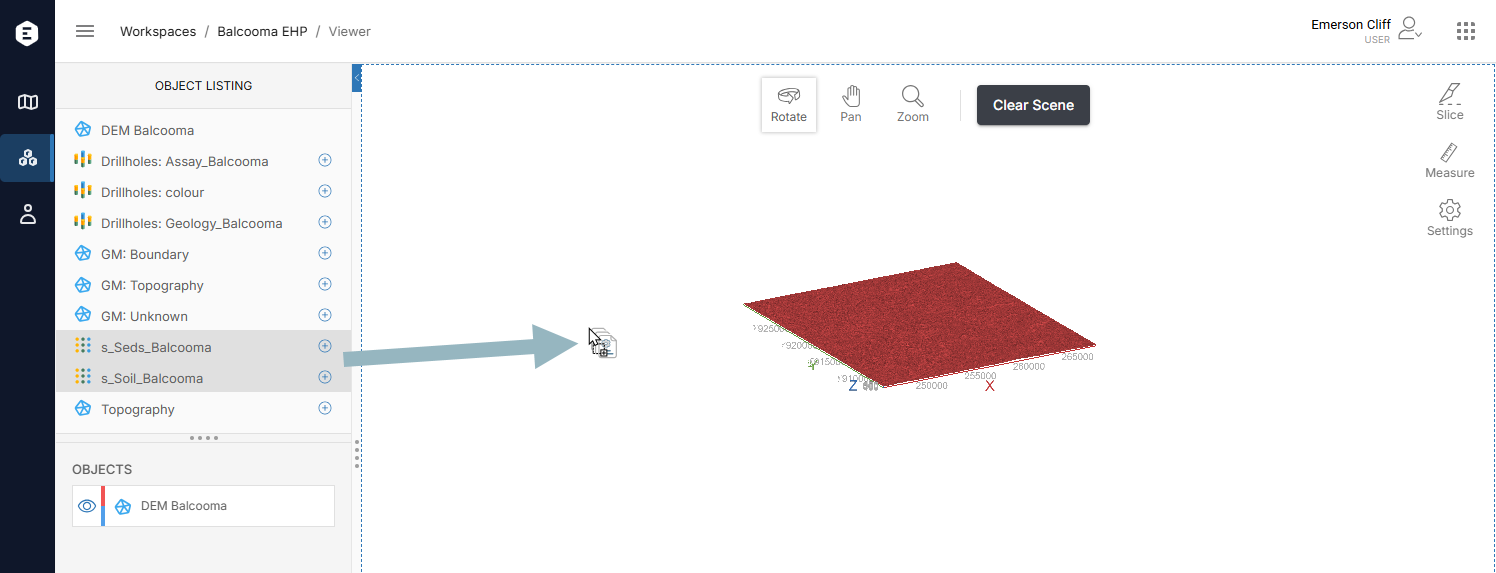
To add multiple objects at once, hold down the Ctrl key while clicking, then drag the objects into the scene:
Changing object visibility and removing objects from the scene
Once an object is in the scene, you can:
- Change whether it is visible in the scene by toggling visibility on and off (
 /
/ ).
). - Change how the object is displayed by clicking on the object in the Scene manager; this opens its Properties panel.
There is also an overflow menu (![]() ) for each object that appears when you hold your mouse cursor over the object:
) for each object that appears when you hold your mouse cursor over the object:
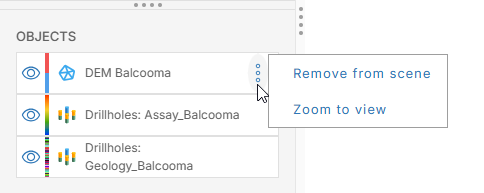
This gives you options for:
- Removing the selected object from the scene. You can also select multiple objects and remove them from the scene. To do this, hold down the Ctrl key while clicking, then click the overflow button for one of the objects and select Remove from scene.
- Zooming into the object in the scene to view more detail. This option can only be used on individual objects.
When you remove an object from the scene, any changes you have made to how it is displayed will be lost. Toggling visibility on and off (![]() /
/![]() ) for an object is a useful way of working with multiple objects in the scene instead of removing some objects in order to get a better view of others.
) for an object is a useful way of working with multiple objects in the scene instead of removing some objects in order to get a better view of others.
Viewing object information
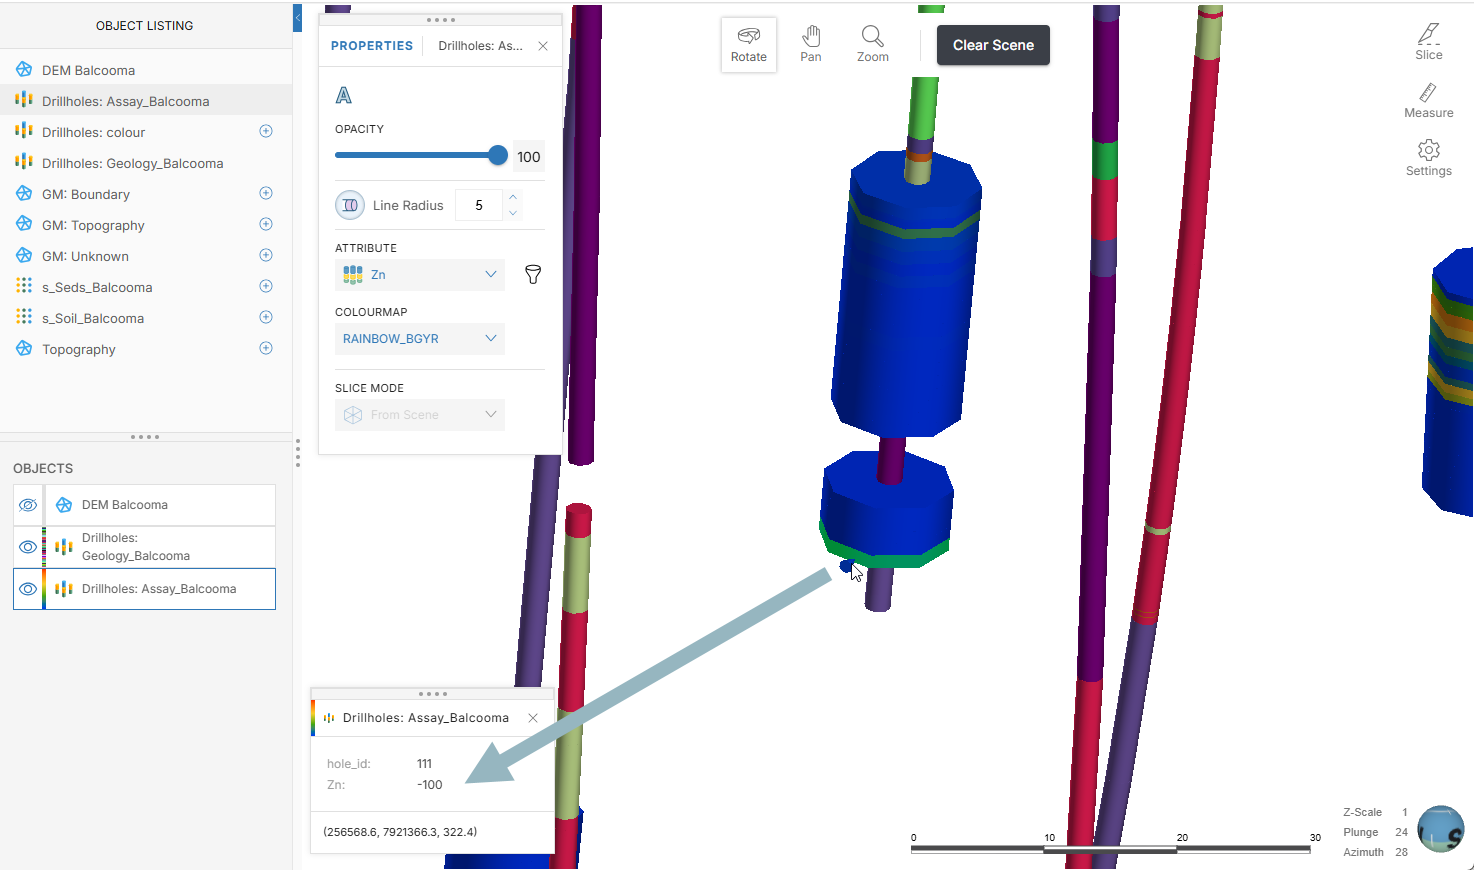
Click on an object in the scene to view detailed information about it. For example, here clicking on an interval in an assay table displays data about that interval:
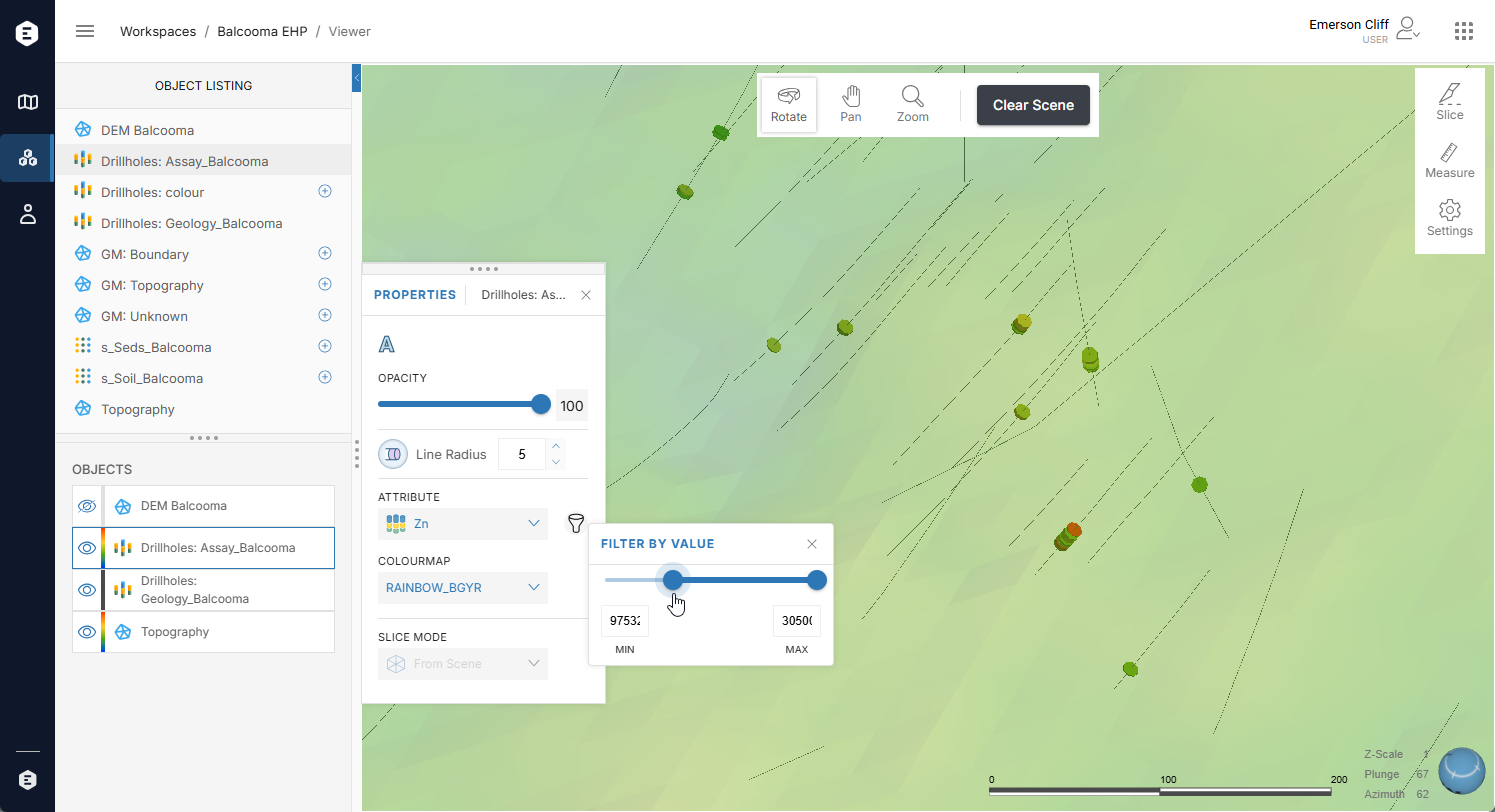
Changing an object’s display properties
To change how an object is displayed, click on it in the Scene manager to open the Properties panel. In this example, clicking on a mesh object opens its Properties panel:
As with other pop-out panels, you can move the Properties panel by dragging it to where you want to position it. You can also dock the panel to the right side of the window.
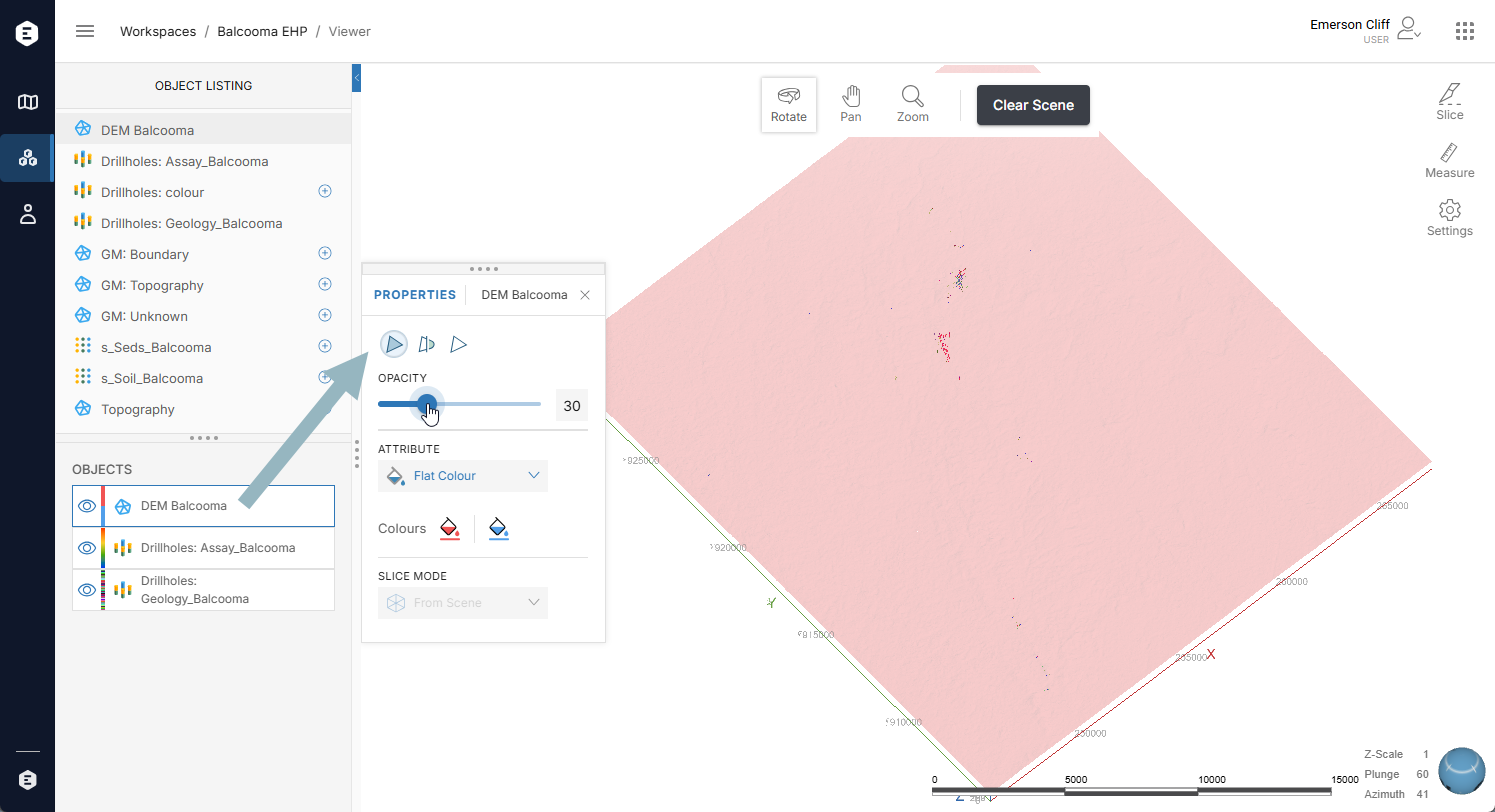
An opacity control is available for all object types.
Settings available can include:
- Whether the edges of the triangles that make up a mesh are displayed (
 )
) - Whether a mesh’s triangles are displayed filled or open (
 )
) - Whether the faces of a mesh’s triangles are smooth (
 )
) - Whether an object’s text label is displayed (
 )
) - Whether a lines object is shown as squares or points (
 )
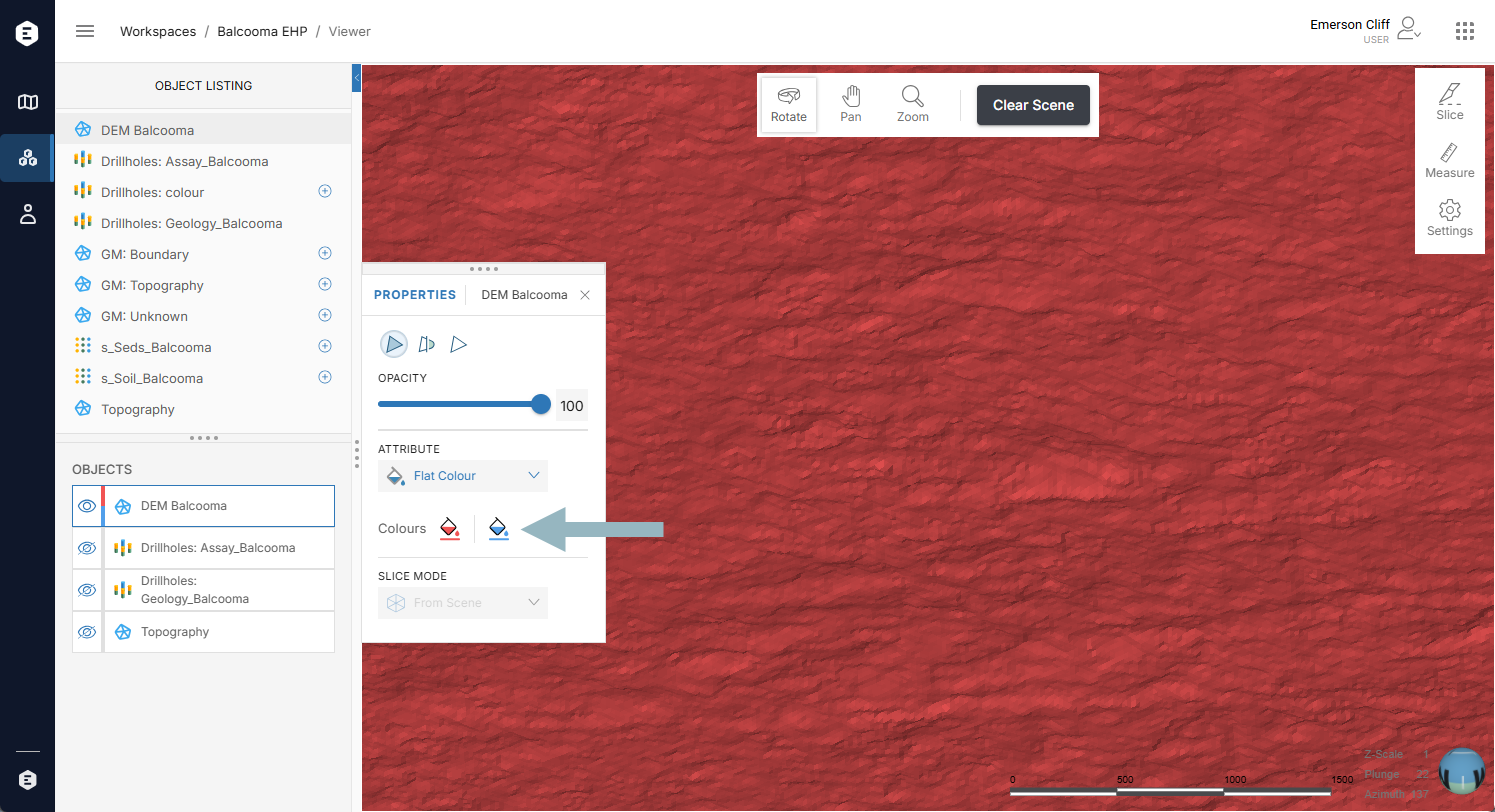
) - What colour is used to display an object. This can be a simple Flat Colour or an attribute that uses a colourmap. When the Flat Colour option is used, click on the colour chip to change the colour.
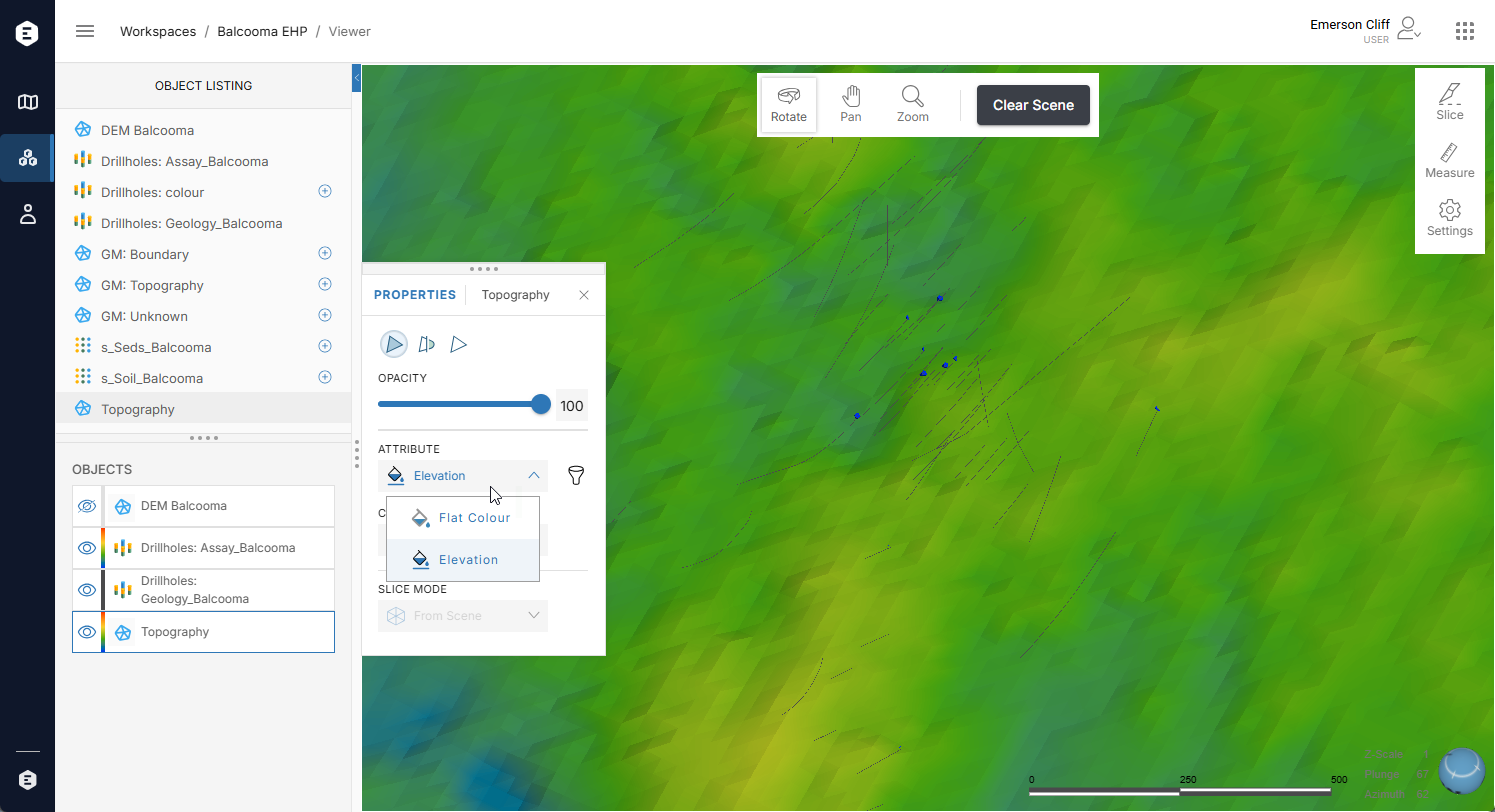
Other settings available in the Properties panel depend on the object type. For example, here the Properties panel for the Topography mesh is open, showing that it can be displayed using a flat colour or with the Geological Map image draped on it:
If your workspace contains many objects, trying to display too many at once may result in poor performance. If you remove some objects from the scene but still have issues, adjusting transparency settings may improve performance. To do this, click on Settings in the toolstrip and scroll to Screen Performance at the end of the panel.
Some objects have different colours for each side that indicate the object’s polarity. For example, here a mesh uses red and blue for its different sides:
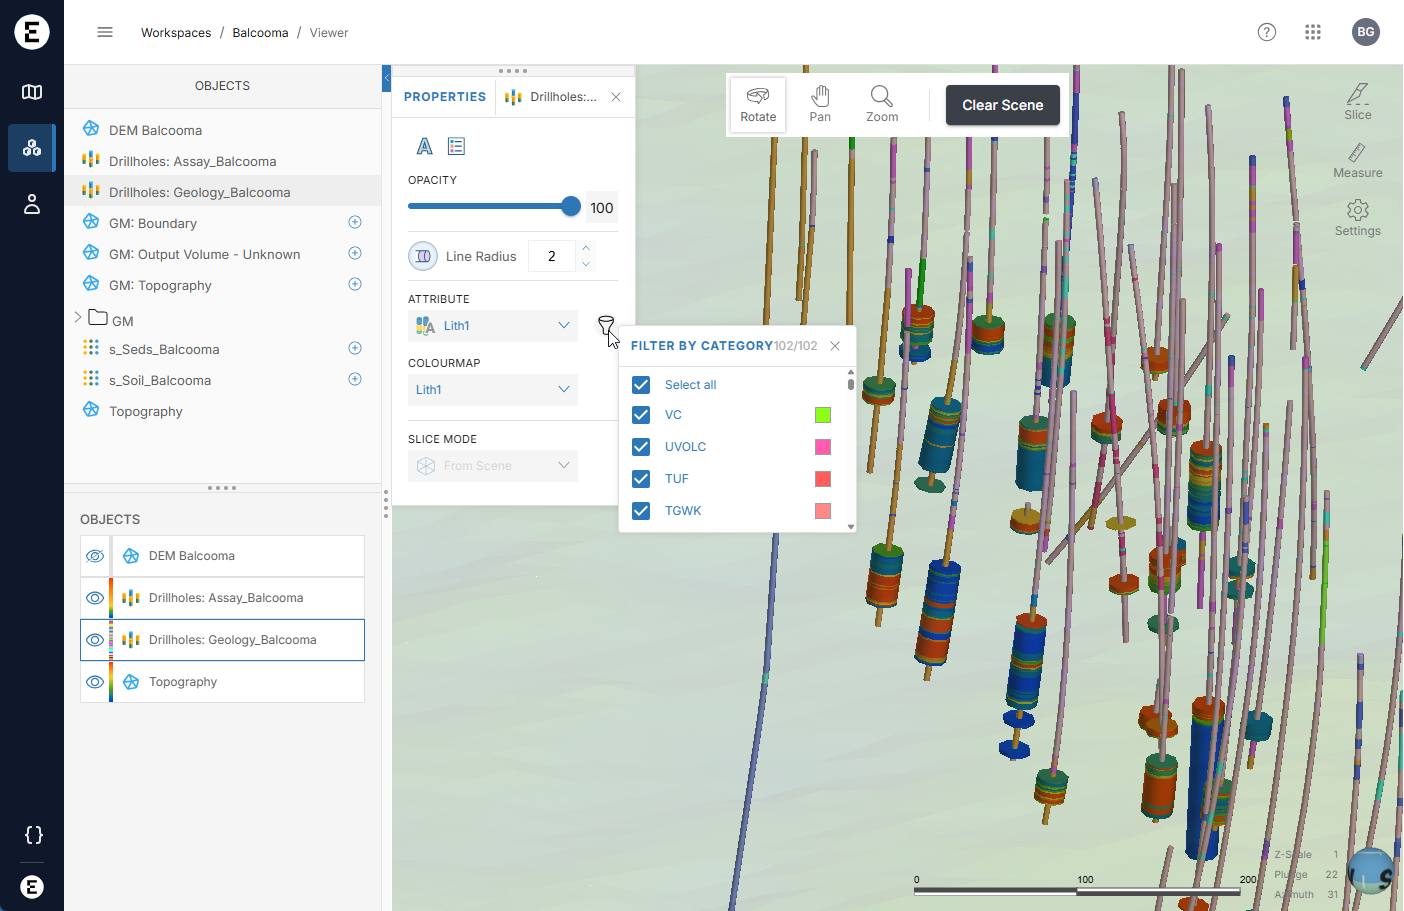
When numeric data is displayed, you can filter out some values. Here, for example, the data points are filtered to show only the higher-value points:
A filter can also be used with category data: