
Creating New Planar Structural Data Tables
There are two ways to create a new planar structural data table in Leapfrog Geo:
- Create a new table as part of creating or editing another object. See Editing Surfaces With Structural Data.
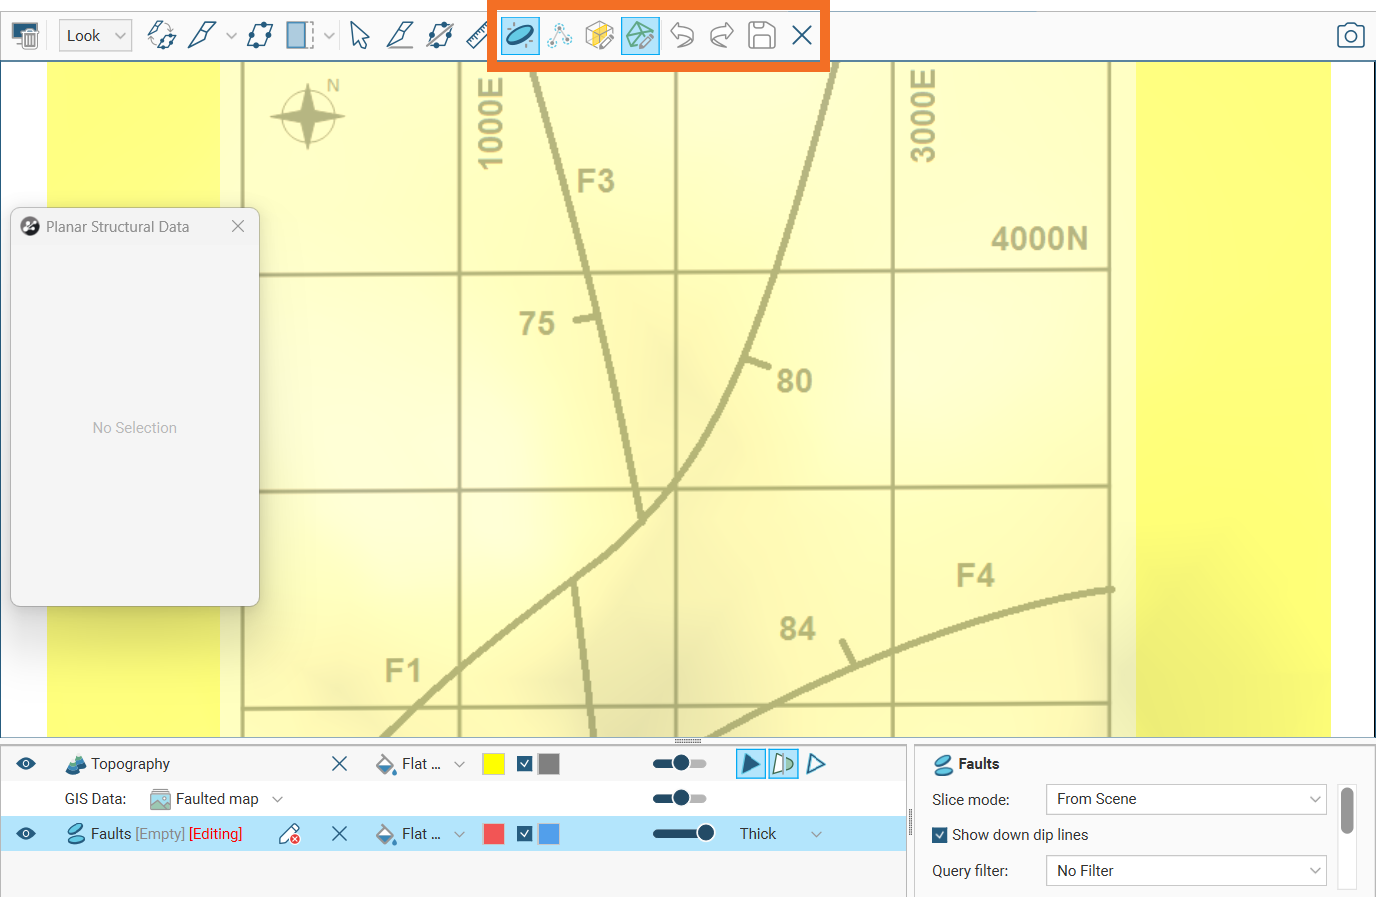
- Create a new table using the Structural Modelling folder. Use this technique when, for example, you are creating structural data points from a map or image. Right-click on the Structural Modelling folder and select New Planar Structural Data. In the window that appears, enter a name for the new table and click OK.
Before creating the new data table, add the map, image or data object you wish to work from to the scene and orient the scene for drawing the new data points.
When a new structural data table is created, it will be added to the scene. The Planar Structural Data window will open, together with a set of tools for adding structural data points:
There are two techniques for creating structural data points, depending on the source information you are working with:
- Click-and-drag (
 ). This is used when you know the strike line and dip.
 - Select three points (
 ). This is used when you already have a surface mesh that indicates orientation.
When you have added your structural data points to the table, click the Save button (![]() ) in the toolbar.
) in the toolbar.
Click and Drag to Add Structural Data
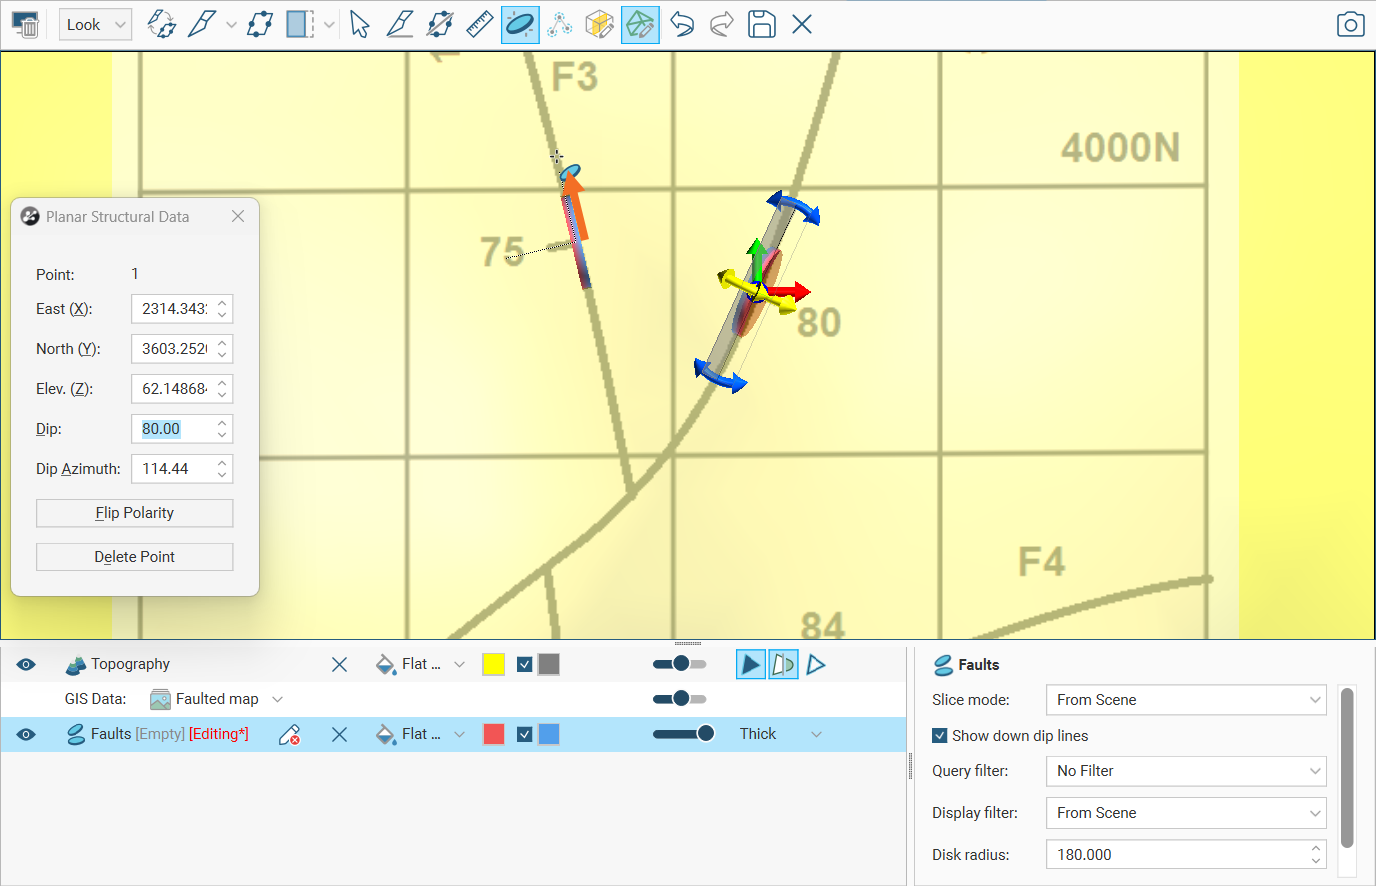
Click on the New Structural Data Disk button (![]() ), click-and-hold at the point in the scene where you want the structural disk to appear, then drag along the strike line.
), click-and-hold at the point in the scene where you want the structural disk to appear, then drag along the strike line.
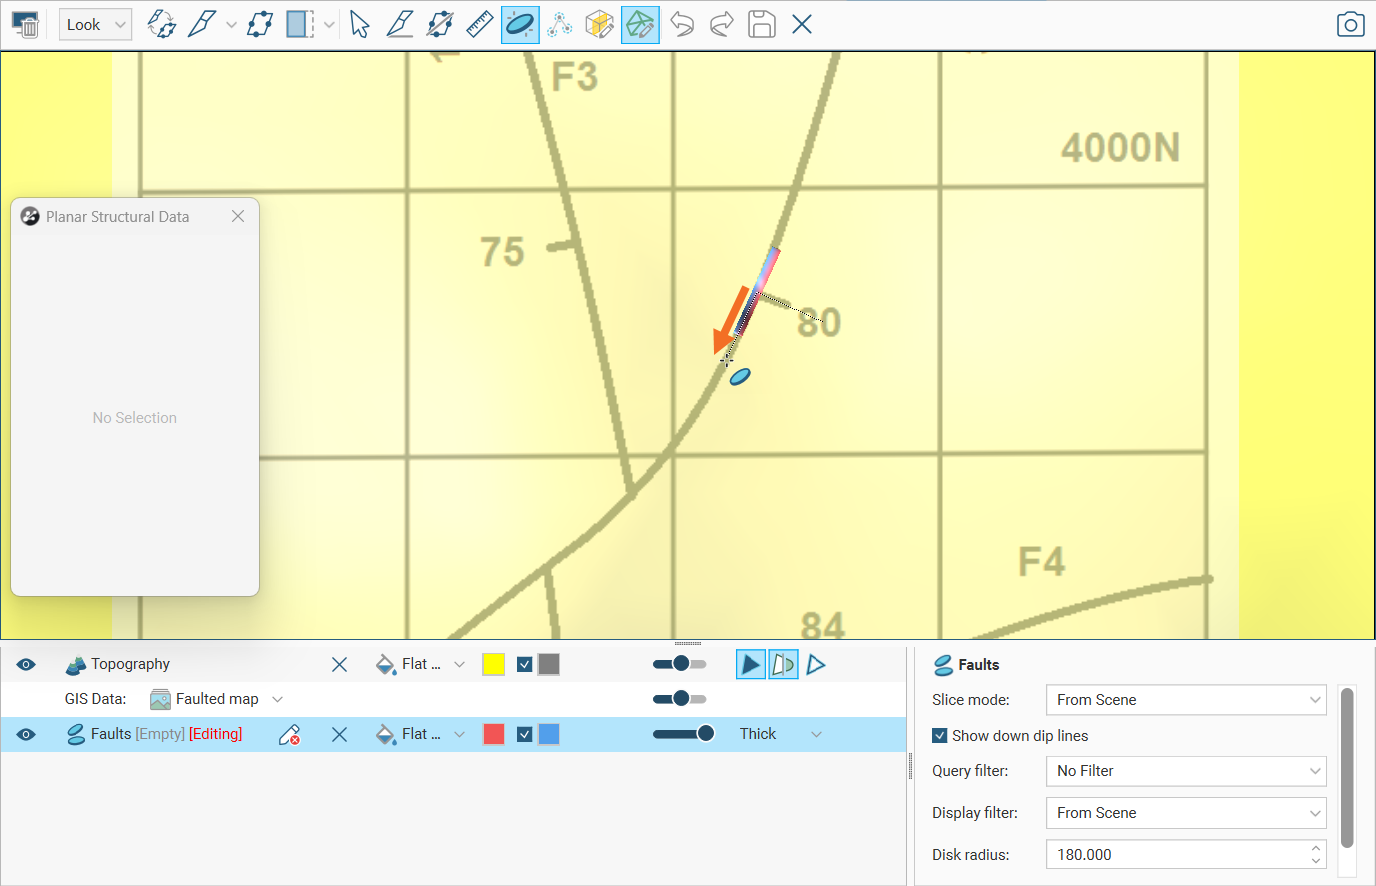
When you release the mouse button, orientation handles will appear on the new structural data disk:
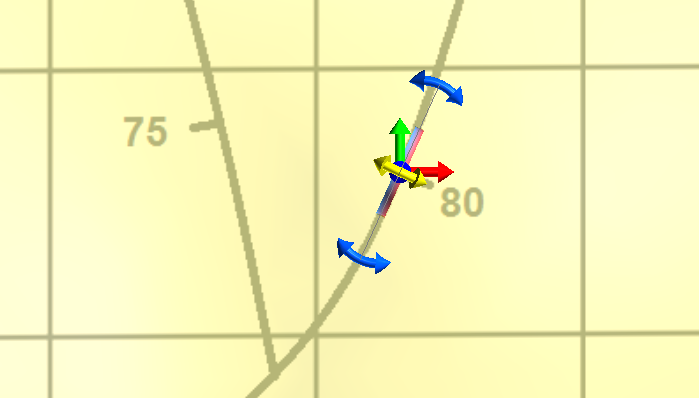
Besides repositioning and reorienting the structural data disk using its handles, you can adjust the data point using the controls in the Planar Structural Data window:
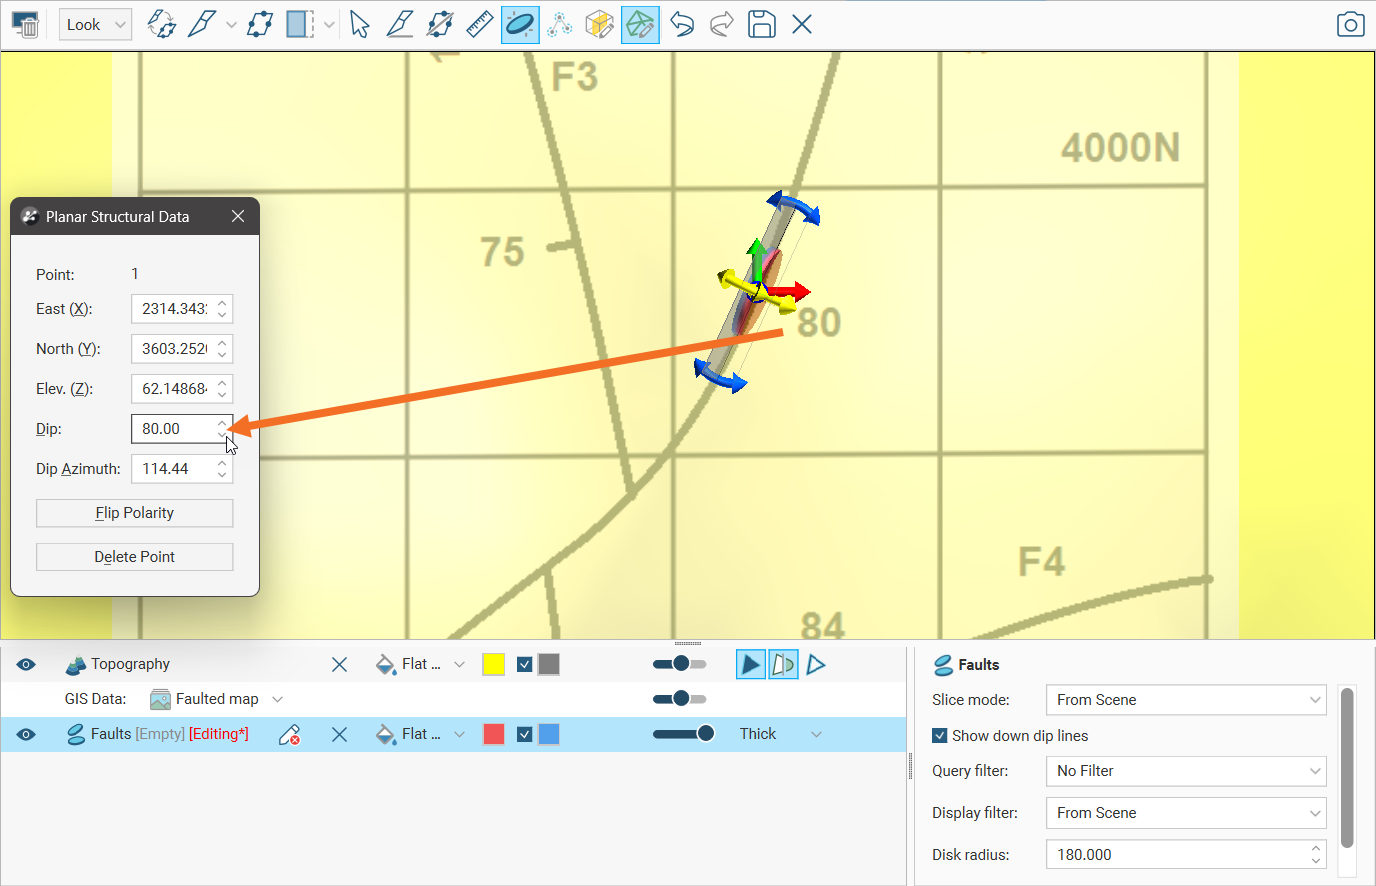
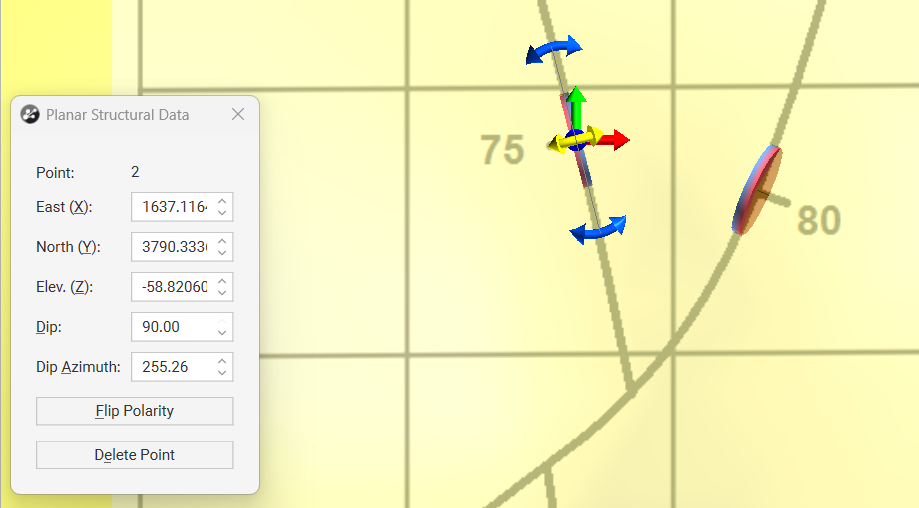
If you want to add another structural data disk, click-and-drag along another strike line.
When you release the mouse button, the Planar Structural Data window will automatically show the data for the newest point you have created.
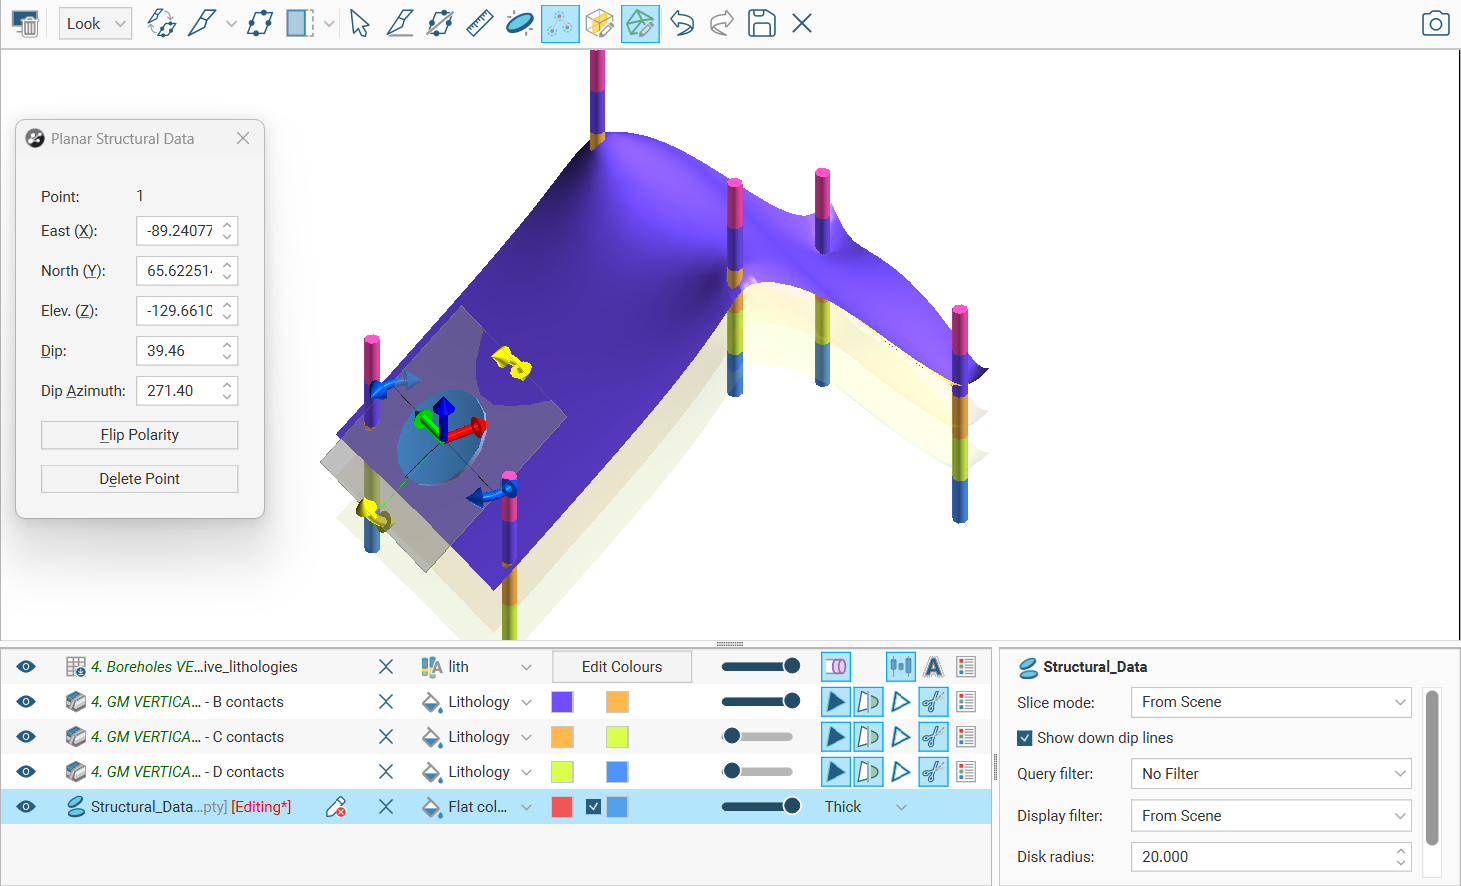
Select Three Points to Add Structural Data
Click on the Select Three Points button (![]() ) and click on a surface in the scene. Reposition the cursor a small distance away, and click again. A sphere will appear on the surface where you clicked, these first two times:
) and click on a surface in the scene. Reposition the cursor a small distance away, and click again. A sphere will appear on the surface where you clicked, these first two times:

Reposition the cursor to a third location forming a triangle, and click again. This third time you click, a structural disk will appear, oriented according to the three points on the surface you selected:
Keep adding structural data disks by clicking on the surface three times in small triangle shapes wherever you want a structural data disk:
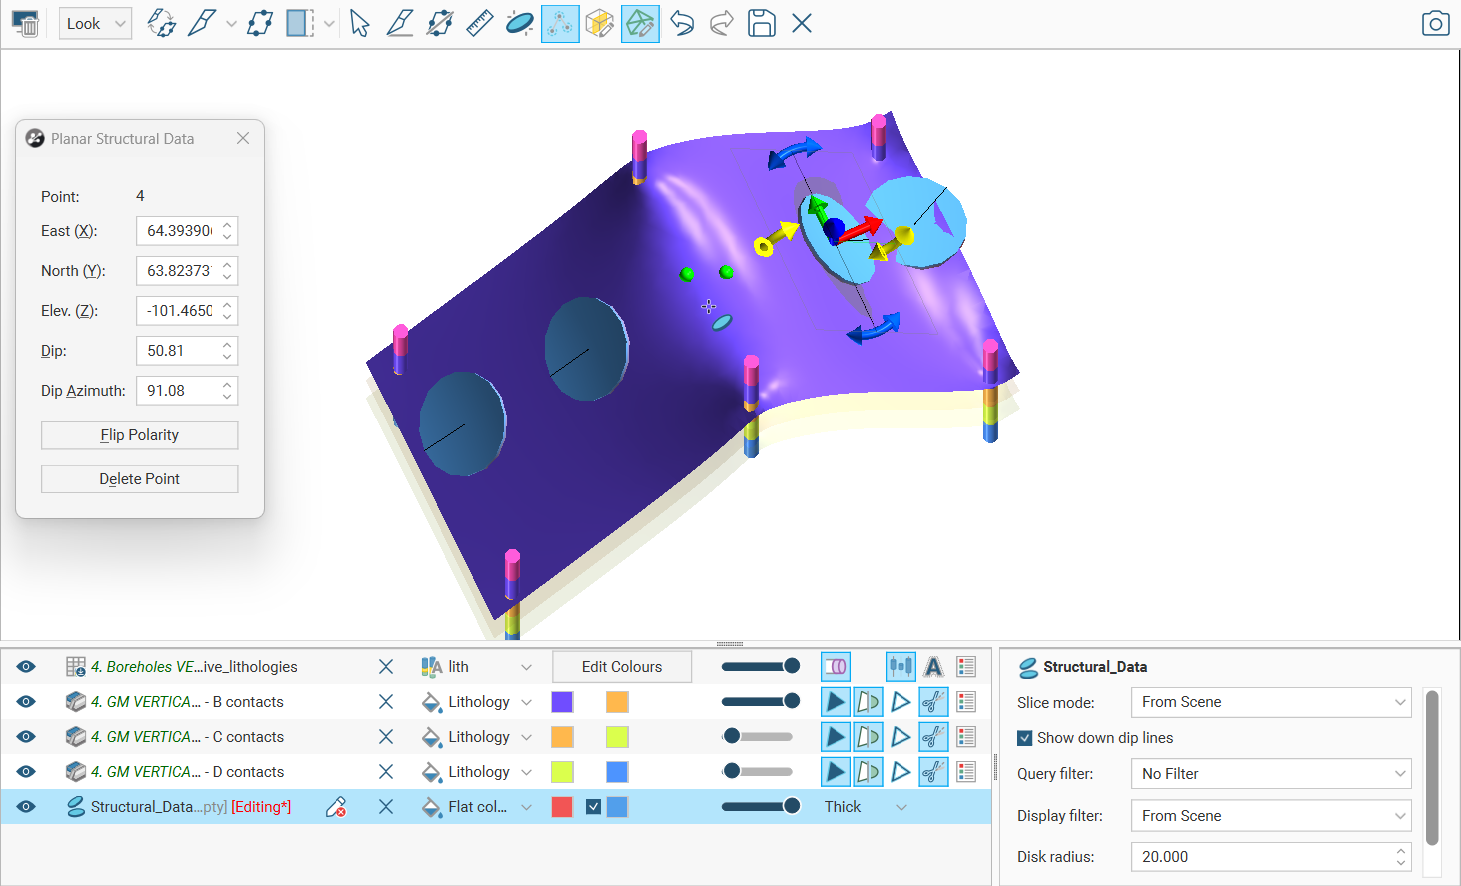
While a structural disk is selected, you can adjust the structural data disk properties in the Planar Structural Data window:
