
Grids
Part of setting up a project is to select a grid. MX Deposit supports a number of different grids, and if the grid you wish to use is not listed in your library, it is straightforward to add one of these supported grids to your library.
To view the grids in your account and add a new one, open the Admin panel and click on Grids under Your site.
If the grid you wish to use for your project is not listed, there are two options:
- Add a new grid to the list from those already supported by MX Deposit
- Define a new grid manually
To add a grid from the list, click on the dropdown list next to the New grid button and click on Select from list.
If you wish to define a grid manually, click the New grid button.
In the window that appears, set the grid’s properties, then click Next to preview the grid:
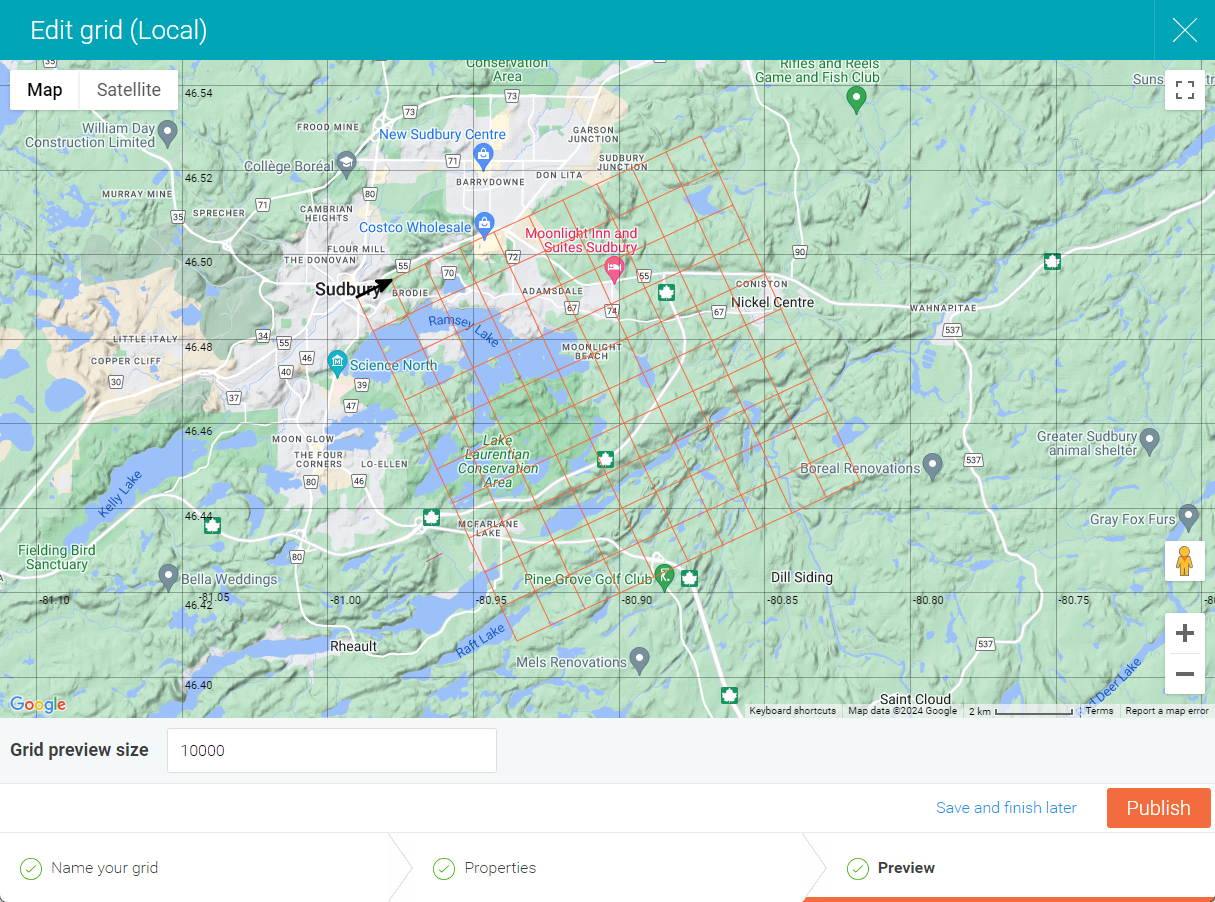
If you need to make changes, you can switch back and forth between the Properties step and the Preview step until you are ready to publish the grid.
Once the grid is ready to be used in projects, click Publish.