
Headers and Fields
Headers contain location information for an activity, such as its unique ID and the collar information. In the logging workflow, the header is the form that's completed when a new drillhole is created, before logging starts.
This topic describes how to define headers in MX Deposit. It is divided into:
Viewing the Headers Library
Headers are defined and managed under Site Settings > Logging > Headers.
Your MX Deposit account is pre-loaded with multiple headers called MX Headers. These are a useful starting point for setting up your account and are indicated in your headers collection by an MX prefix:

The headers collection shows a summary of all of your headers. It is useful when creating a header to include a description, so you can see at a glance what is it for.
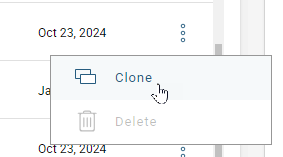
You can copy existing headers by selecting Clone in the overflow menu:
Creating a Header
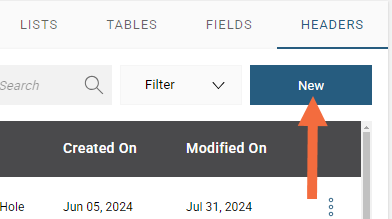
To create a dispatch header, select New in the Headers collection:
Choose what kind of activity the header can be used for, options are a Drill Hole activity or Point activity. Then name your header and choose what Category you want it to be in. You can provide a Description to help you to know at a quick glance what this header is for.
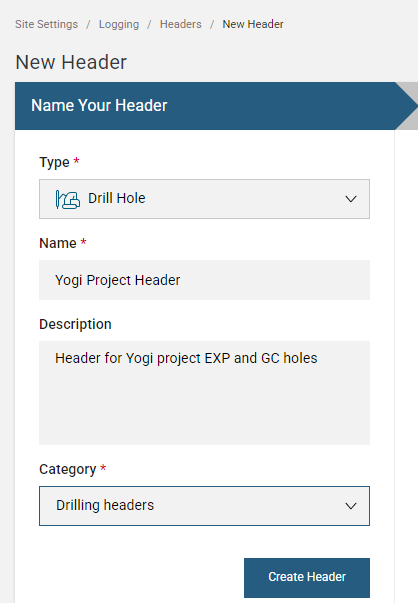
Click Create Header to move onto the Configure Your Header section. From this point onward, any changes you make will be saved automatically.
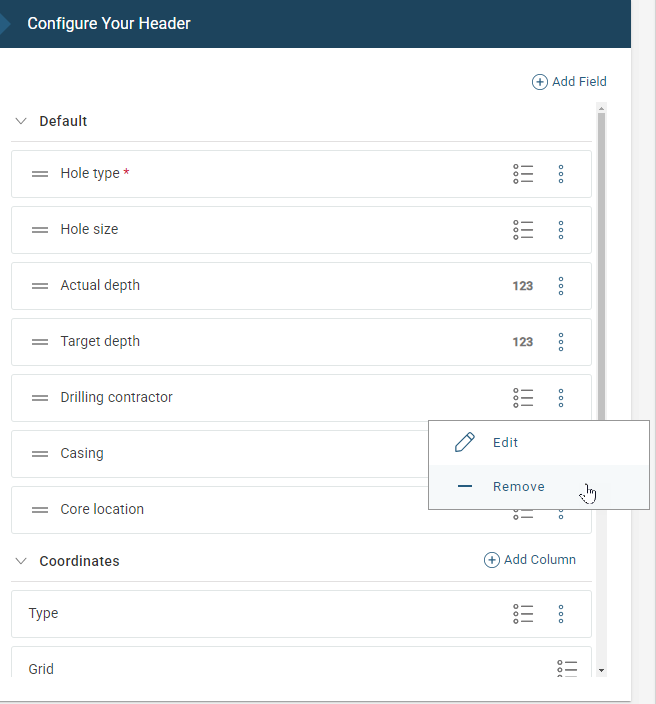
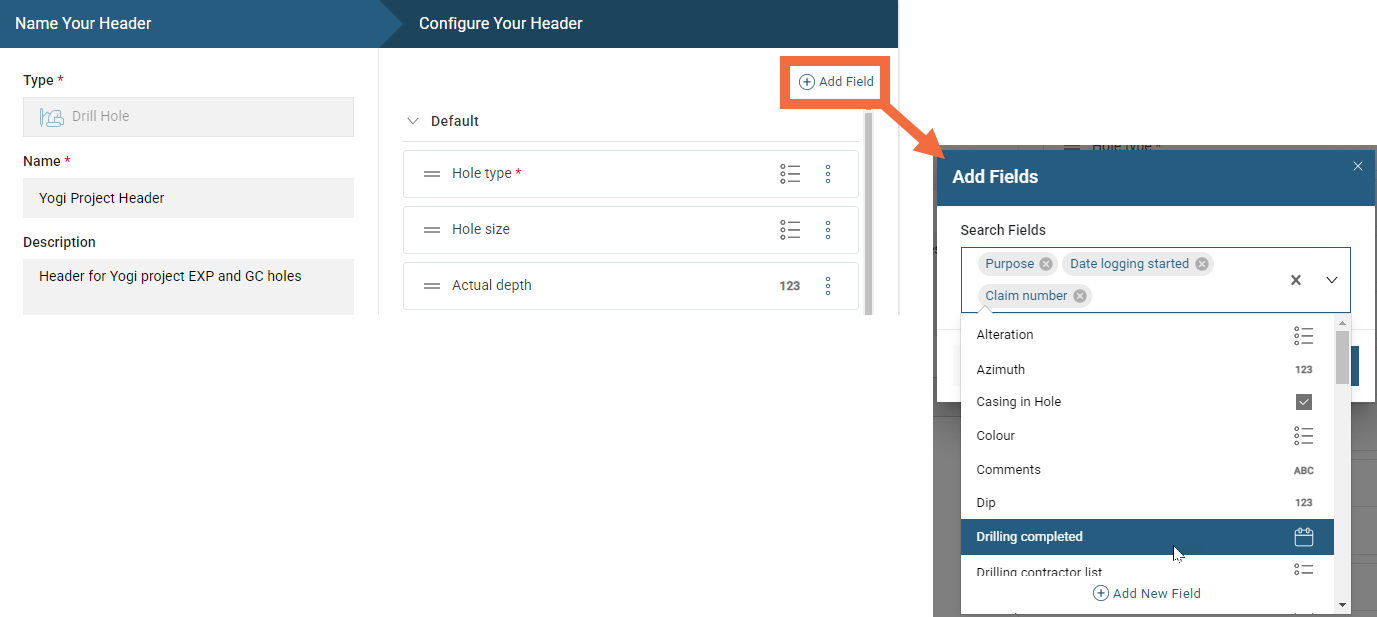
The new header will come populated with some default fields. The Hole number and Coordinates table fields are required for the header and cannot be removed; these are indicated by and asterisk. However, the other fields are optional; you can remove them by selecting remove from the overflow menu.
If you are working in the new version of MX Deposit, there is no need to add a field for the Hole number and the Status as this information is automatically captured during logging.
To add a field, click Add Field and select from a list of existing fields, you can add multiple fields at once.
To add a new field that is not listed, click on Add New Field. A window will appear prompting you to name select a data type for the new field:
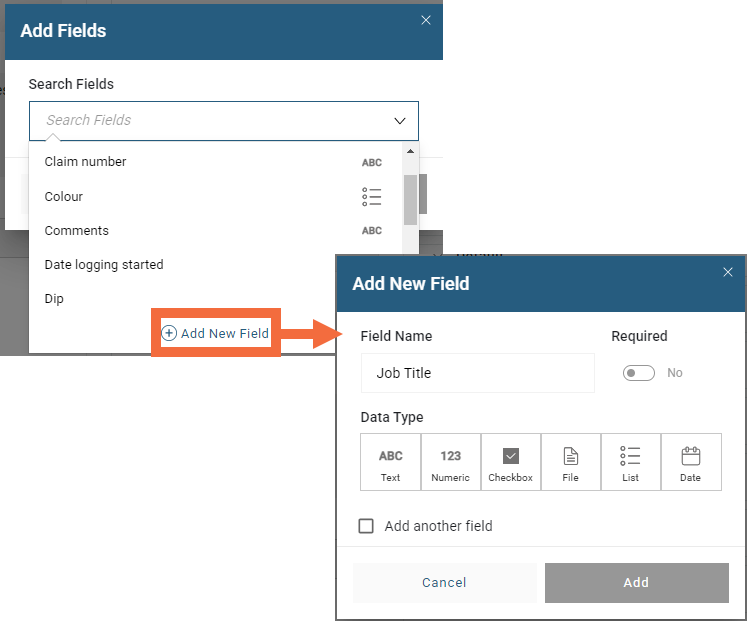
Name the field and choose the field’s data type in the window that appears. Options are:
- Text. The user will enter text. You can specify the Character length to allow for shorter or longer descriptions.
- Numeric. The user will enter a numeric value. You can specify a Min value and a Max value to constrain the numeric value that can be entered. Precision is for specifying how many decimals places you want to have displayed; the full value will be saved as the Precision setting only affects what is displayed.
- CheckBox. The user will tick or not tick a box. Make sure the field name describes what ticked and unticked means.
- File. This prompts the user to take a photo or upload a file.
- Date. This brings up the option to insert a date.
Setting Required to Yes for a field will ensure the logger cannot proceed with logging until that field is completed.
Click Add to save the field.
To view and edit all saved fields go to Site Settings > Logging > Fields.
If there is a field already in the header that you want to change, click on the overflow button![]() for the field and Edit or Remove it.
for the field and Edit or Remove it.
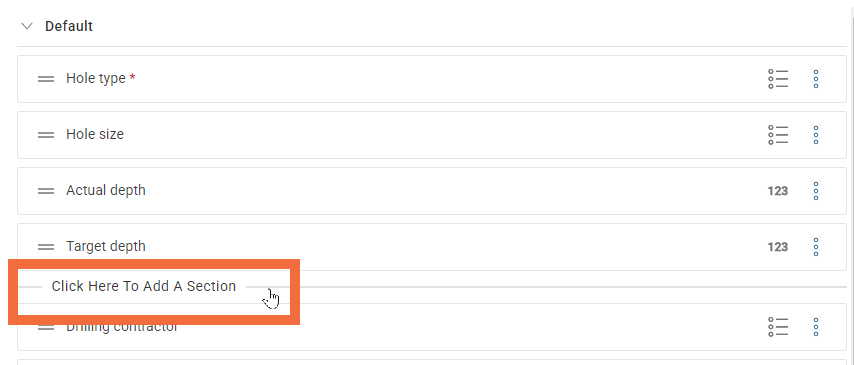
Create sections to organise header fields. To do this, hold the cursor over the area below an existing section. The option to add a new section will appear; click and give your new section a name.
To make a header field calculated, you will need to switch to the old version of MX deposit if you are using the new version. While calculations will run in the new version, the configuration is not yet available. See the topic Calculated Columns for more information.
Deleting a Header
You can delete a header from the library only if it is not being used in an activity. If this is the case, a Delete option will be available from the Actions menu in the Properties panel of the selected header. You will be asked to confirm your choice.