
Table Views
A table view combines two or more tables and allows you to choose the columns you will display. For instance, you may have three very detailed lithology, alteration and mineralization tables already created for core logging. For RC logging, however, you would not need such detailed tables. Or you might want all three of these tables simplified and combined into one view so the logger can log everything in one table instead of over three separate tables.
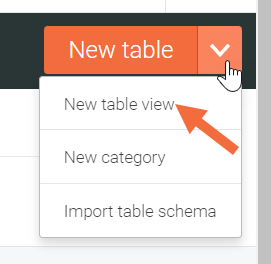
To create a table view, click on the dropdown arrow next to the New table button and click New table view:
The first two steps are the same as for building a table: name the table view, then apply rules. When applying rules, keep in mind that the kind of table you choose will affect what tables you can add to it. For example, if you select Interval, only interval tables will be displayed as options when setting up your table view.
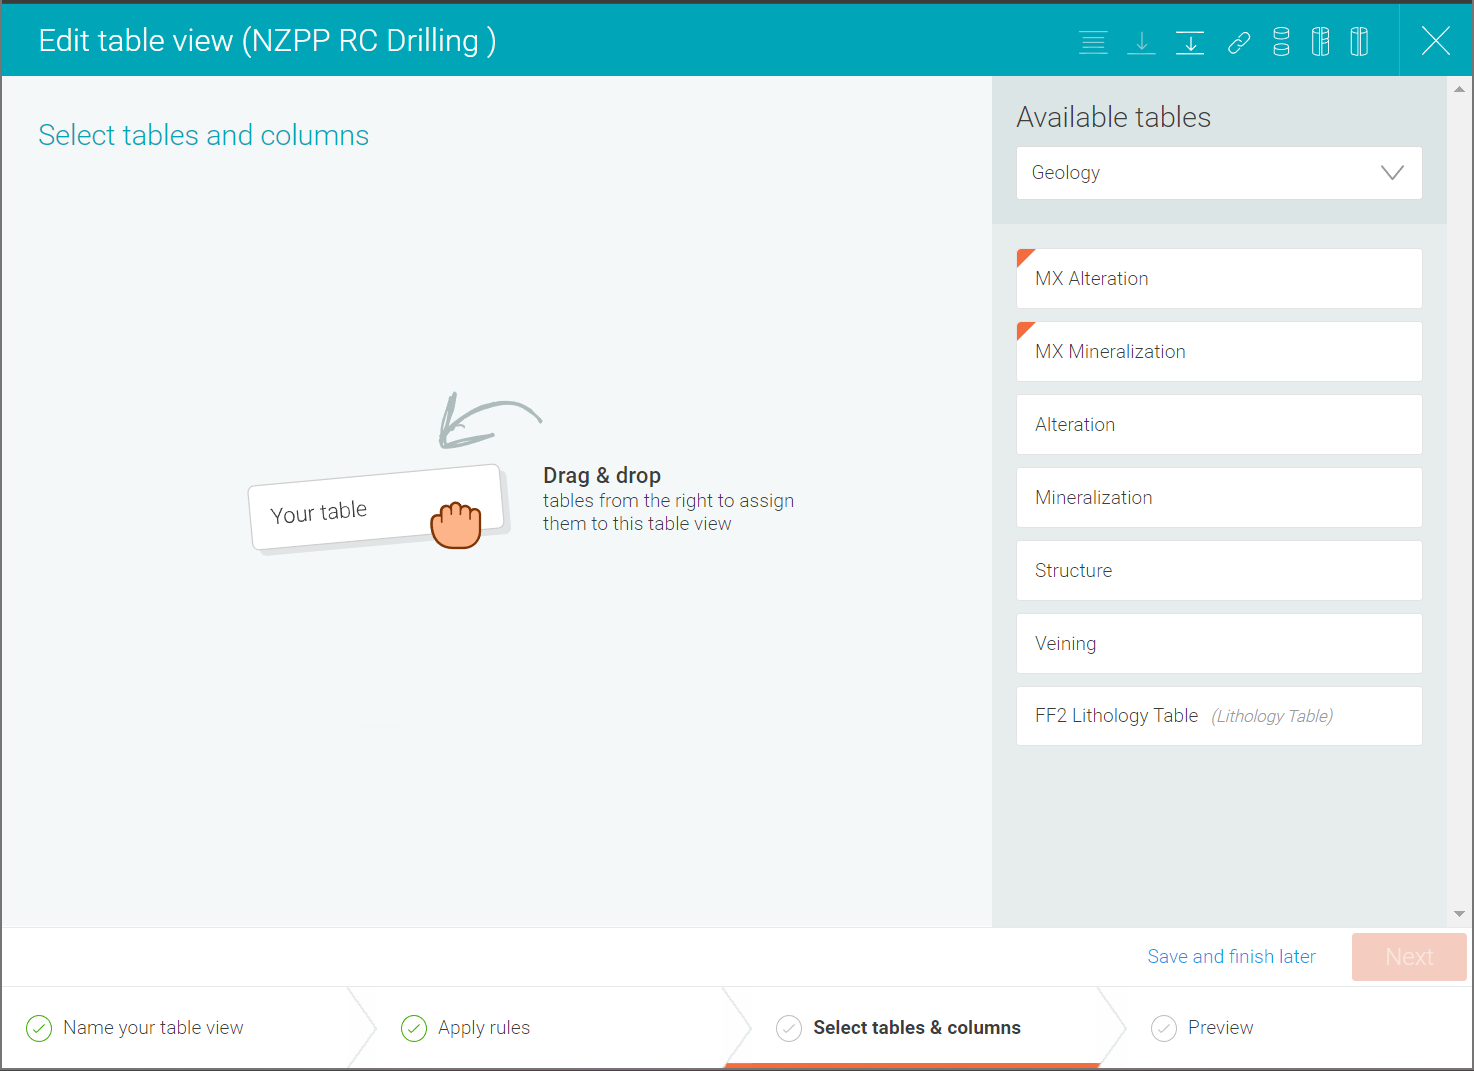
Next, add the tables you wish to include in the table view:
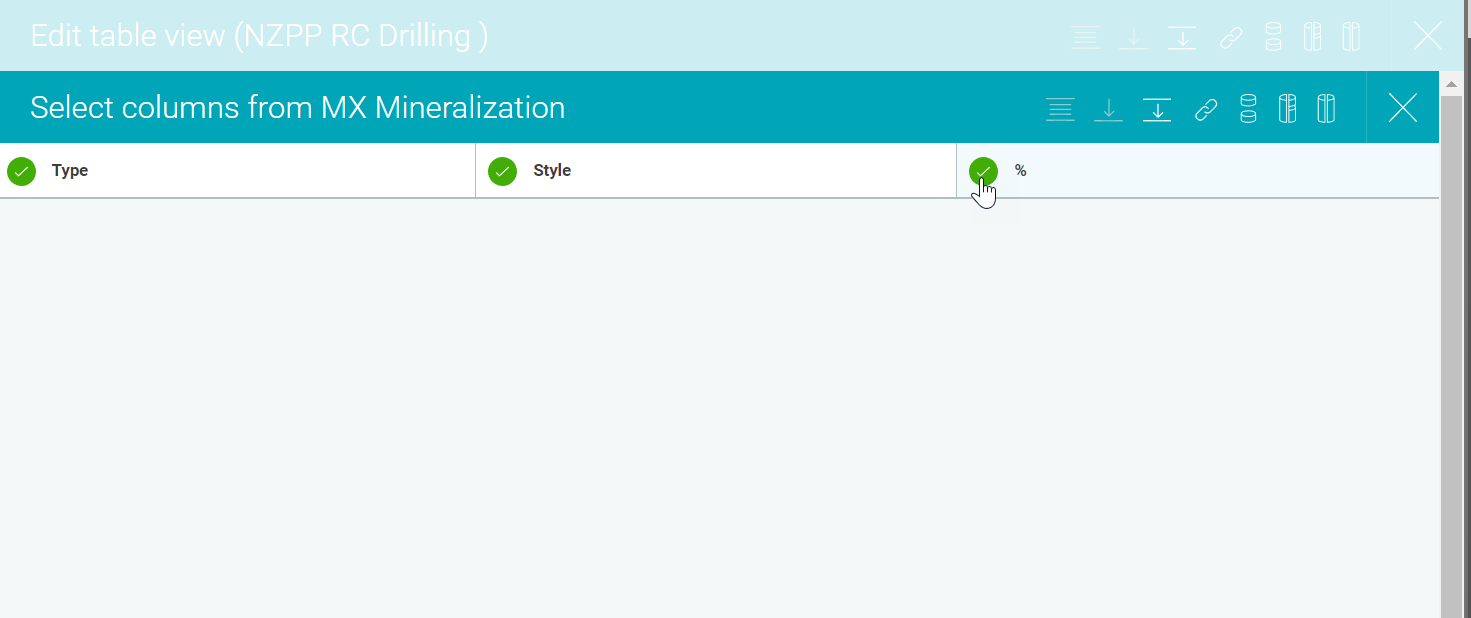
You can then choose which columns to include in the table view:
If you need to make changes, you can switch back and forth between selecting tables and columns previewing your table view until you are ready to publish it.