Comparing Data in the 3D Scene
Comparisons are a powerful tool for seeing in 3D just how a model has changed over time. This guide describes how to compare data across and within revisions in the Central Portal. The first part, Setting Up Comparisons, describes the basics of using the comparison tool. The next three parts describe techniques for visualising differences between objects:
- Enhancing Differences for Lines and Points
- Switching Between Revisions
- Comparing Objects by Contrasting Object Properties
For an introduction to working in the 3D scene, see the Visualising Data in the Central Portal guide.
Setting Up Comparisons
Enable the comparison tool via the switch in the objects list:

You can do this while you already have a selection of objects in the scene, or you can start with a clear scene.
It is often easier to select a small set of objects to work with before switching on the comparison tool, as the scene came become crowded once two revisions are displayed.
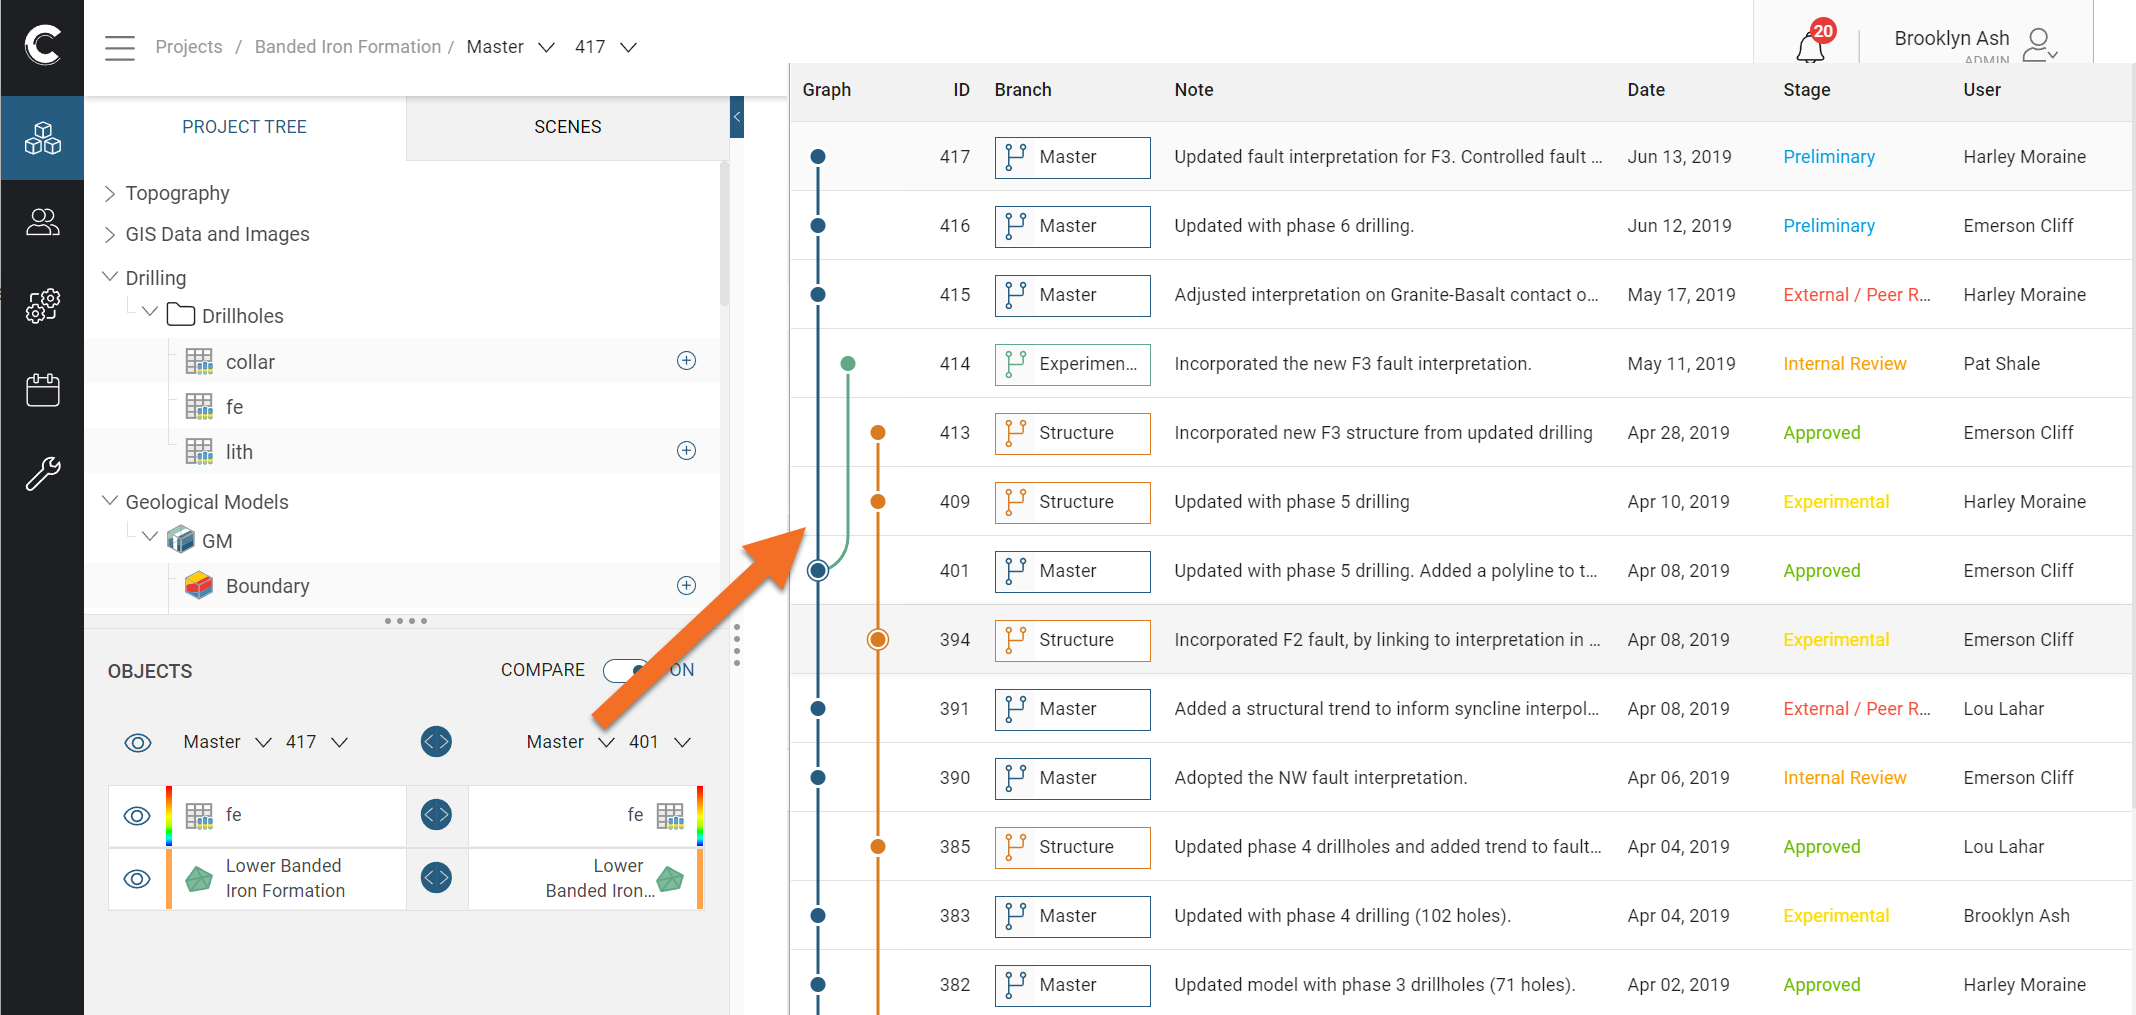
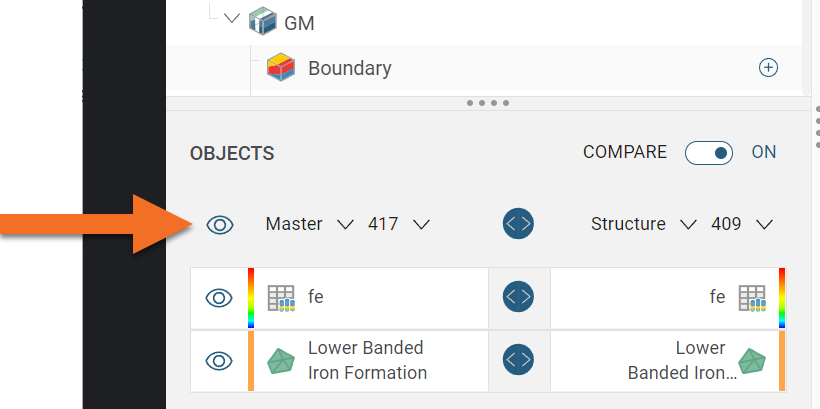
When the comparison tool is on, two revision lists are displayed. The first is the “base” revision, the second is the “compare” revision.

When you first choose a revision, the entire project history is displayed. Once you have selected a revision, you can choose another revision from the same branch by clicking on the revision number dropdown list, e.g. 401:
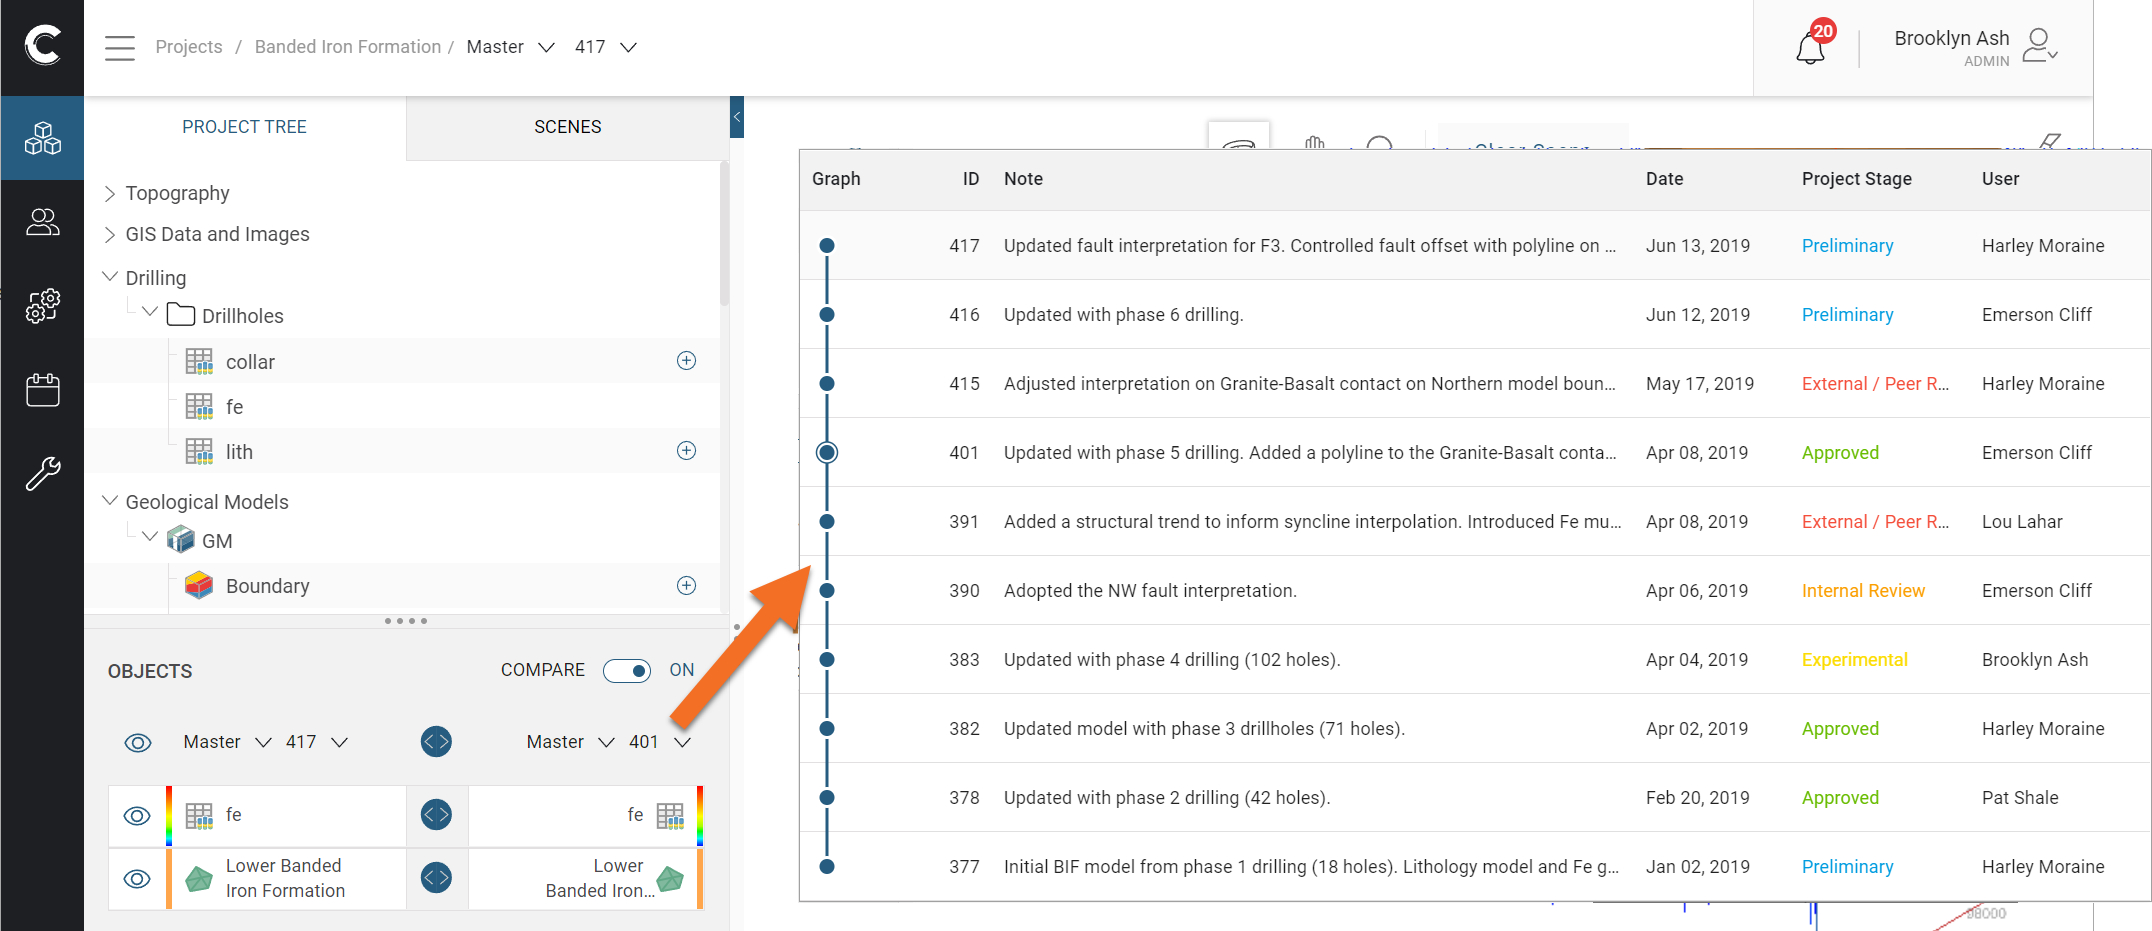
You can select from the entire project history by clicking on the branch dropdown list, e.g. Master:
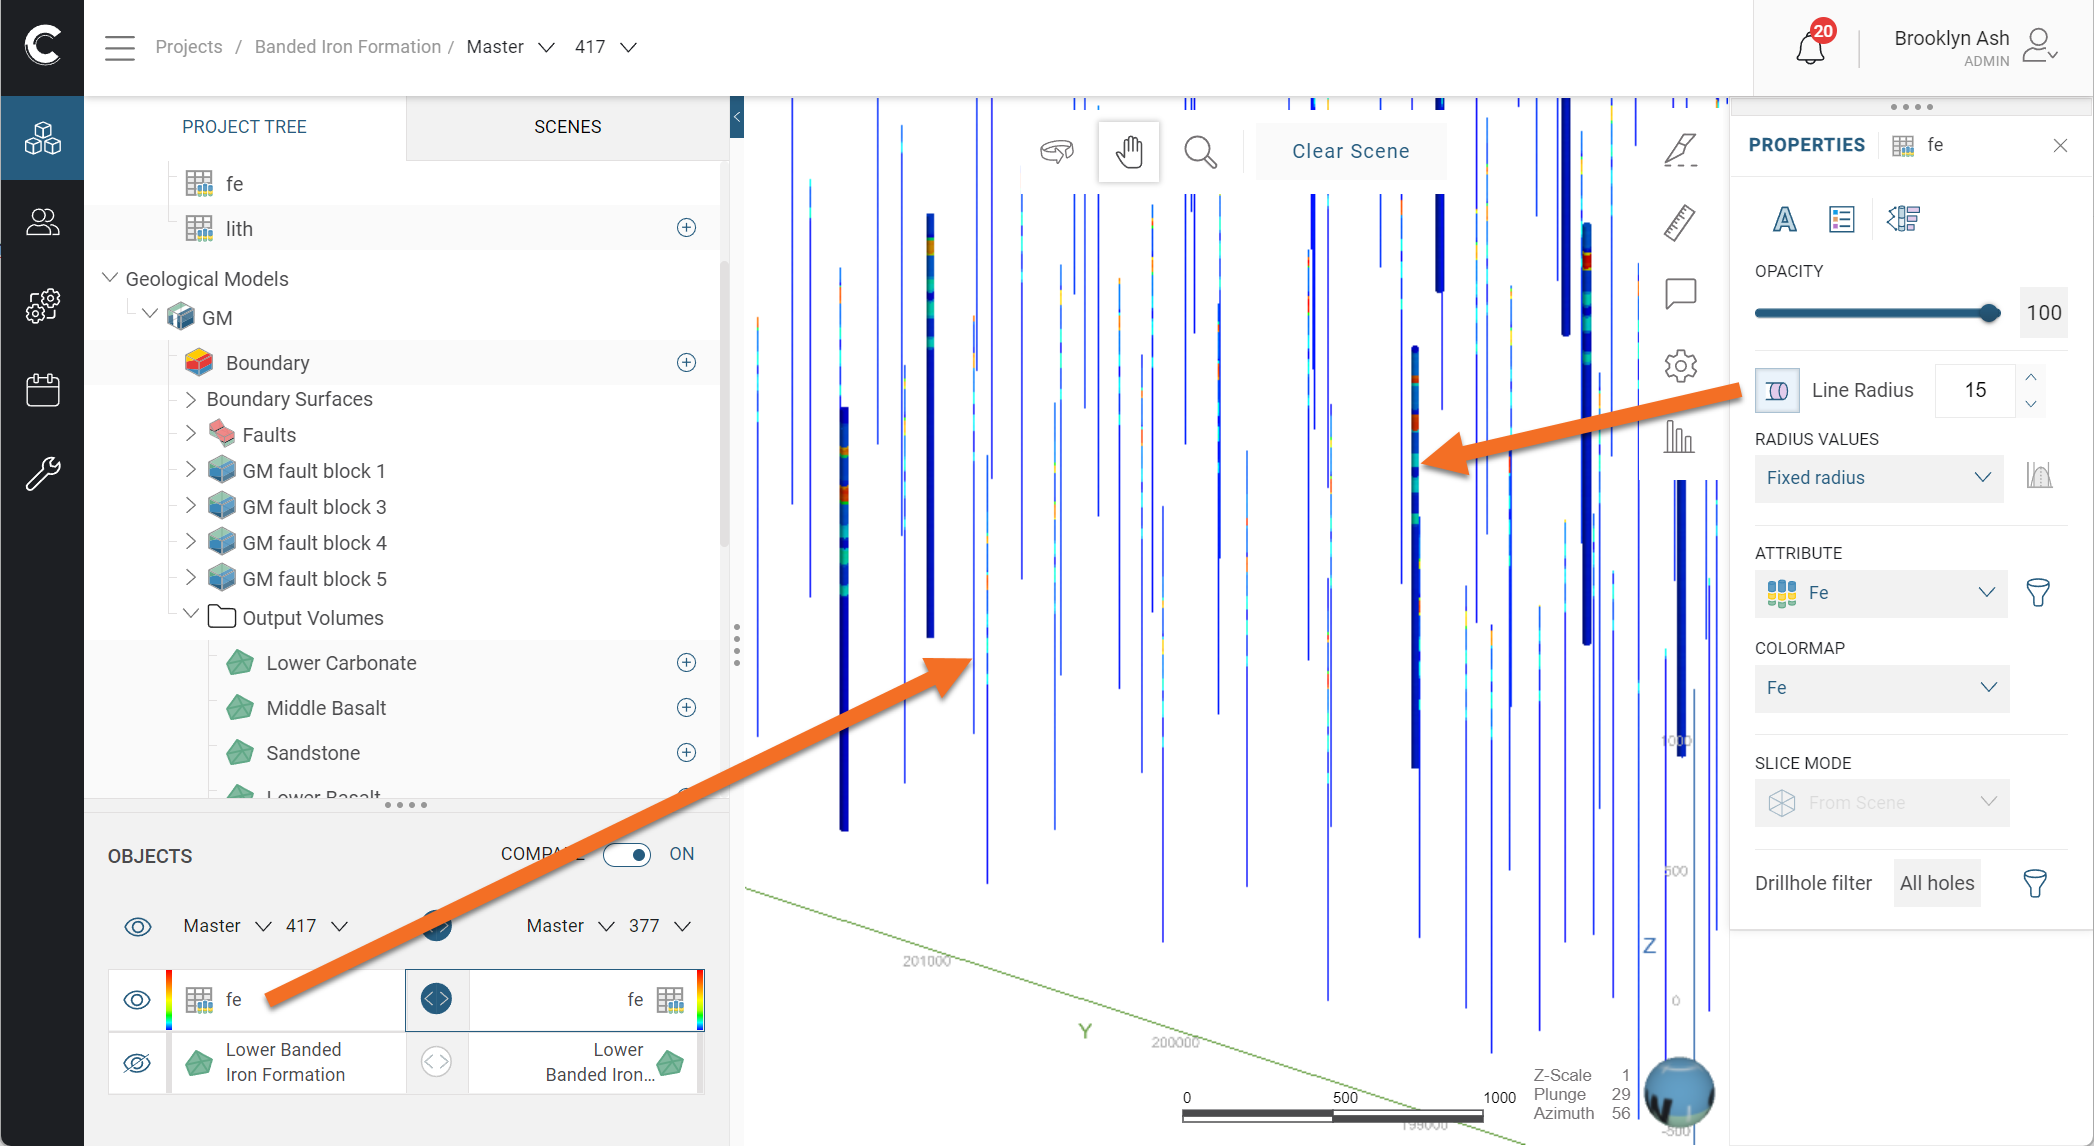
When you select a compare revision, each object already in the scene will automatically be loaded from the compare revision, if it exists. This is the case here, where we want to compare revision 417 of the Lower Banded Iron Formation and its source drilling data with those in an earlier revision, 401:

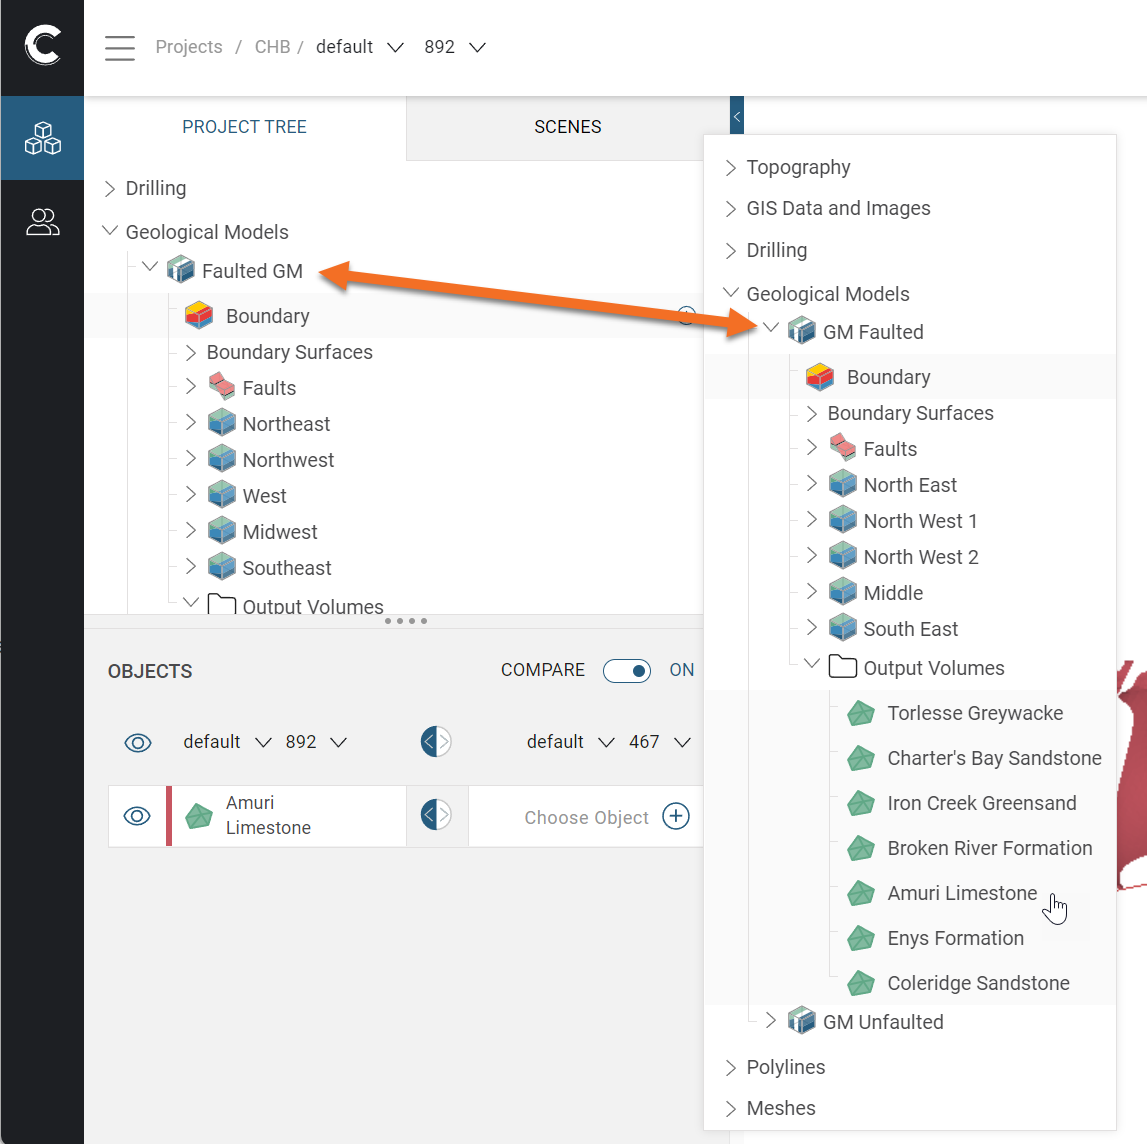
If an object does not exist in the selected revision, the list for that object will be empty and you can select another object in that revision:

This can be useful in cases where models have been renamed over time. In this example, the model has different names in each revision:
The project tree displays only objects from the base revision, and it is the base revision that determines what objects are displayed in the scene. What this means is that if you remove an object from the base revision from the scene, both versions of the object will be removed from the scene. If you remove only the compare revision object from the scene, the base revision object will remain and you can select a different object to compare the base object to:

Enhancing Differences for Lines and Points
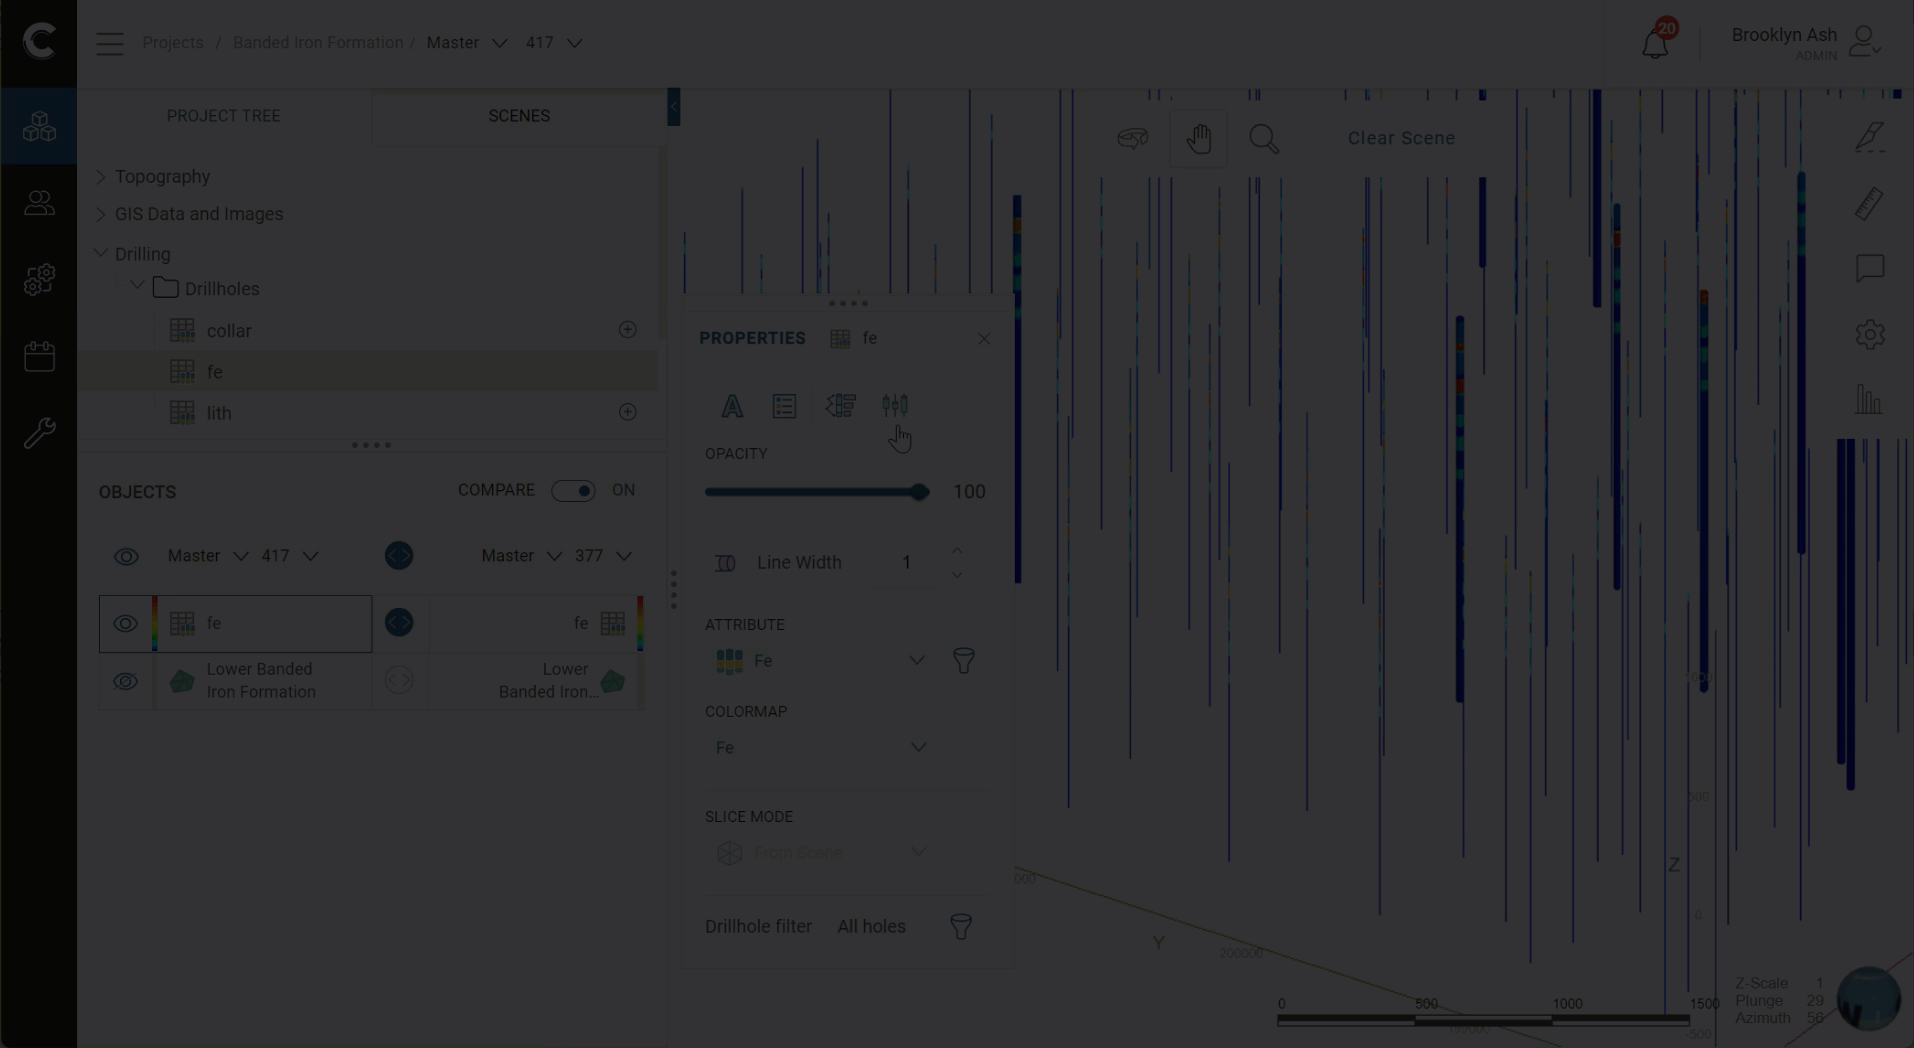
When the comparison tool is on, there is an extra display option in the properties pop-out for base revision lines and points. Here the Enhance Differences button momentarily displays the differences for the drillholes:
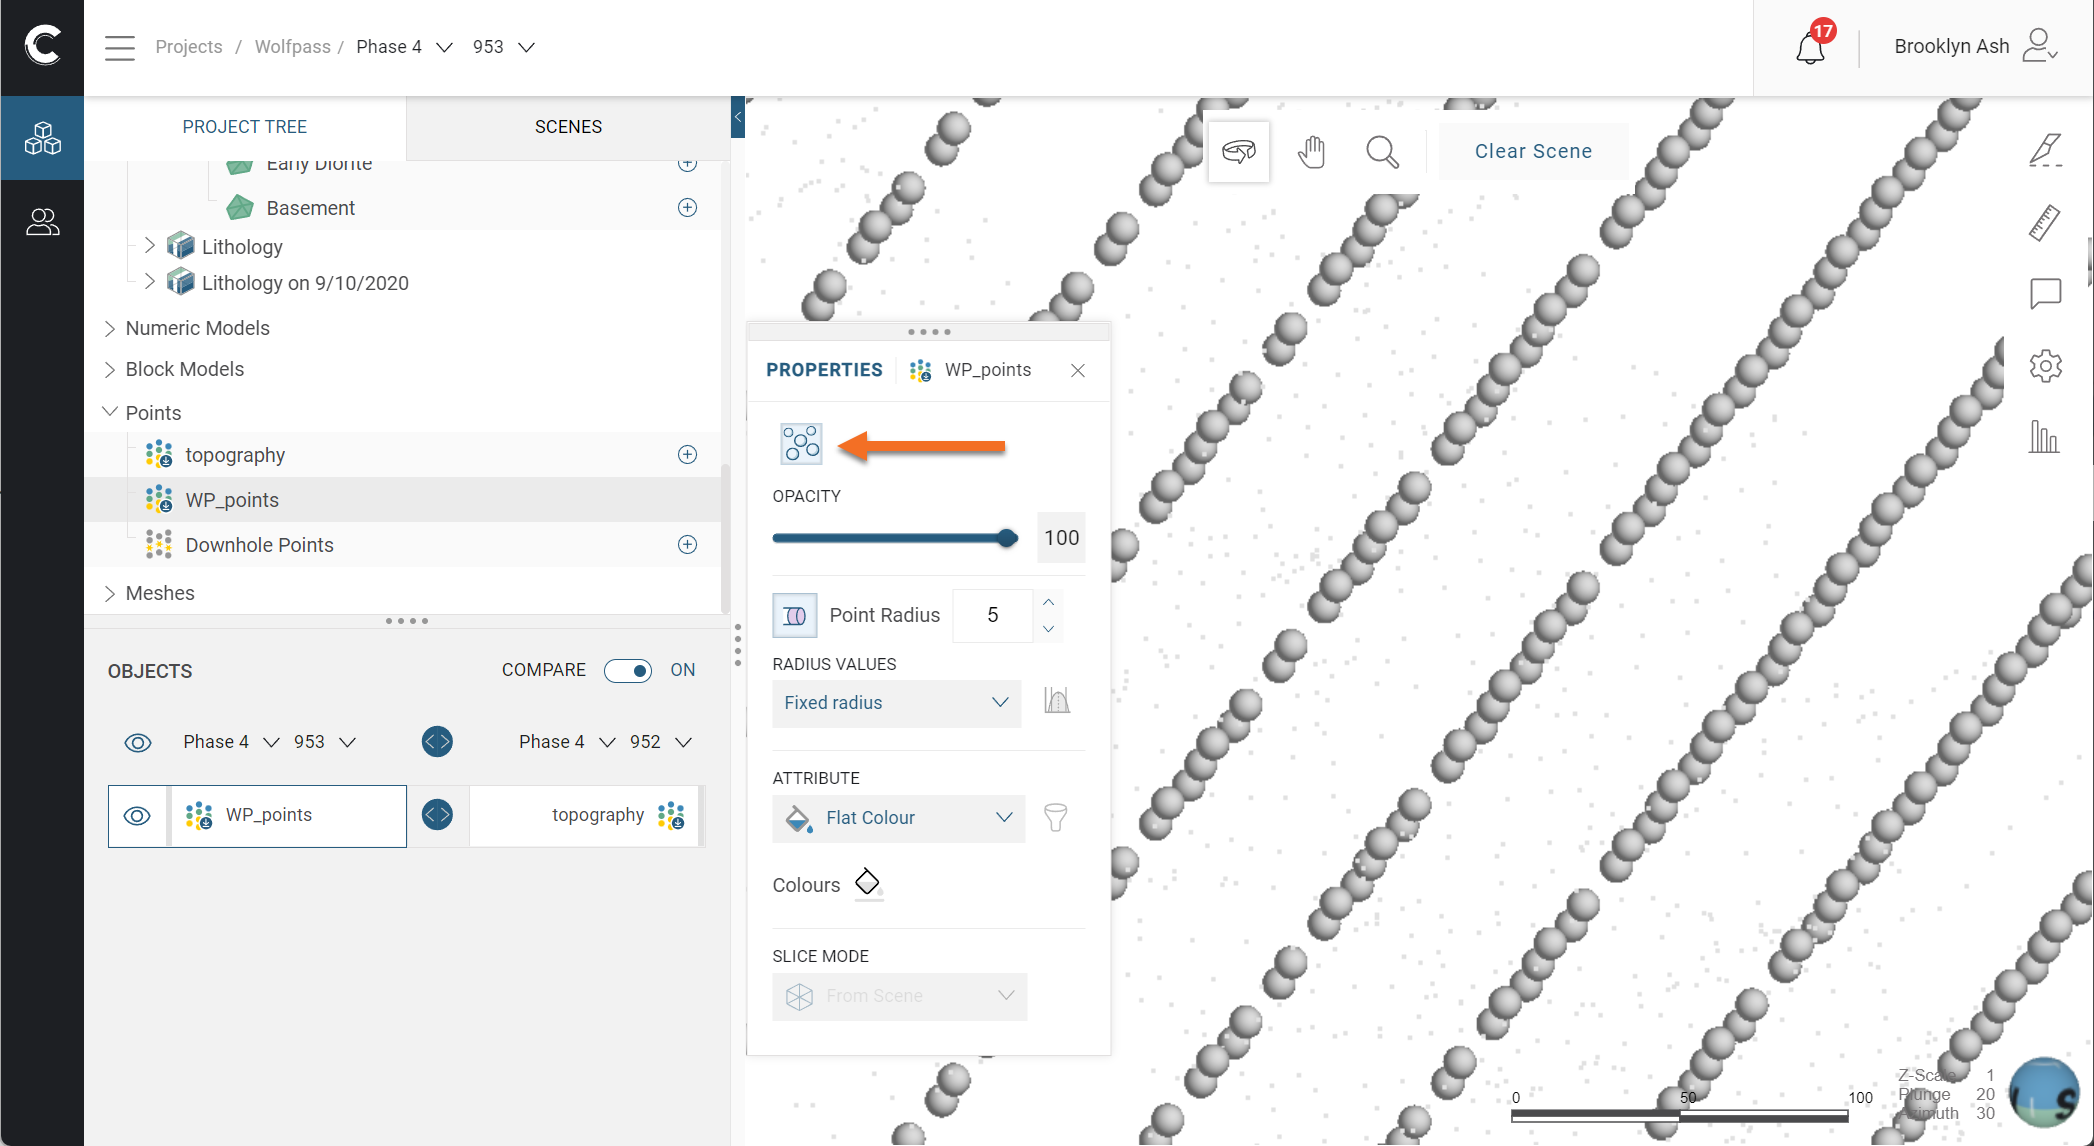
The Enhance Differences option is also available for points data:
Switching Between Revisions
One way to examine differences between data and objects in different revisions is to switch between displaying revisions. Do this using the Compare buttons (![]() /
/![]() ):
):

There is a Compare button for the set of objects as a whole and a Compare button for each object in the list. To quickly switch between revisions, click repeatedly on a Compare button.
To reset to displaying all objects in each revision, click on the main Show/Hide button (![]() ):
):
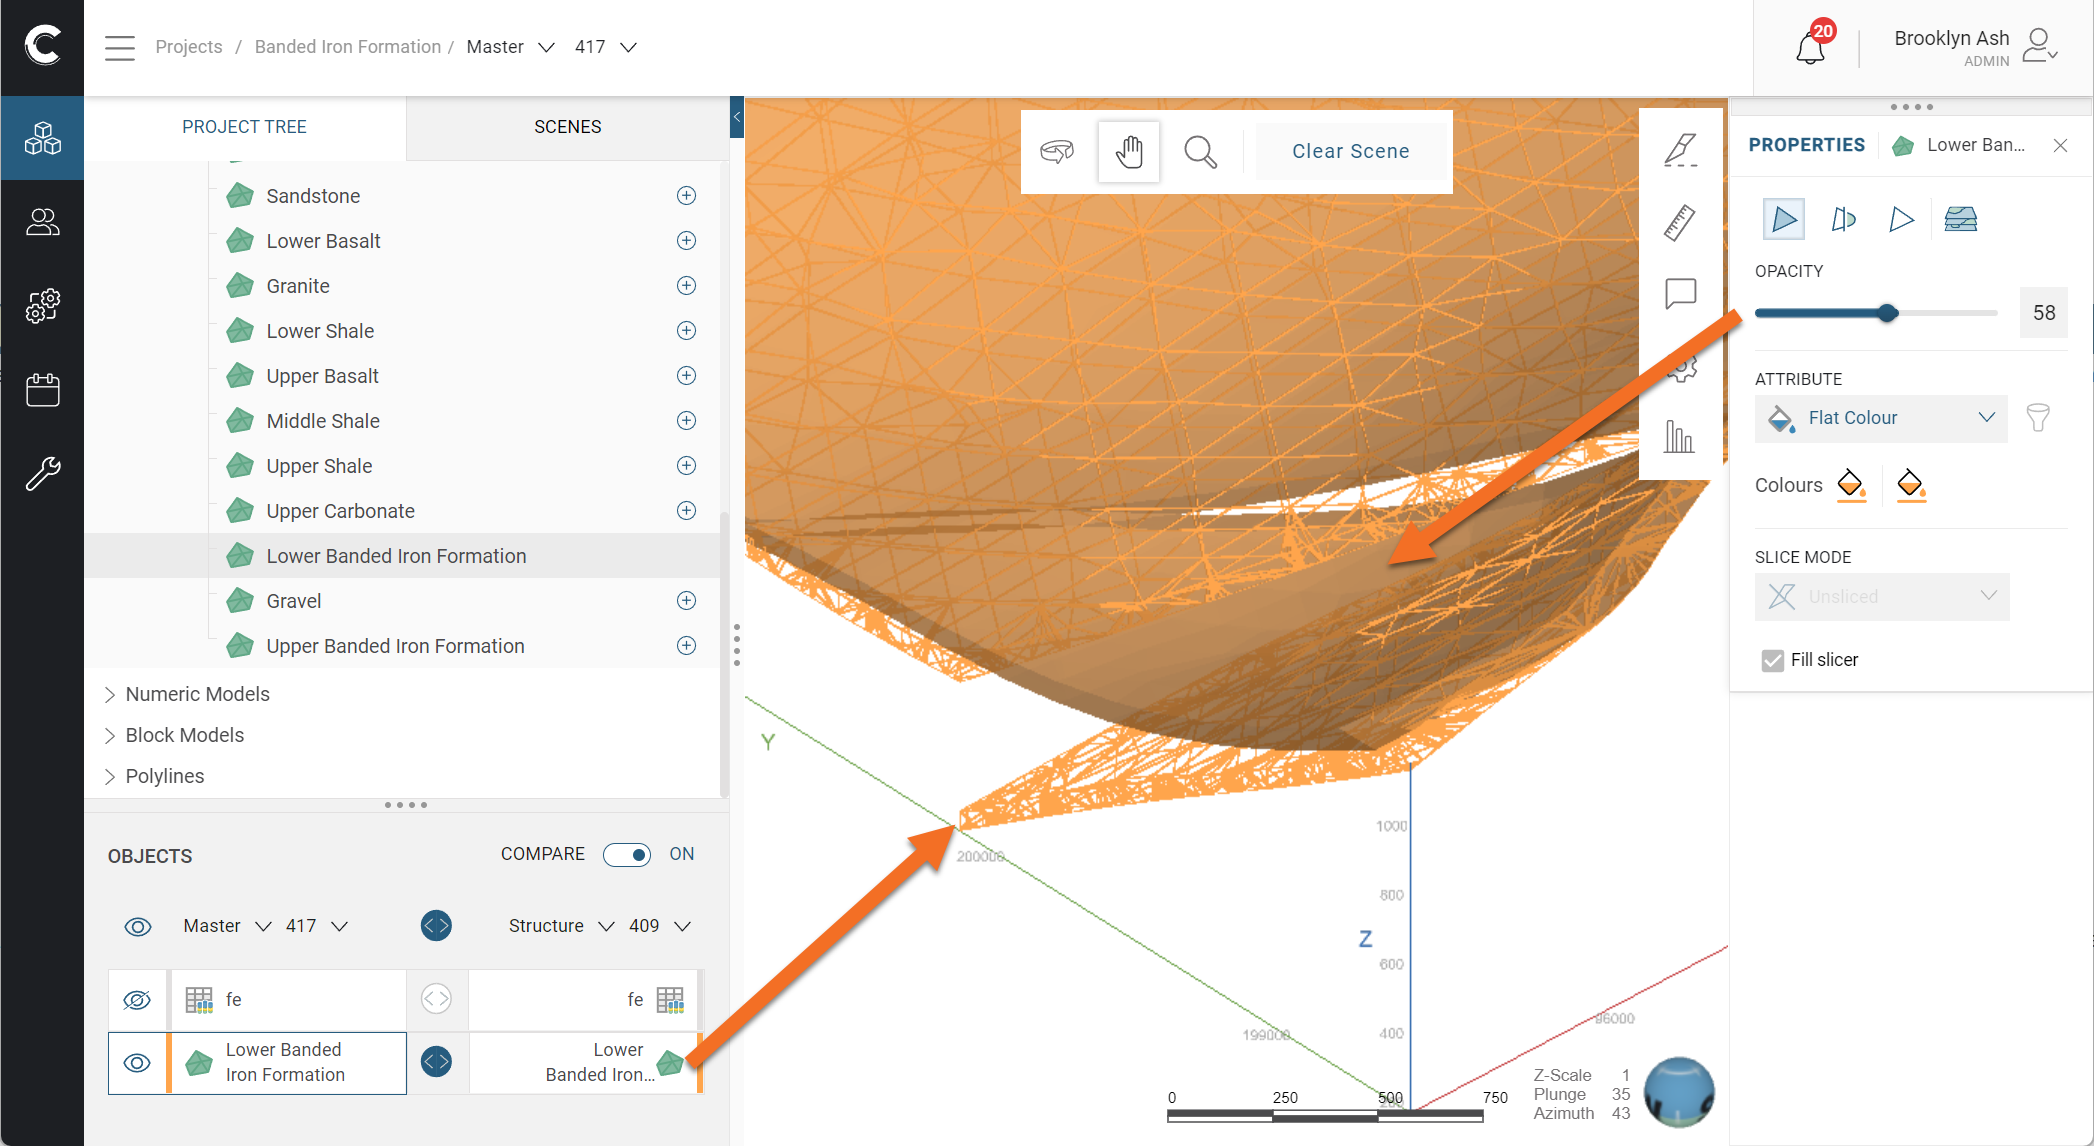
Comparing Objects by Contrasting Object Properties
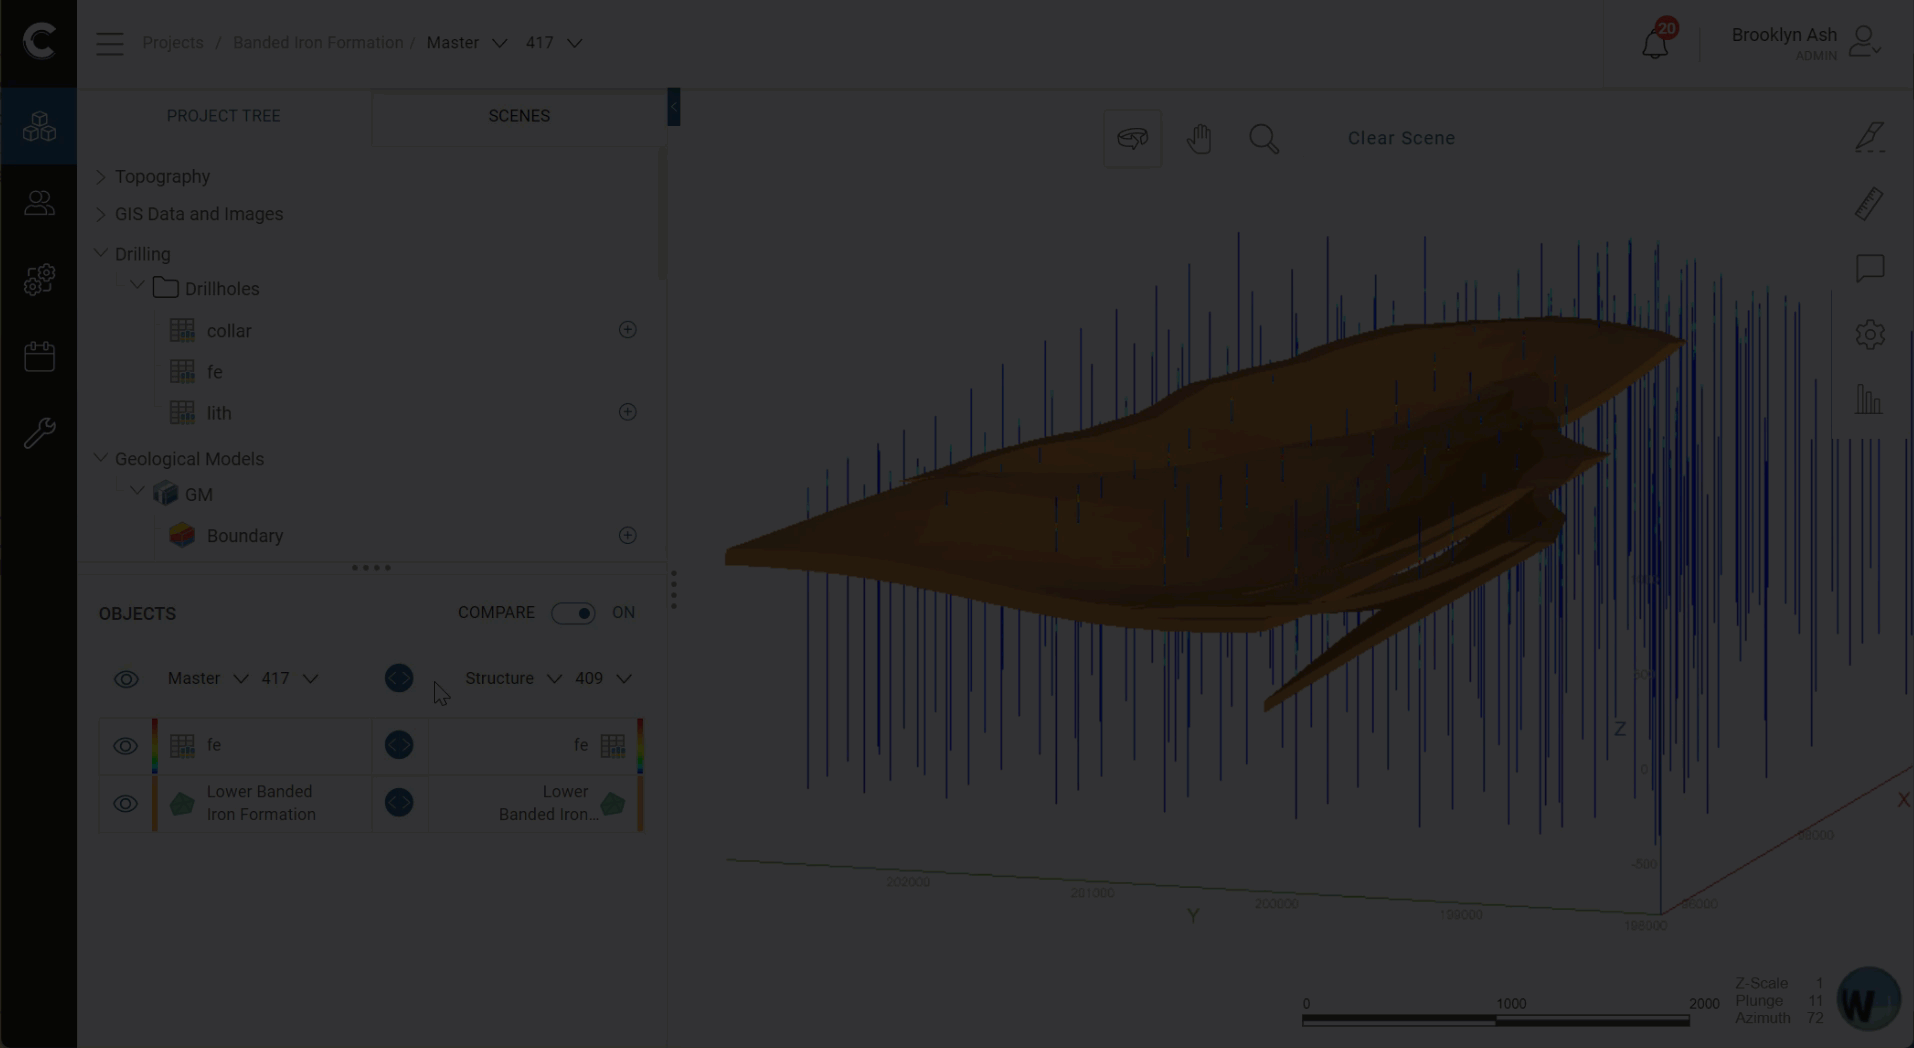
Another way to compare changes across revisions is using object display properties to contrast objects from each revision. For example, displaying one surface as a wireframe and another partly transparent makes it easy to compare two revisions of the same surface:
Here the drillholes from the compare revision are shown larger than those for the base revision, making it clear what data belongs to what revision: