
Geochemical Data
The Geochemistry folder and related features are only available with the Geochemistry extension. Contact Customer Support as described in Getting Support for more information about this extension.
With the Geochemistry folder, you can establish a live link to ioGAS and visualise geochemical data in real time. You can also transfer data between Leapfrog Energy and ioGAS, including data to which query filters have been applied.
This topic describes how to connect to ioGAS and transfer data between ioGAS and Leapfrog Energy. It is divided into:
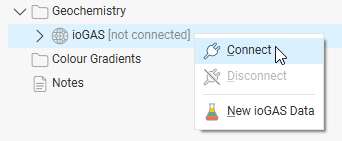
To connect to ioGAS, make sure ioGAS is running. Next, right-click on the ioGAS object in the project tree and select Connect:
Once the connection is established, any data set open in ioGAS will be available from the ioGAS object and can be displayed in the Leapfrog Energy scene window:
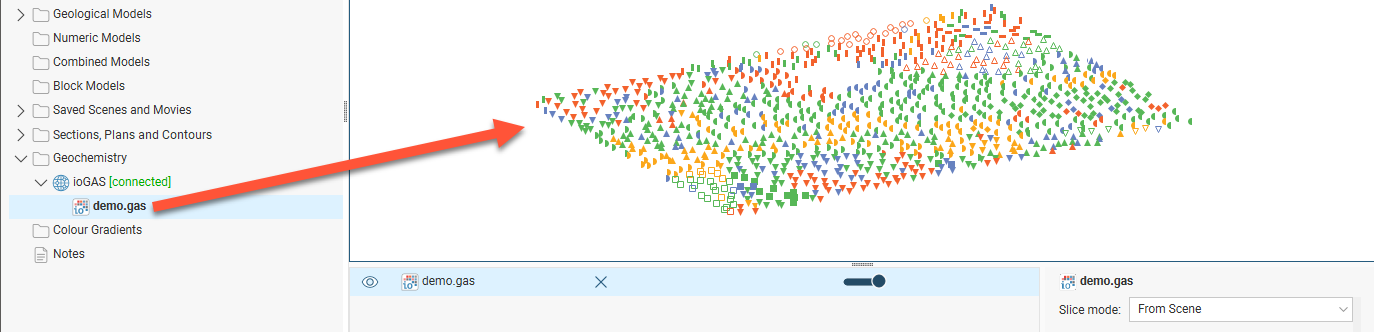
The status of the connection to ioGAS is indicated in Leapfrog Energy, and the data file open in ioGAS appears in the Geochemistry folder (e.g. demo.gas).
You can view the data in Leapfrog Energy by adding the ioGAS data object to the scene. When attributes are changed in ioGAS, the display will be updated in Leapfrog Energy. You can also:
- Send from and to data columns across the ioGAS link, analyse the data in ioGAS and import calculated columns as interval tables. This data can then be used for modelling in Leapfrog Energy. See Sending Data to ioGAS.
- Import ioGAS data into Leapfrog Energy as points or intervals. See Importing ioGAS Data.
To terminate the connection to ioGAS, right-click on the ioGAS object and select Disconnect:
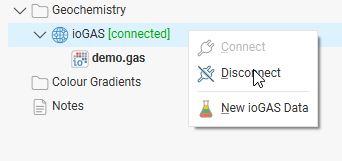
Once the connection to ioGAS is terminated, ioGAS data (*.gas) will no longer be available in Leapfrog Energy.
Sending Data to ioGAS
ioGAS version 6.1 and later recognise holeid, From and To columns sent from Leapfrog Energy. Earlier versions of ioGAS can only import point data.
To send data to ioGAS, you must first create a data object from the drilling data in the project. This process uses data from a single interval table to create a new ioGAS object that can then be opened in ioGAS.
Note that interpretation tables cannot be used to send data to ioGAS. If you wish to send an interpretation table to ioGAS, export it from Leapfrog Energy and then import it back into the project.
There are two considerations when creating an ioGAS data object:
- Are all data columns you wish to send over the ioGAS link in the same table? Creating an ioGAS data object uses a single interval table. If the data you wish to send is in different tables, create a merged table.
- Are lithology intervals similar in length to assay data intervals or are there significant differences? The solution is to apply a majority composite to the lithology data using the interval lengths from the assay table and then create a merged table containing all the data columns you wish to send over the link.
See Merging Drilling Data Tables and Majority Composites for more information.
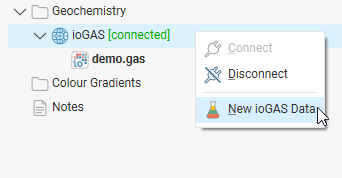
To create a new ioGAS data object, right-click on the ioGAS object and select New ioGAS Data:
You can filter the data you send to ioGAS using any of the query filters defined in the project. Make sure the query filter you wish to use has been defined before you start creating a new data column.
In the window that appears, select the table you wish to use for the Base table, then select the columns to send to ioGAS. If you wish to filter the data, select the query filter required from the list.
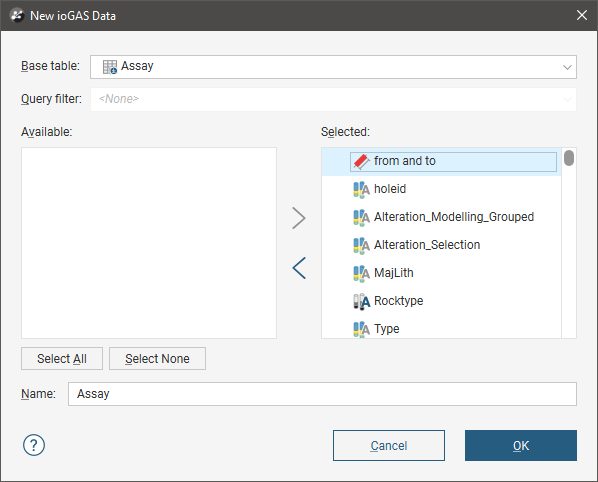
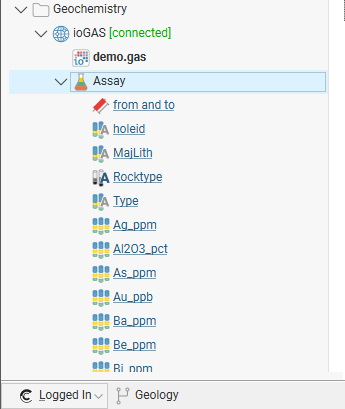
Enter a Name for the data column and click OK. The new data column will appear as part of the ioGAS folder:
Note that any filter applied to the data is part of the new data object and will be sent to ioGAS over the link.
The next step is to open the data in ioGAS.
Opening the Data in ioGAS
Ensure that Leapfrog Energy is connected to ioGAS.
Make sure no tasks are being processed in Leapfrog Energy before opening the link from ioGAS. An error may result in ioGAS if Leapfrog Energy is processing tasks.
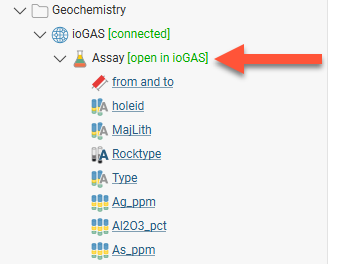
In ioGAS, select File > Open Link Data. Once the column has been opened, you can use the tools available in ioGAS to analyse the data. That the data is open in ioGAS is indicated in the project tree:
If a connection cannot be made between Leapfrog Energy and ioGAS, it could be that the Timeout setting in ioGAS is too low. To change this, navigate to the folder C:\Users\....\AppData\Roaming\ioGAS\userConfig. Open the file link.ini in a text editor and set the Timeout parameter to a higher value. The Timeout is in milliseconds.
If you have the data visible in the Leapfrog Energy scene, changes made will be displayed in Leapfrog Energy. Here the ioGAS attribute manager has been used to assign colours to the selected values in ten equal ranges:
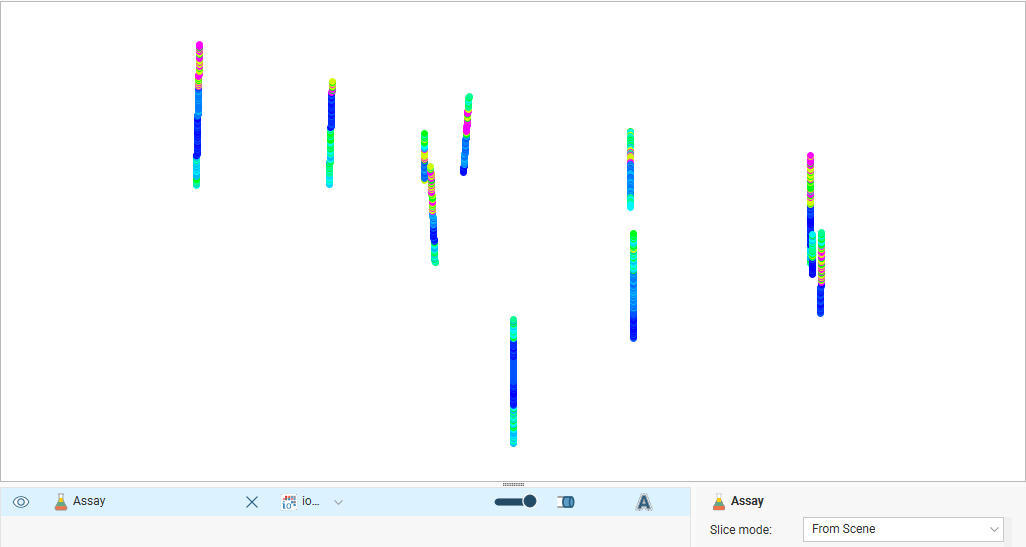
The changes to attributes are automatically updated in the Leapfrog Energy scene window as long as the link is live.
Sending a New Data Column Back to Leapfrog Energy
To save the changes and send a new data column back to Leapfrog Energy while the ioGAS link is live, select one of the Make Variable From options from the Data menu in ioGAS.
In Leapfrog Energy, the column will be added to the base interval table used to create the new lithology. Here, three columns (![]() ) have been added to the base table:
) have been added to the base table:
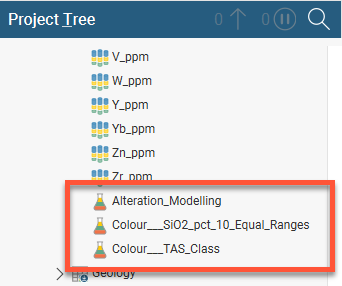
When the connection to ioGAS is terminated, the ioGAS data column will remain in the project tree as part of the ioGAS folder. Data columns created in ioGAS will also be available and will appear in the base interval table.
Importing ioGAS Data
When Leapfrog Energy is connected to ioGAS and a data set is open, you can import the ioGAS data into Leapfrog Energy. There are two options:
When data is imported as points, it is added to the Points folder. When imported as intervals, data is added to an existing interval table or used to create a new interval table. Whichever method is selected, if the data is changed in ioGAS, it will need to be reimported.
ioGAS version 6.1 and later can send a “Filter” attribute to Leapfrog Energy. If you wish to import this attribute, set it to a category column. This imported column will appear in Leapfrog Energy as a query filter.
Importing ioGAS Data as Points
To import ioGAS data as points, right-click on the ioGAS data object in the project tree and select Import as Points:
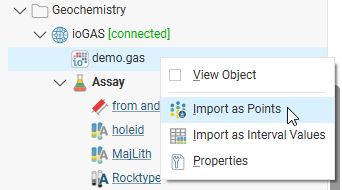
In the window that appears, select the data columns you wish to import and how they will be imported. Click Finish to import the data, which will appear in the Points folder. You can then display the points in the scene and work with them as you would any other points object. The new points object will remain in Leapfrog Energy once the connection to ioGAS is terminated.
Importing ioGAS Data as Intervals
To import ioGAS data as intervals, right-click on the ioGAS data object in the project tree and select Import as Interval Values. Select the table to which the imported column will be added or select the option to create a new table. Click Import.
- For a new table, select the columns you wish to import and enter a name for the table. Click Finish. The new table will be added to the selected drilling data set.
- For adding the data to an existing table, the process is similar to that for adding a column. Select the columns to import, then click Finish.
Got a question? Visit the Seequent forums or Seequent support
© 2023 Seequent, The Bentley Subsurface Company
Privacy | Terms of Use