
Uploading a new version
Uploading a new version of the model is similar to importing a new block model, except that you do not need to enter the grid definition.
A BlockSync model’s grid definition cannot be edited. If you need to upload a version of the model that has a different grid definition, you will need to upload it as a new model.
There are two ways to start uploading a revision to an existing block model:
- From the Block models list
- From the block model’s Versions tab
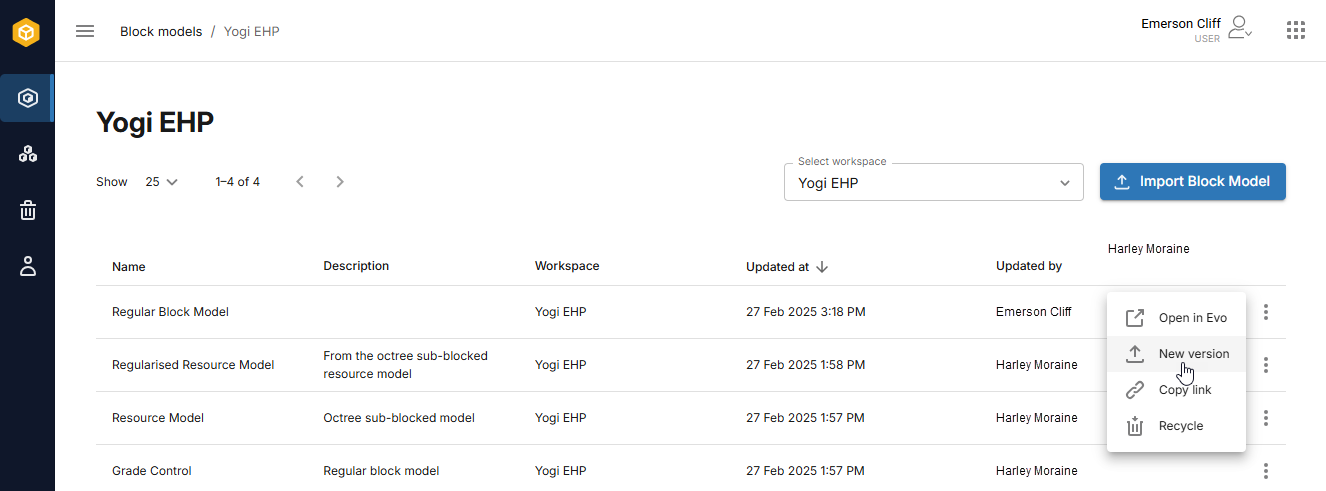
From the Block models list, click on the overflow menu for the model you wish to update and select New version:
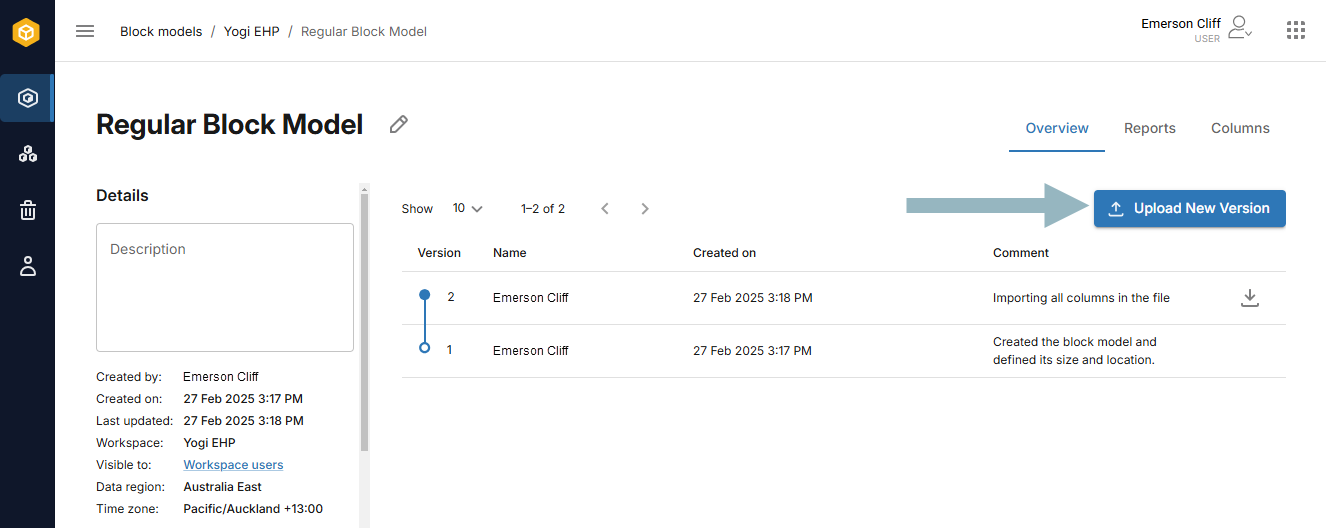
From the Versions tab, click the Upload new version button:
In both cases, the Import new version wizard will guide you through the steps. Start by clicking the Upload file button to select a file, or simply drop the file onto the designated space.
Once the file has been uploaded, the data in it will be previewed. As with uploading a new model, check the preview carefully, especially the first few lines. If there is a notification regarding skipped rows, follow the prompts to verify that you wish to skip those rows.
Click Next step to move on to selecting the columns that will be imported.
At this stage, you are required to enter a comment on this version of the block model.
As when importing a new block model, BlockSync automatically maps any new columns to the most likely data type. Any columns new to this version are labelled with the New column action, while existing columns are labelled with the Update column action. For example, here there is one column that is new to the block model and two existing columns that will be updated:
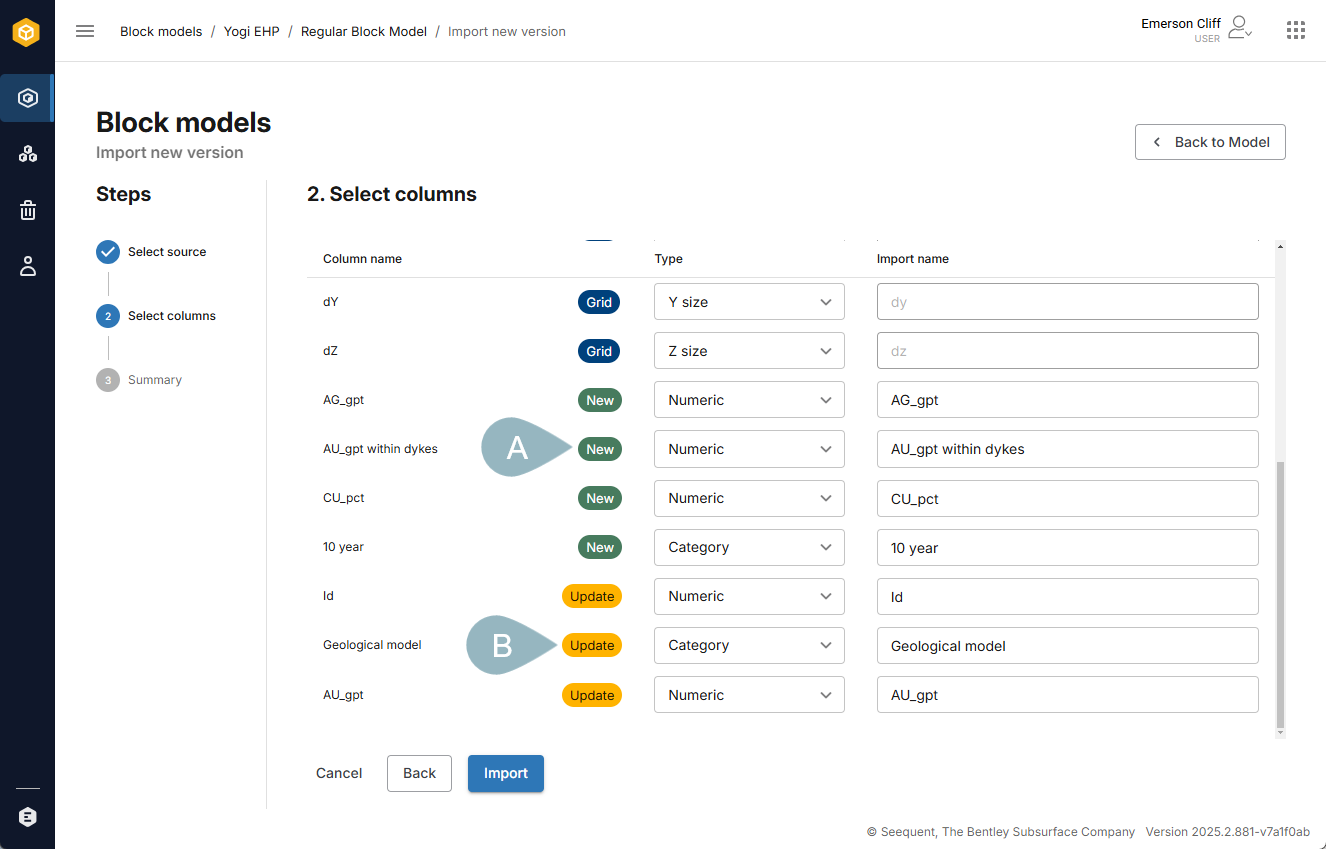
If you do not wish to import one of the new columns or update an existing column, click the action button for that column and select Don’t import.
The Default to “Not imported” button near the top of the window marks all columns as Don’t import, which means that you will then need to map each column one-by-one, including the grid definition columns.
Rename non-grid columns, if required, by entering a new name in the Import name box.
Once you have finished making changes, click Import.
You will be prompted to specify whether the file being uploaded represents part of the model or the whole model:

Click Update to start uploading the new version of the model.