
Lists
In MX Deposit, lists are designed to support consistent naming conventions that everyone uses across various projects. For example, when logging core data, the list definition ensures everybody is using the same rock type codes and geological terms.
This topic describes how to define lists in MX Deposit. It is divided into:
- Viewing the Lists Library
- Creating a List
- Defining Values
- Reordering Rows and Columns
- Choosing Whether to Delete or Hide Values
- Deleting a List
If you have existing lists you wish to use in MX Deposit, see the Importing Lists topic.
Viewing the Lists Library
Lists are defined and managed under Site Settings > Logging > Lists.
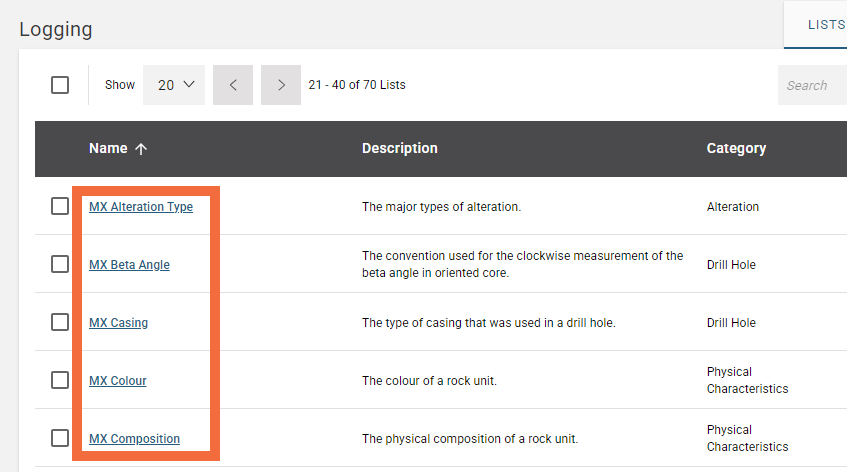
Your MX Deposit account is pre-loaded with multiple lists called MX Lists. These are a useful starting point for setting up your account and are indicated in your lists collection by an MX prefix:
Lists for sampling are defined and managed under Site Settings > Sampling > Sample Lists. For more information, see the Sampling Configuration and Sample Lists topics.
The list collection shows a summary of all of your lists. It is useful when creating a list to include a description, so you can see at a glance what is it for.
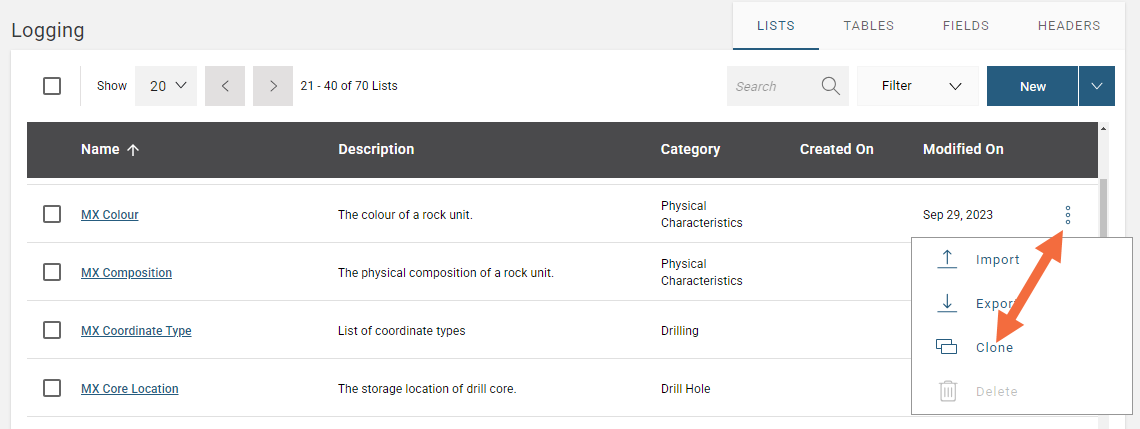
You can copy existing lists by clicking Clone in the overflow menu:
Creating a List
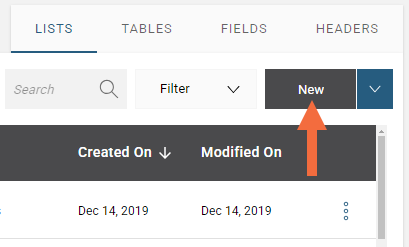
To create a list in MX Deposit, click on the New button:
Name your list and choose what category you want it to be in. Add a description; as your collection of lists grows, the description can help you know at a quick glance what this list is for.
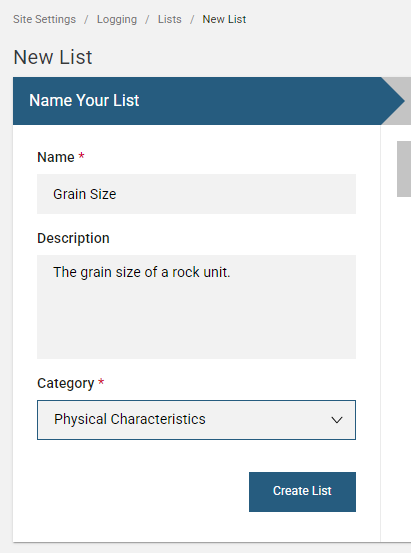
When you have finished, click Create List to start configuring the list items.
From this point onward, any changes you make will be saved automatically.
You can create a list from new or you can create it from one that already exists. Once all of your master lists have been created, instead of editing them for each new project, it is good practice to instead create a new list from an existing one. This way data integrity is maintained.
Defining Values
By default, every list has Value and Description columns. The value is what is displayed once selected from a picklist in a table or header; it is normally a code, such as a rock type code. The value must be unique, but the description does not. To add a new list item, go to an empty row.
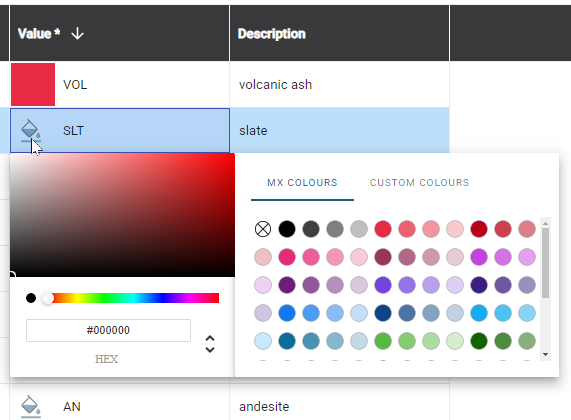
You can designate colours for each value by either picking from the existing palette, or using the HEX, RGB, or HSL colour codes. If you have corporate colours that your organization uses, you can add them to the custom palette section.
To add a new column, click Add new column. Name the column and choose the column’s data type in the window that appears. Options are:
- Text. The user will enter text. You can specify the Character length to allow for shorter or longer descriptions.
- Numeric. The user will enter a numeric value. You can specify a Min value and a Max value to constrain the numeric value that can be entered. Precision is for specifying how many decimals places you want to have displayed; the full value will be saved as the Precision setting only affects what is displayed.
- CheckBox. The user will tick or not tick a box. Make sure the column name describes what ticked and unticked means.
- File. This prompts the user to take a photo or upload a file.
- Date. This brings up the option to insert a date.
Columns in addition to the Value and Description columns are regarded as metadata. For example, here the additional columns show the logger the qualifying data for different grain sizes, as well as the French Value and French Descriptions:
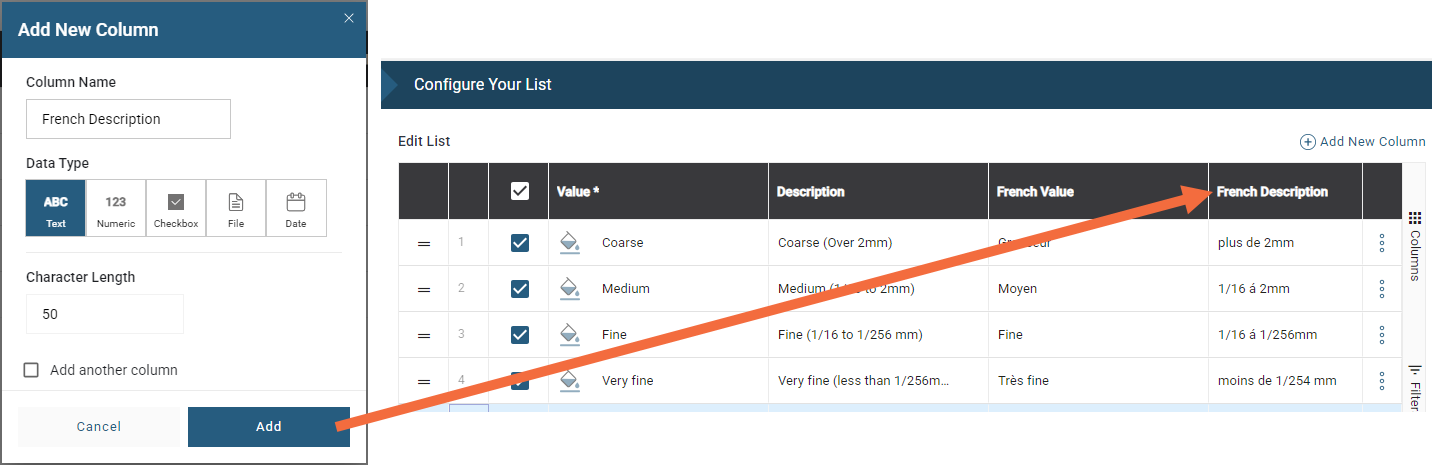
Once you have named your column click Add to save it to your list.
Reordering Rows and Columns
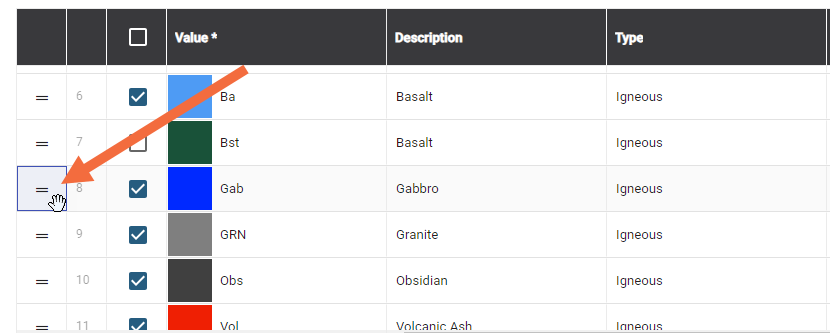
To reorder rows in a list, use the row handles to move them up and down:
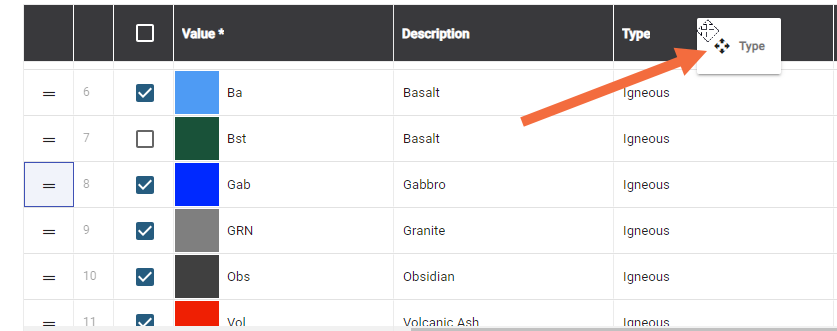
Columns can also be re-ordered in this way:
Choosing Whether to Delete or Hide Values
When a value is no longer being used, you can either:
- Delete the value. To do this, select Delete Row from the overflow menu . Note that you will only be able to delete values that are not being used elsewhere in MX Deposit.
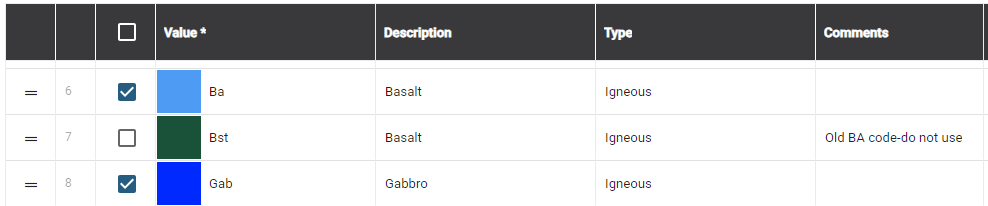
- Hide the value. To do this, disable the tick box. This would be the better option if there are historical codes you don't want showing up in picklists going forward, but you may need to keep them because they have been used at some point. Here, the code for Basalt, Bst, is no longer in use so it has been deselected rather than deleted.
Deleting a List
A list can be deleted as long it is not used elsewhere in MX Deposit. If this is the case, a Delete option will be available in the Actions menu in the Properties panel or from the overflow menu. You will be asked to confirm your choice.