
Introduction to the MX Deposit Web App
This topic describes how to navigate in the MX Deposit web app. It is divided into:
- The Home Page and News Feed
- The Sidebar and Its Pages
- Switching to a Different MX Deposit Account
- Switching to the Old MX Deposit App
The MX Deposit web app is optimised for the Google Chrome browser.
The Home Page and News Feed
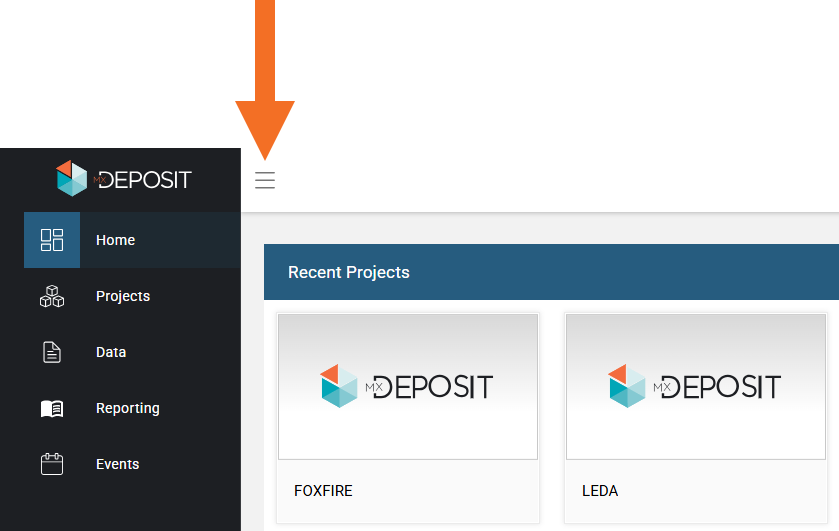
When you first sign in to the MX Deposit web app, the Home page is displayed showing what’s been happening in your team’s MX Deposit account.
Recent Projects
This shows the last three projects you have recently accessed. Click All Projects to view the full list of projects that you have been assigned to.
Click on a project to view the activities in that project.
If a project you expect to see is not listed, contact your MX Deposit admin to ensure you have been given the right permissions.
Recent Events
This list shows all the changes that have been made across the MX Deposit account, from latest to oldest. You can make comments on any of these changes if you need to know more. Use the @ sign to tag in specific members of your team.
Click All Events to view the full events list, which you can filter if you are looking for specific events.
Recent Posts
This list is a feed of messages that are not linked to specific events. For example, when your MX Deposit admin has made changes to a project, they may add a post describing those changes.
Anyone who belongs to your MX Deposit account can make posts.
Click the New button to start a new post. You can then:
- Add your comment.
- Upload files.
- Choose who will see the post.
- Link to a specific object within MX Deposit. To do so, specify the project, activity and object type. You can then choose a specific object to link to your post.
You can edit the posts you have made, but you cannot delete them.
The Sidebar and Its Pages
You can collapse the sidebar to make better use of your screen space by clicking on the button at the top of the window:
The other pages in the sidebar are:
- Projects. This lists all the MX Deposit projects you have permissions for. If a project you expect to see is not listed, contact your admin. Click on a project to view its activities and their progress. You can also import activities in *.csv format and create new activities.
You cannot create new projects, as you must be an admin to do so. If you are an admin, projects are created and managed in the Site Settings page, under Activities and Projects > Projects.
- Data. This page lists export templates that have been defined for projects and activities you have permissions for. You can also create export templates.
- Reporting. This page lists the reports you can run on data you have permissions for. Click on a report and enter the information required. Reports can be downloaded in different formats.
- Events. This page is made up of three tabs.
- The Events tab lists changes that have been made across the MX Deposit account.
- The Posts tab lists messages posted by members of the team.
- The Jobs tab lists the status of processing jobs, such as exporting data from the account.
If you are an admin, there will also be a Site Settings entry in the sidebar.
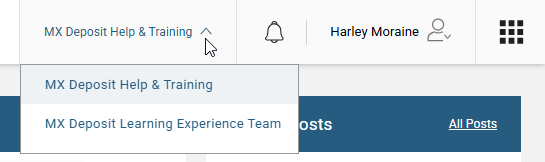
Switching to a Different MX Deposit Account
If you have access to more than one MX Deposit account, you can switch accounts by choosing from the menu at the top of the window:
Switching to the Old MX Deposit App
When you sign in to MX Deposit at app.mxdeposit.net, you will be in MX Deposit’s new app. If you prefer to work in the old version, you can switch to it from the account menu:

Whichever version you use, there is no change to MX Deposit Cloud services; both versions use the same data.