Activities

Activities drive all data collection in MX Deposit. An activity dictates the type of data being captured, what the sampling parameters are and the lab information received.

There are two types of activities in MX Deposit: a drill hole activity and a point activity. Each activity, regardless of type, is built by adding elements already defined in your MX Deposit library. These include:

  • A header from the Headers collection and one or more tables from the Tables collection. These are what loggers will fill out.
  • Sampling objects from the Sampling collections. These are what data managers will fill out for managing samples to and from the lab.

This topic describes how to work with activities in MX Deposit. It is divided into:

Viewing the Activities Library

To view the activities in your MX Deposit account, open the Admin panel and click on Activities under Logging.

You can organize your activities into categories. To create a new category, click on the drop down arrow next to New activity and select New category. In the window that appears, give the category a name, then click Save.

Creating a New Activity

To create an activity, click on the New activity button in the Activities collection. This opens the activity builder, which shows the steps involved along the bottom:

Choose the Activity type, either Drill hole or Point.

When you first move on to this step, no options are pre-selected. Click on an option to select it; it will then be outlined in blue.

Give the activity a unique name, a description and assign it to a category. Here we are configuring a drilling activity for Geotech logging:

By default, MX Deposit assumes that negative dip values point up. If this is not the case, enable Negative survey dip points down.

If you already have a similar activity configured, you can use it as the basis for the new activity by selecting it from the Create activity from list. Click Next when done.

Configuring Logging for an Activity

In the next step, the tables used by loggers are set up.

There is also an option in this window to define groups who can access the different logging tables. This is optional; it is a way of achieving finer control over who has access to what data during the logging process. See Defining Activity Groups for more information.

For both the Logging and Sampling steps, the activity builder shows the tables expected. For example, for logging, there are spaces for a header, a lithology table, a downhole survey tables and a samples table:

You can click on a space to show the tables available in MX Deposit you can choose from.

Once you have decided on a table, e.g. a header table, drag it from the list of headers (A) onto the Header space (B):

The list of Tables is organised into the special table types (header, lithology, survey and samples). Drag these tables to their respective spaces in the activity builder. For example, here a Lithology table is being added to the activity’s Lithology space:

Once you have added a header table, a Target depth field will appear. It is not necessary to set a target depth.

You can add more tables to your activity by selecting the Other tables option:

The other tables are organised into the different table categories, and dragging one of these tables into the activity will open a space for it. For example, here dragging the Geology > Alteration table onto the activity opens a space for it:

For each table you have added to the activity, there are settings you can change to customise how those tables and lists are used in the activity. See the following topics for more information:

Once you have set up the logging tables, you can either:

  • Assign one or more “groups” to different logging tables. This is optional; it is a way of achieving finer control over who has access to what data during the logging process. This is described in a separate topic, Defining Activity Groups.
  • Move on to configuring sampling for the activity. This is described in brief below.

Configuring Sampling for an Activity

In the next step, the sampling tables are set up. As with configuring the logging tables, the activity builder shows the tables expected. There are spaces for sample types, control sample types, primary sample analysis flows and secondary sample analysis flows:

Once you have set up the sampling tables, click Next. This moves the activity builder on to the Validation step, which is not yet available.

  • Publish the activity, if you have finished with the activity and it is ready to be used elsewhere in MX Deposit. Click Publish.
  • Save the activity without publishing it, if you have not yet finished defining it or do not yet want it to be used in projects. Click Save and finish later.

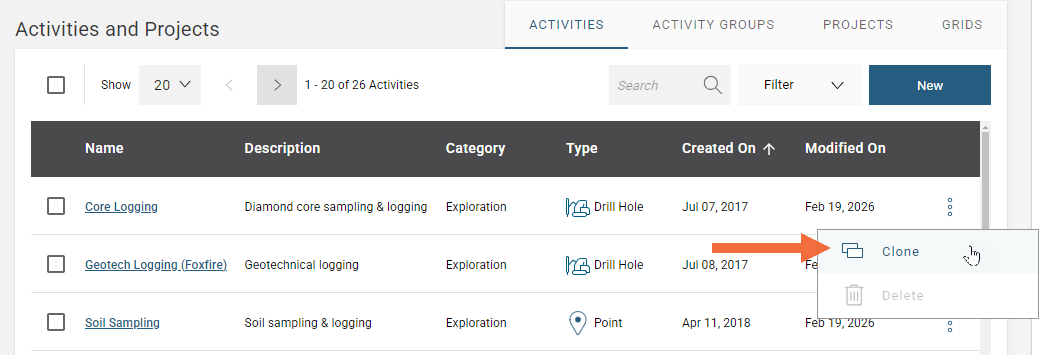
Deleting an Activity

You can delete an activity from the library only if it is not used in a project. If this is the case, a Delete option will be available when you right-click on an activity in the Activities collection. You will be asked to confirm your choice.