Driver
Driver is a cloud-based, rapid analysis application that assists with interpreting the geological features of a mineral deposit. This topic provides a brief introduction to Driver and links to topics that provide more information. This topic is divided into:
- Evo workspaces and Driver
- Signing in to Driver
- Opening a Driver project
- The project tree
- The processing queue
Evo workspaces and Driver
Driver is part of Seequent Evo, and each Driver project is stored in a Seequent Evo workspace. Workspace owners and editors can view and work in the Driver project.
In a Driver project, you can import geoscience objects from the project’s workspace. Once you have finished your analysis work, you can publish your results back to your Seequent Evo workspace as geoscience objects. Other applications connected to your workspace can then use those published geoscience objects in their workflows.
You cannot manage your Evo workspaces in Driver; to do so, sign in to the Evo portal at evo.seequent.com . See the Workspaces help for more information.
Signing in to Driver
To work in Driver, visit driver.seequent.com and sign in using your Bentley account.
Once you have signed in, you will see a list of all the Driver projects you have permissions for. The tile for each Driver project shows the Driver project name (A) and which workspace (B) it belongs to:
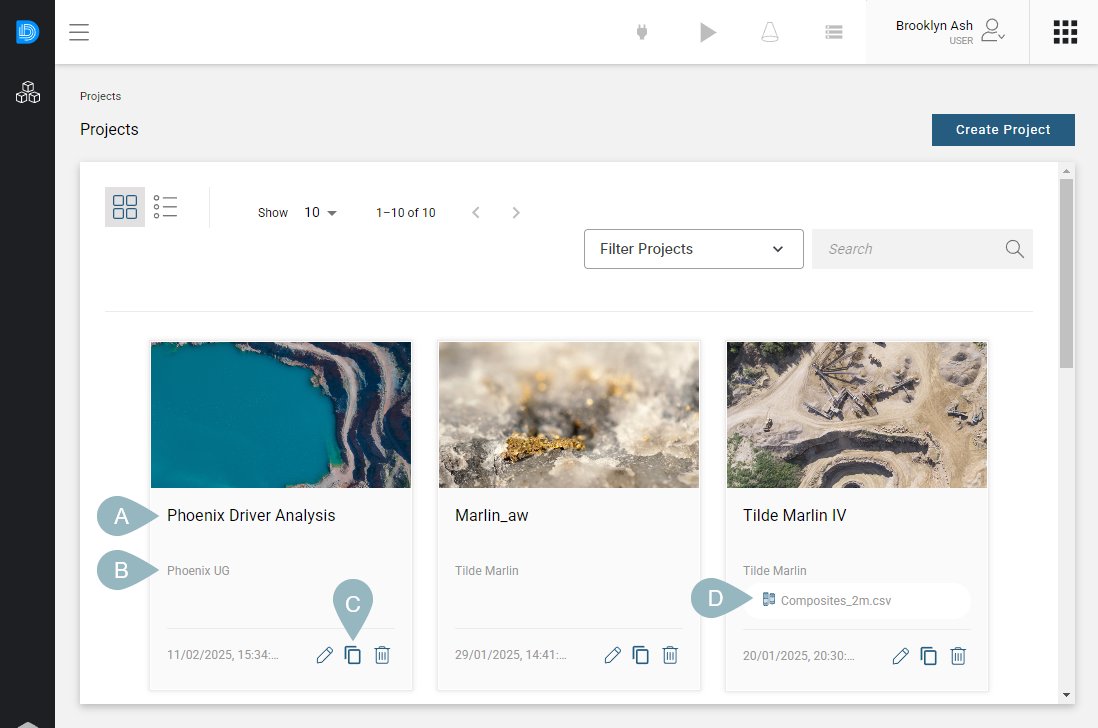
The buttons along the bottom of the tile (C) are for managing the Driver project. See Driver projects.
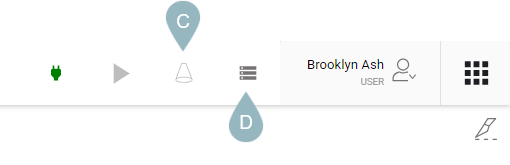
If a project contains drilling data imported from Evo, what data object it is using will be displayed on its tile (D).
Opening a Driver project
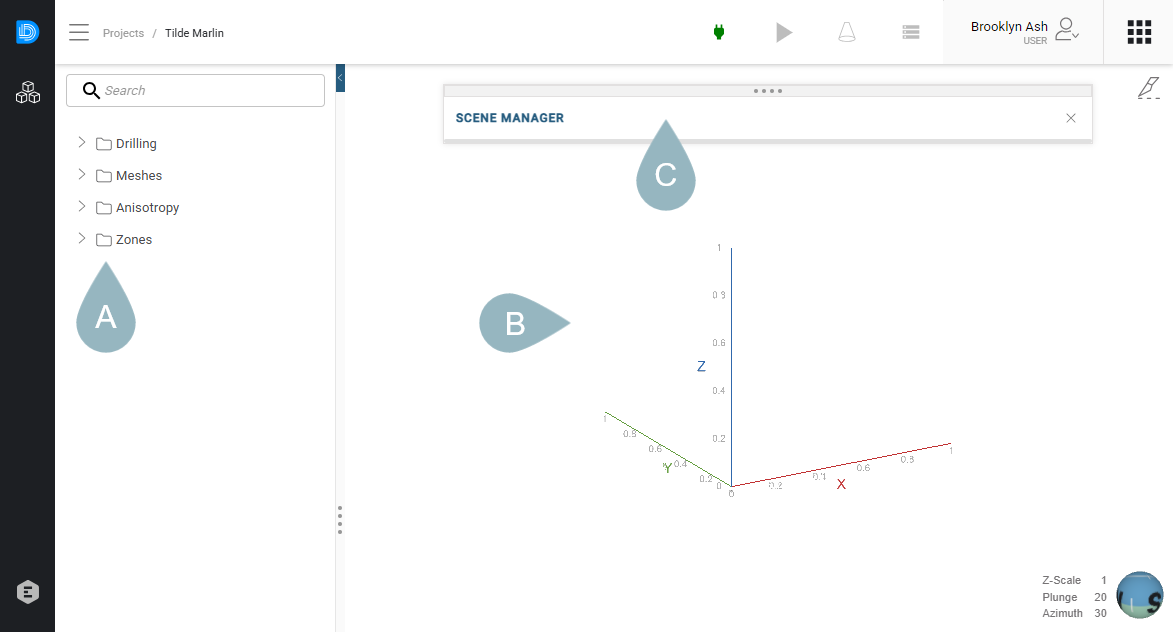
Clicking on a project opens the project in the Driver scene window. This is divided into three main parts, the project tree (A), the 3D scene (B) and the scene manager (C):
If there is no data in the project, the 3D scene will be empty:
![]()
For more information on creating Driver projects, see the Driver projects topic.
The project tree
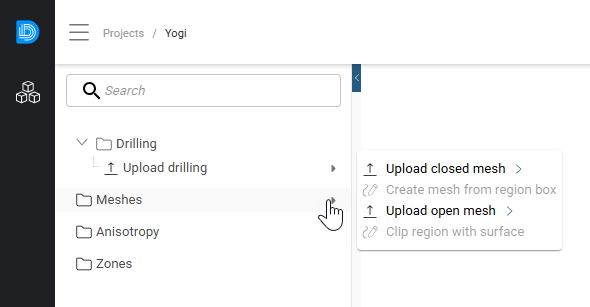
The project tree contains all data objects imported into and created in the Driver project. It is also where you access commands for importing and working with data.
The project tree is organised into folders, and clicking the arrow to the right of each folder reveals options for importing and working with data:
Holding the mouse cursor over data objects reveals options for each object, and clicking the arrow reveals options for that object. These include a button for opening the spotlight tool (A) and one for adding the object to the scene (B):

The spotlight tool allows you to examine a particular object in more detail. When the spotlight tool is open for an object, clicking the button (C) in the toolbar above the scene window will hide the spotlight window temporarily:
The button next to the spotlight button (D) opens the scene manager, which is the list of all the objects currently displayed in the scene.
See the Displaying data topic for more information on the scene manager, the spotlight tool and the slicer.
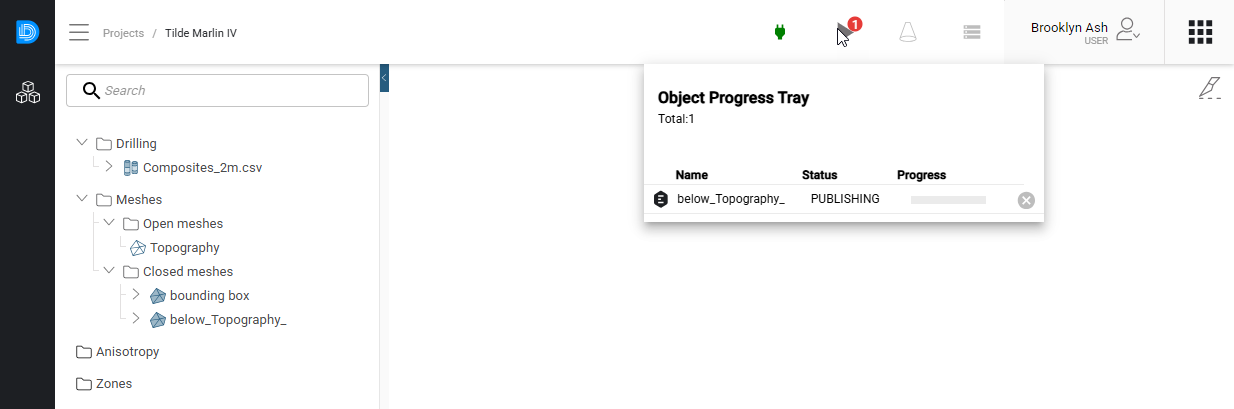
The processing queue
The button to the left of the spotlight button opens the processing queue: